thank you
1 Like
So I want to find some good covering/plating for legs like these, with the specific red leg pieces that comprise the lower leg portion of the legs. Any ideas?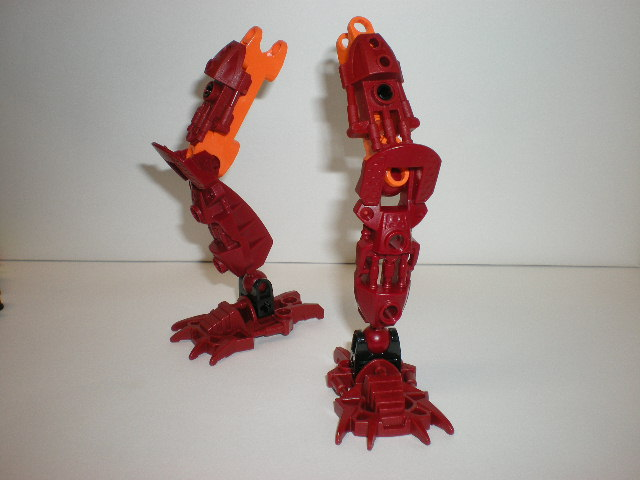
And no. NOT these pieces; 
I hate these things. Mostly because I never have enough.
3 Likes
if you have constraction knights kingdom use the armour from there
1 Like
This made me laugh way too hard.
5 Likes
What piece would you recommend then? I have none that would match and the pieces I have that do match are non-usable with said pieces.
1 Like
Have you tried the shin guard parts that were originally introduced way back in 2009?
The best color matches to what you already have previously built here would probably either be the ones found on Ackar or Rotor. Personally, though, I’d go with the pieces from the latter set; the orange would look nicer when paired up with the thigh socket, and would help make the feet appear like they weren’t simply bleeding into the calves.
Try using Inika feet. The clawed ones.
1 Like
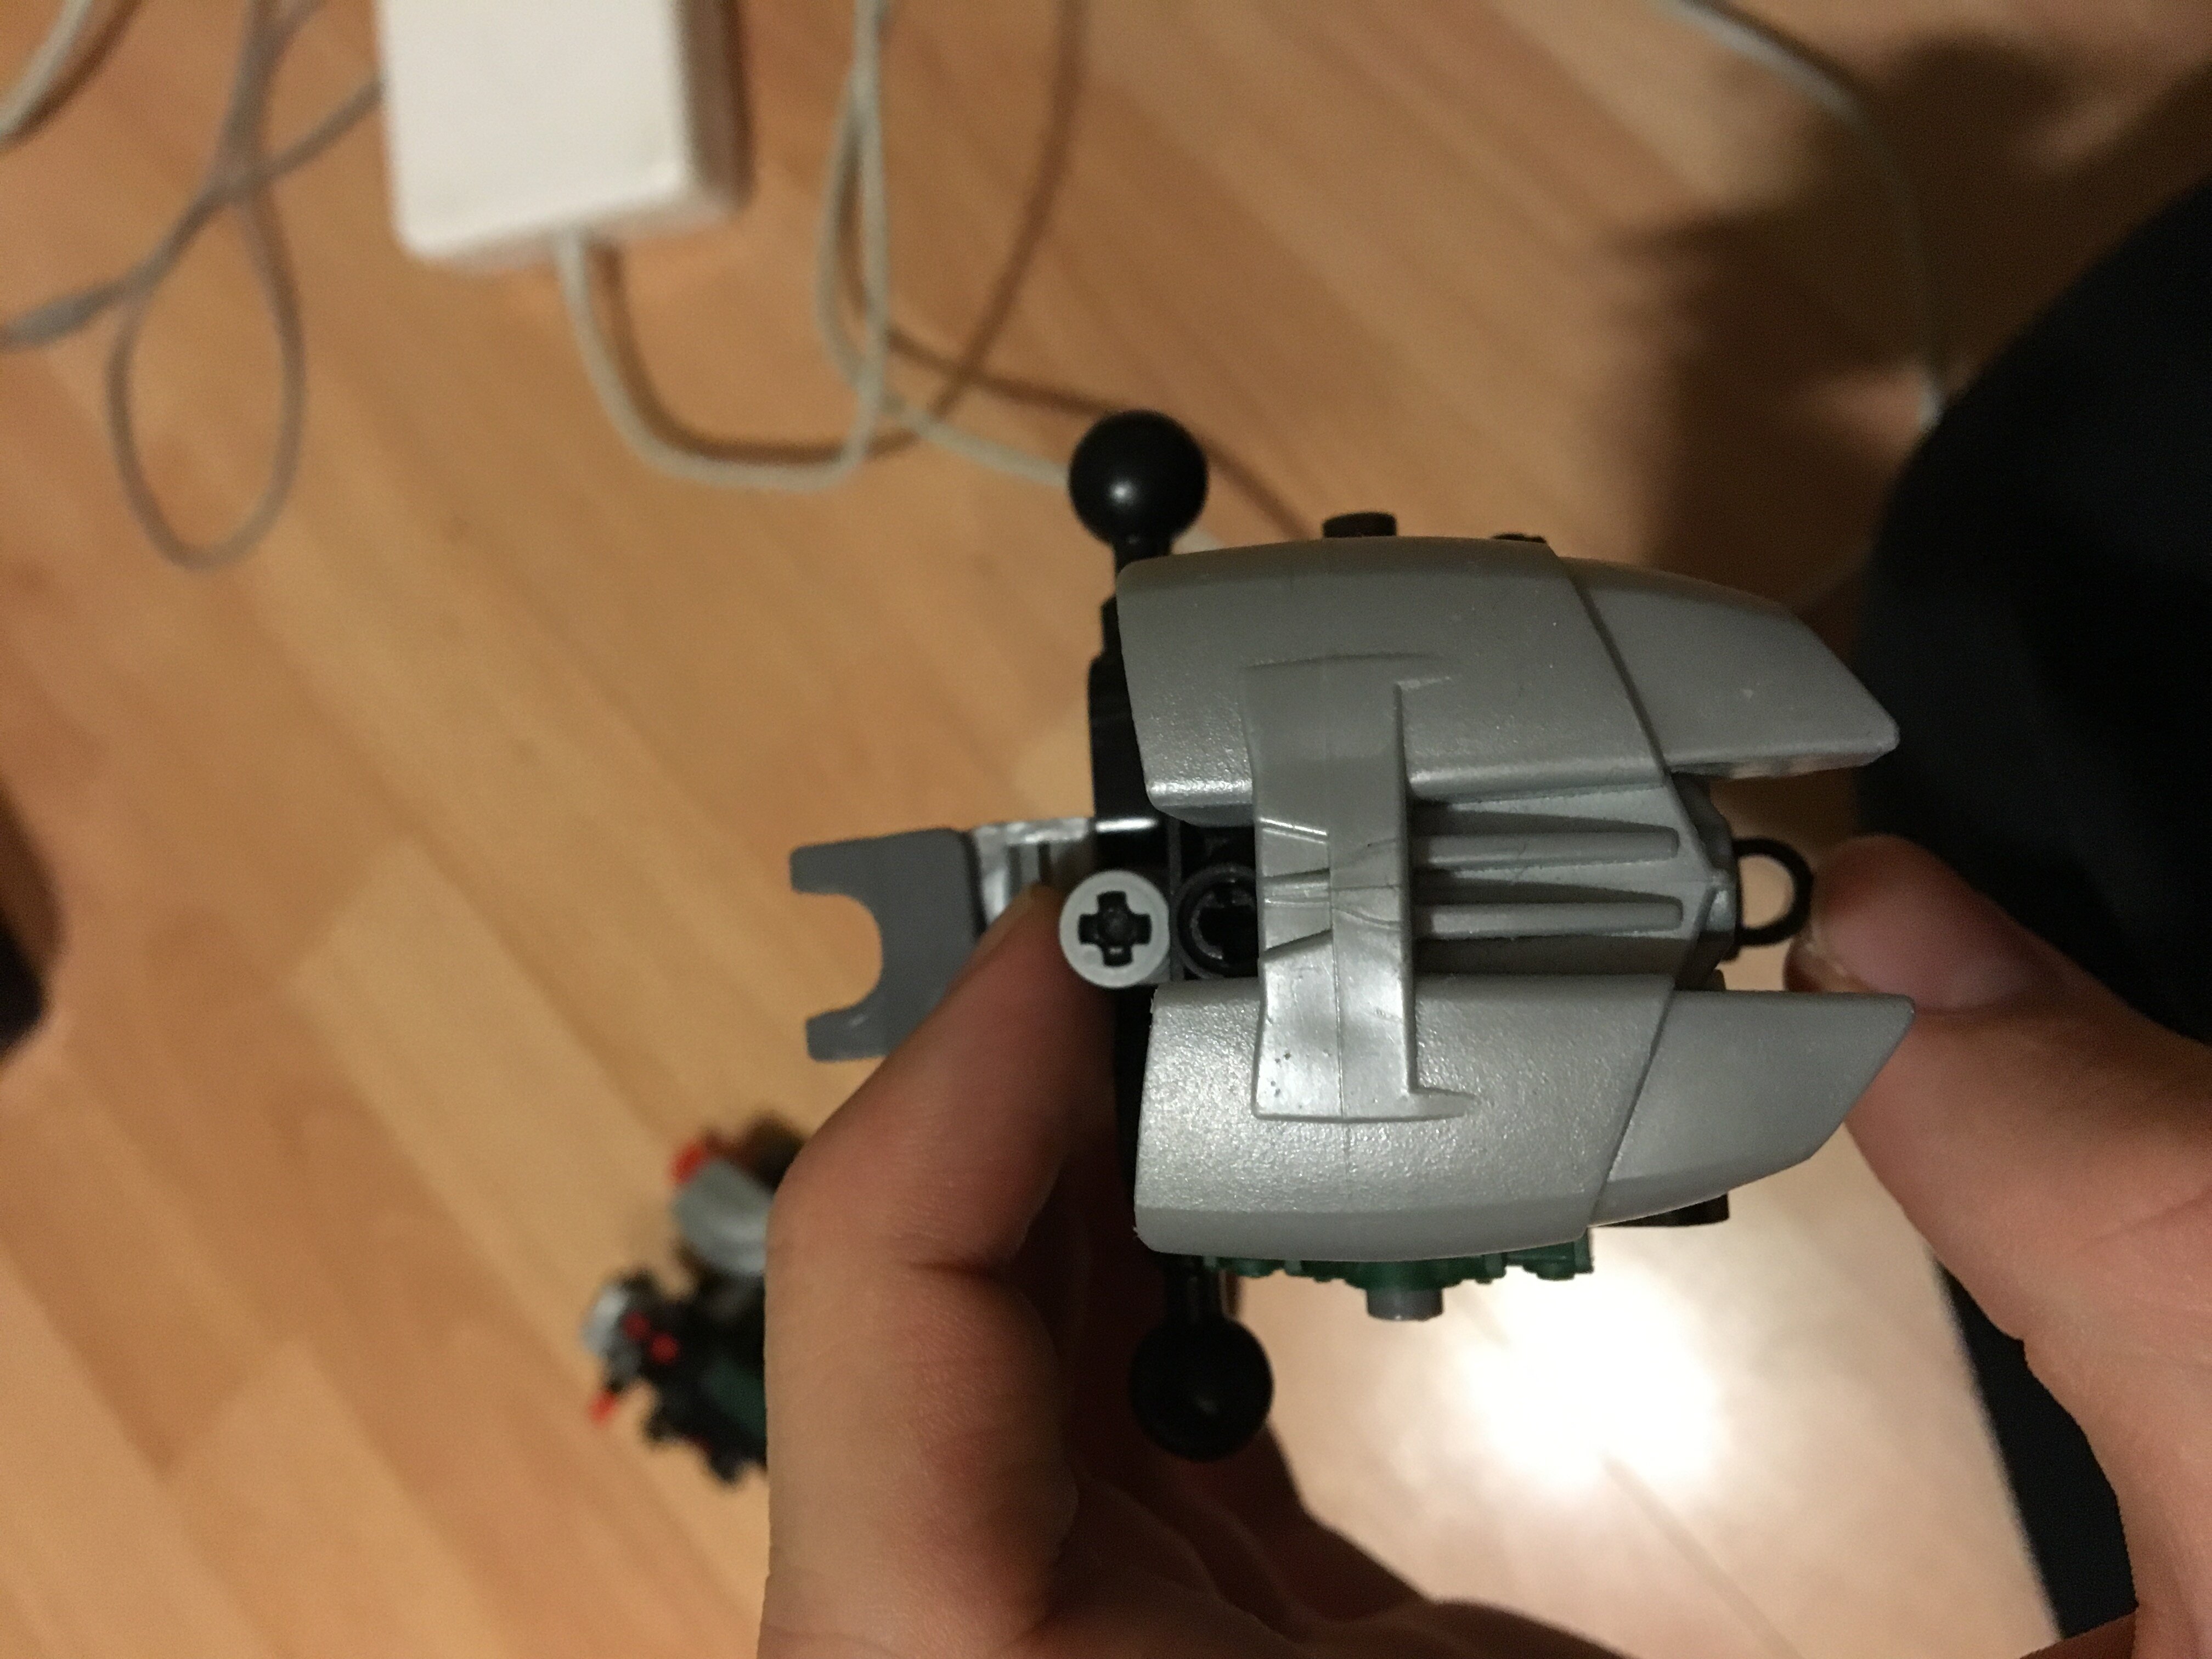
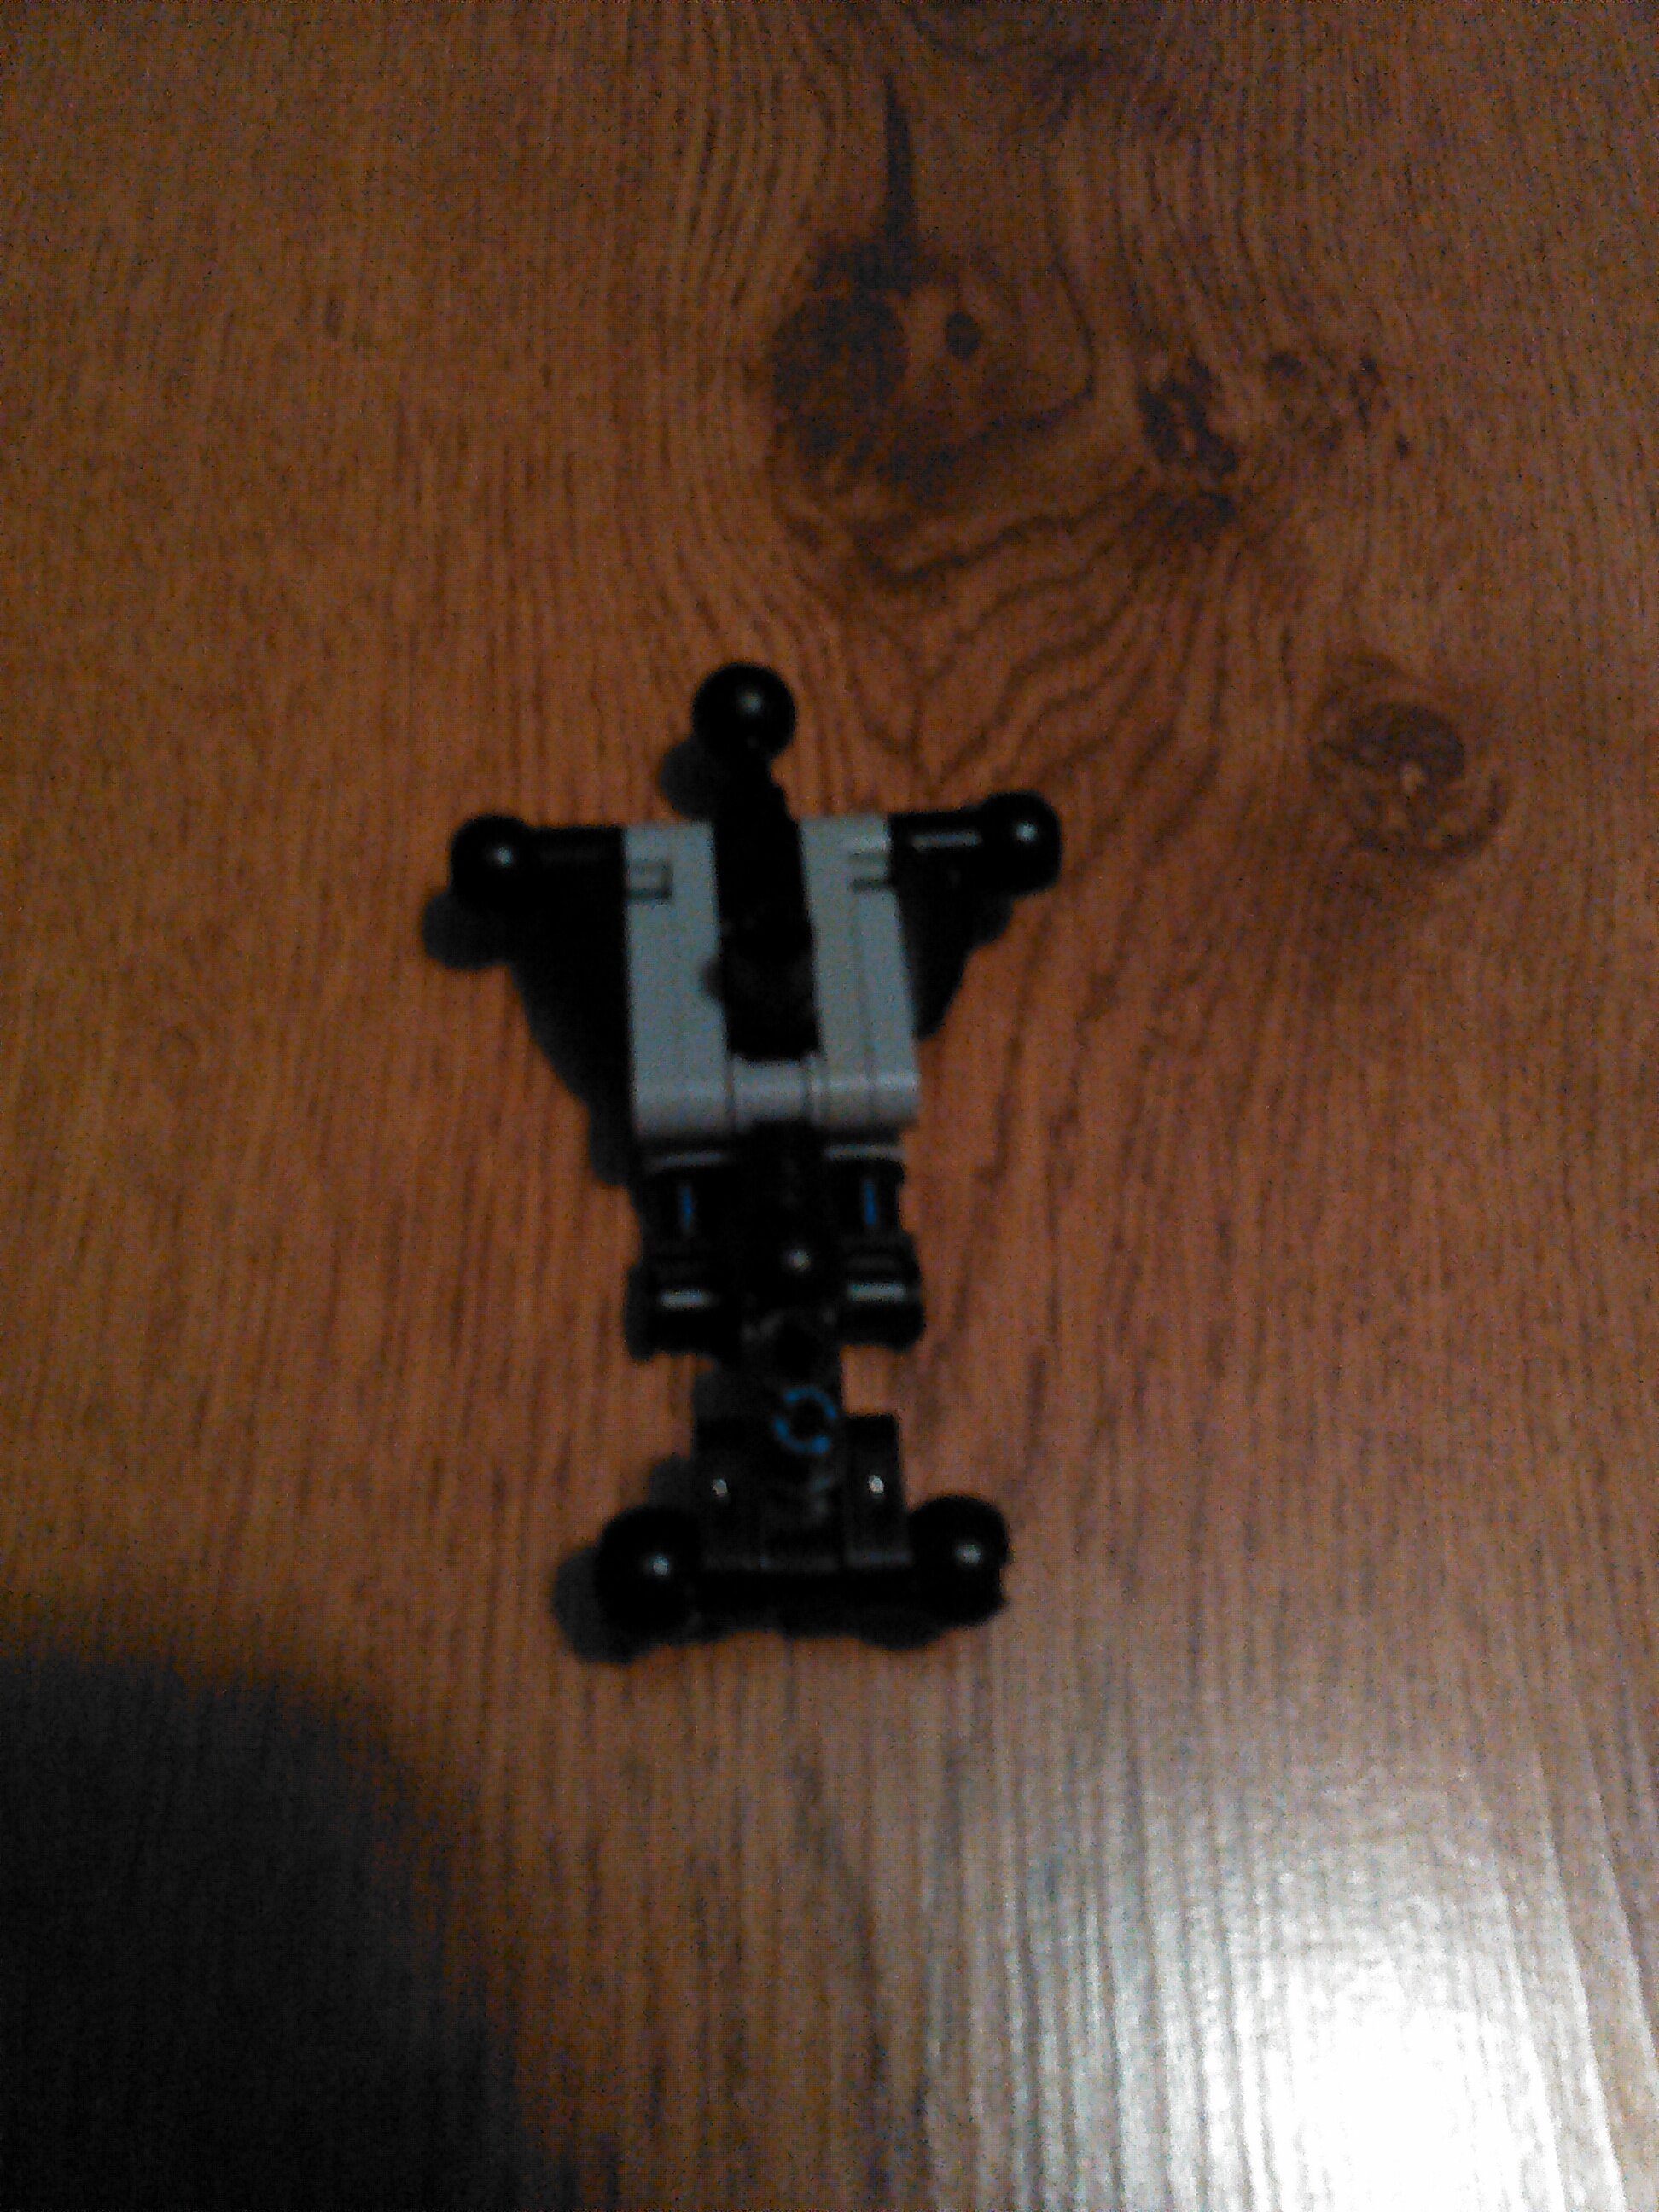
@KAI_BORG Here ya go. Sorry that it took a bit longer.
First some pictures so you can see how the body is built.
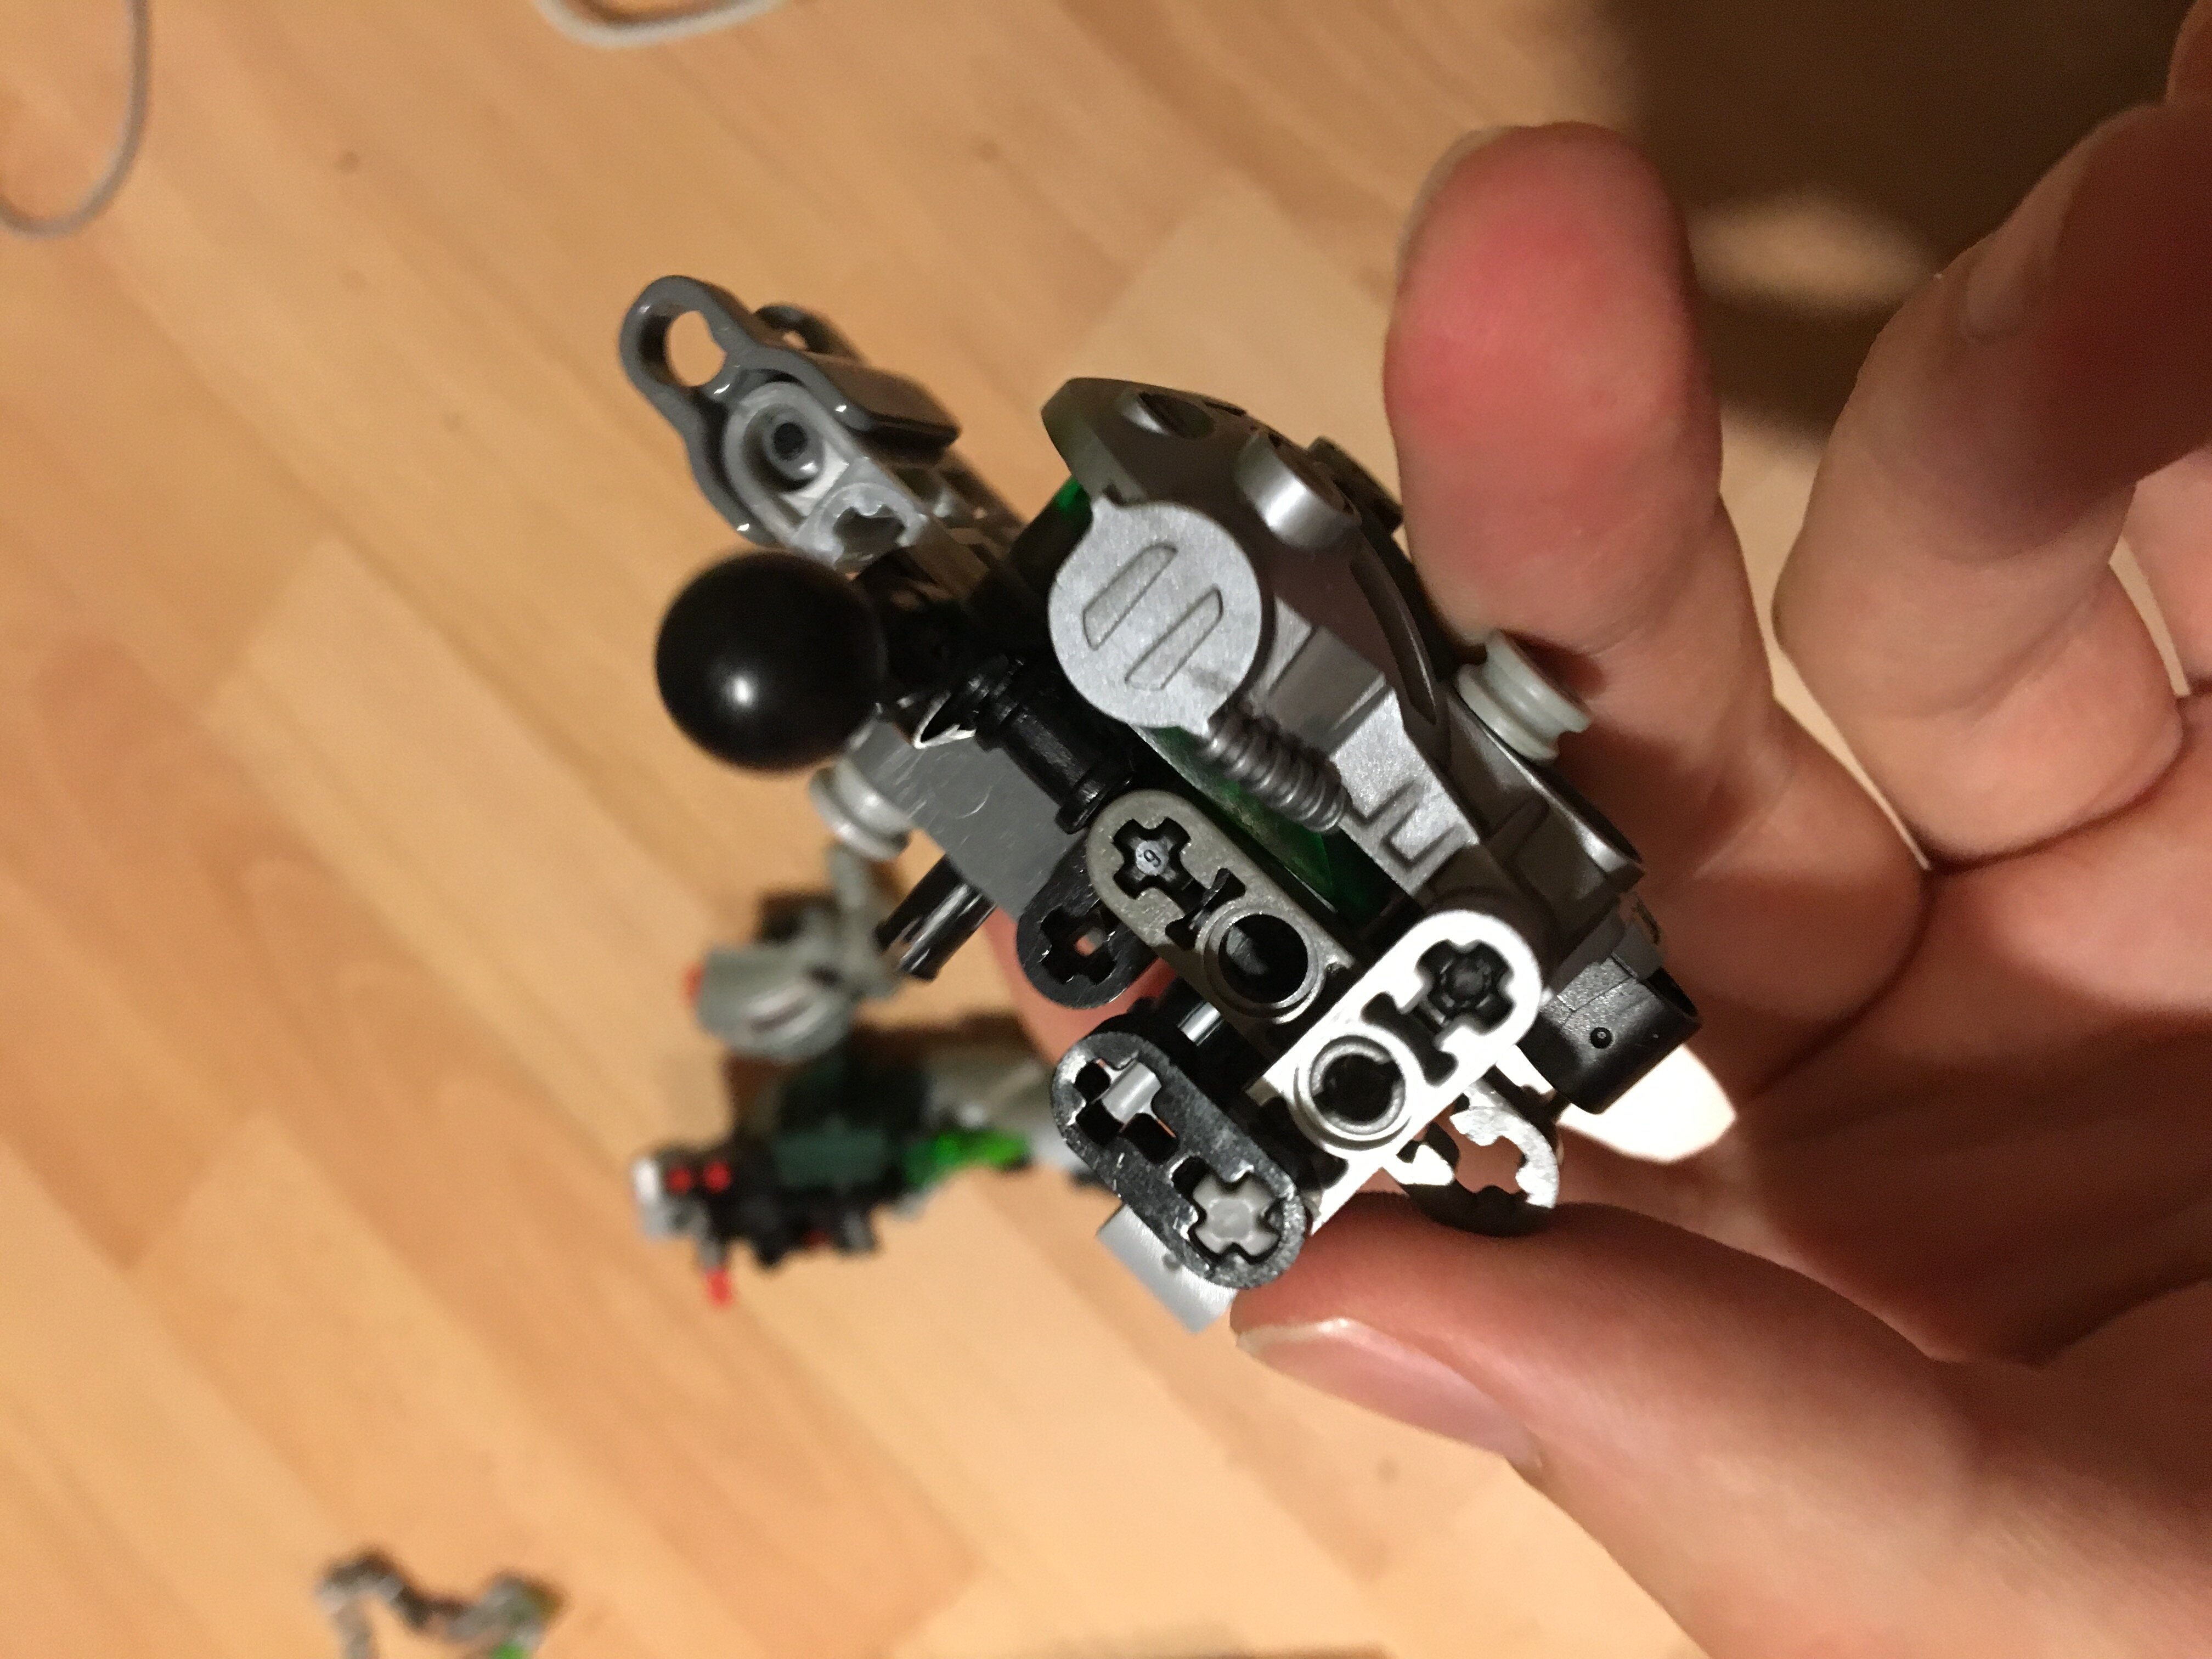
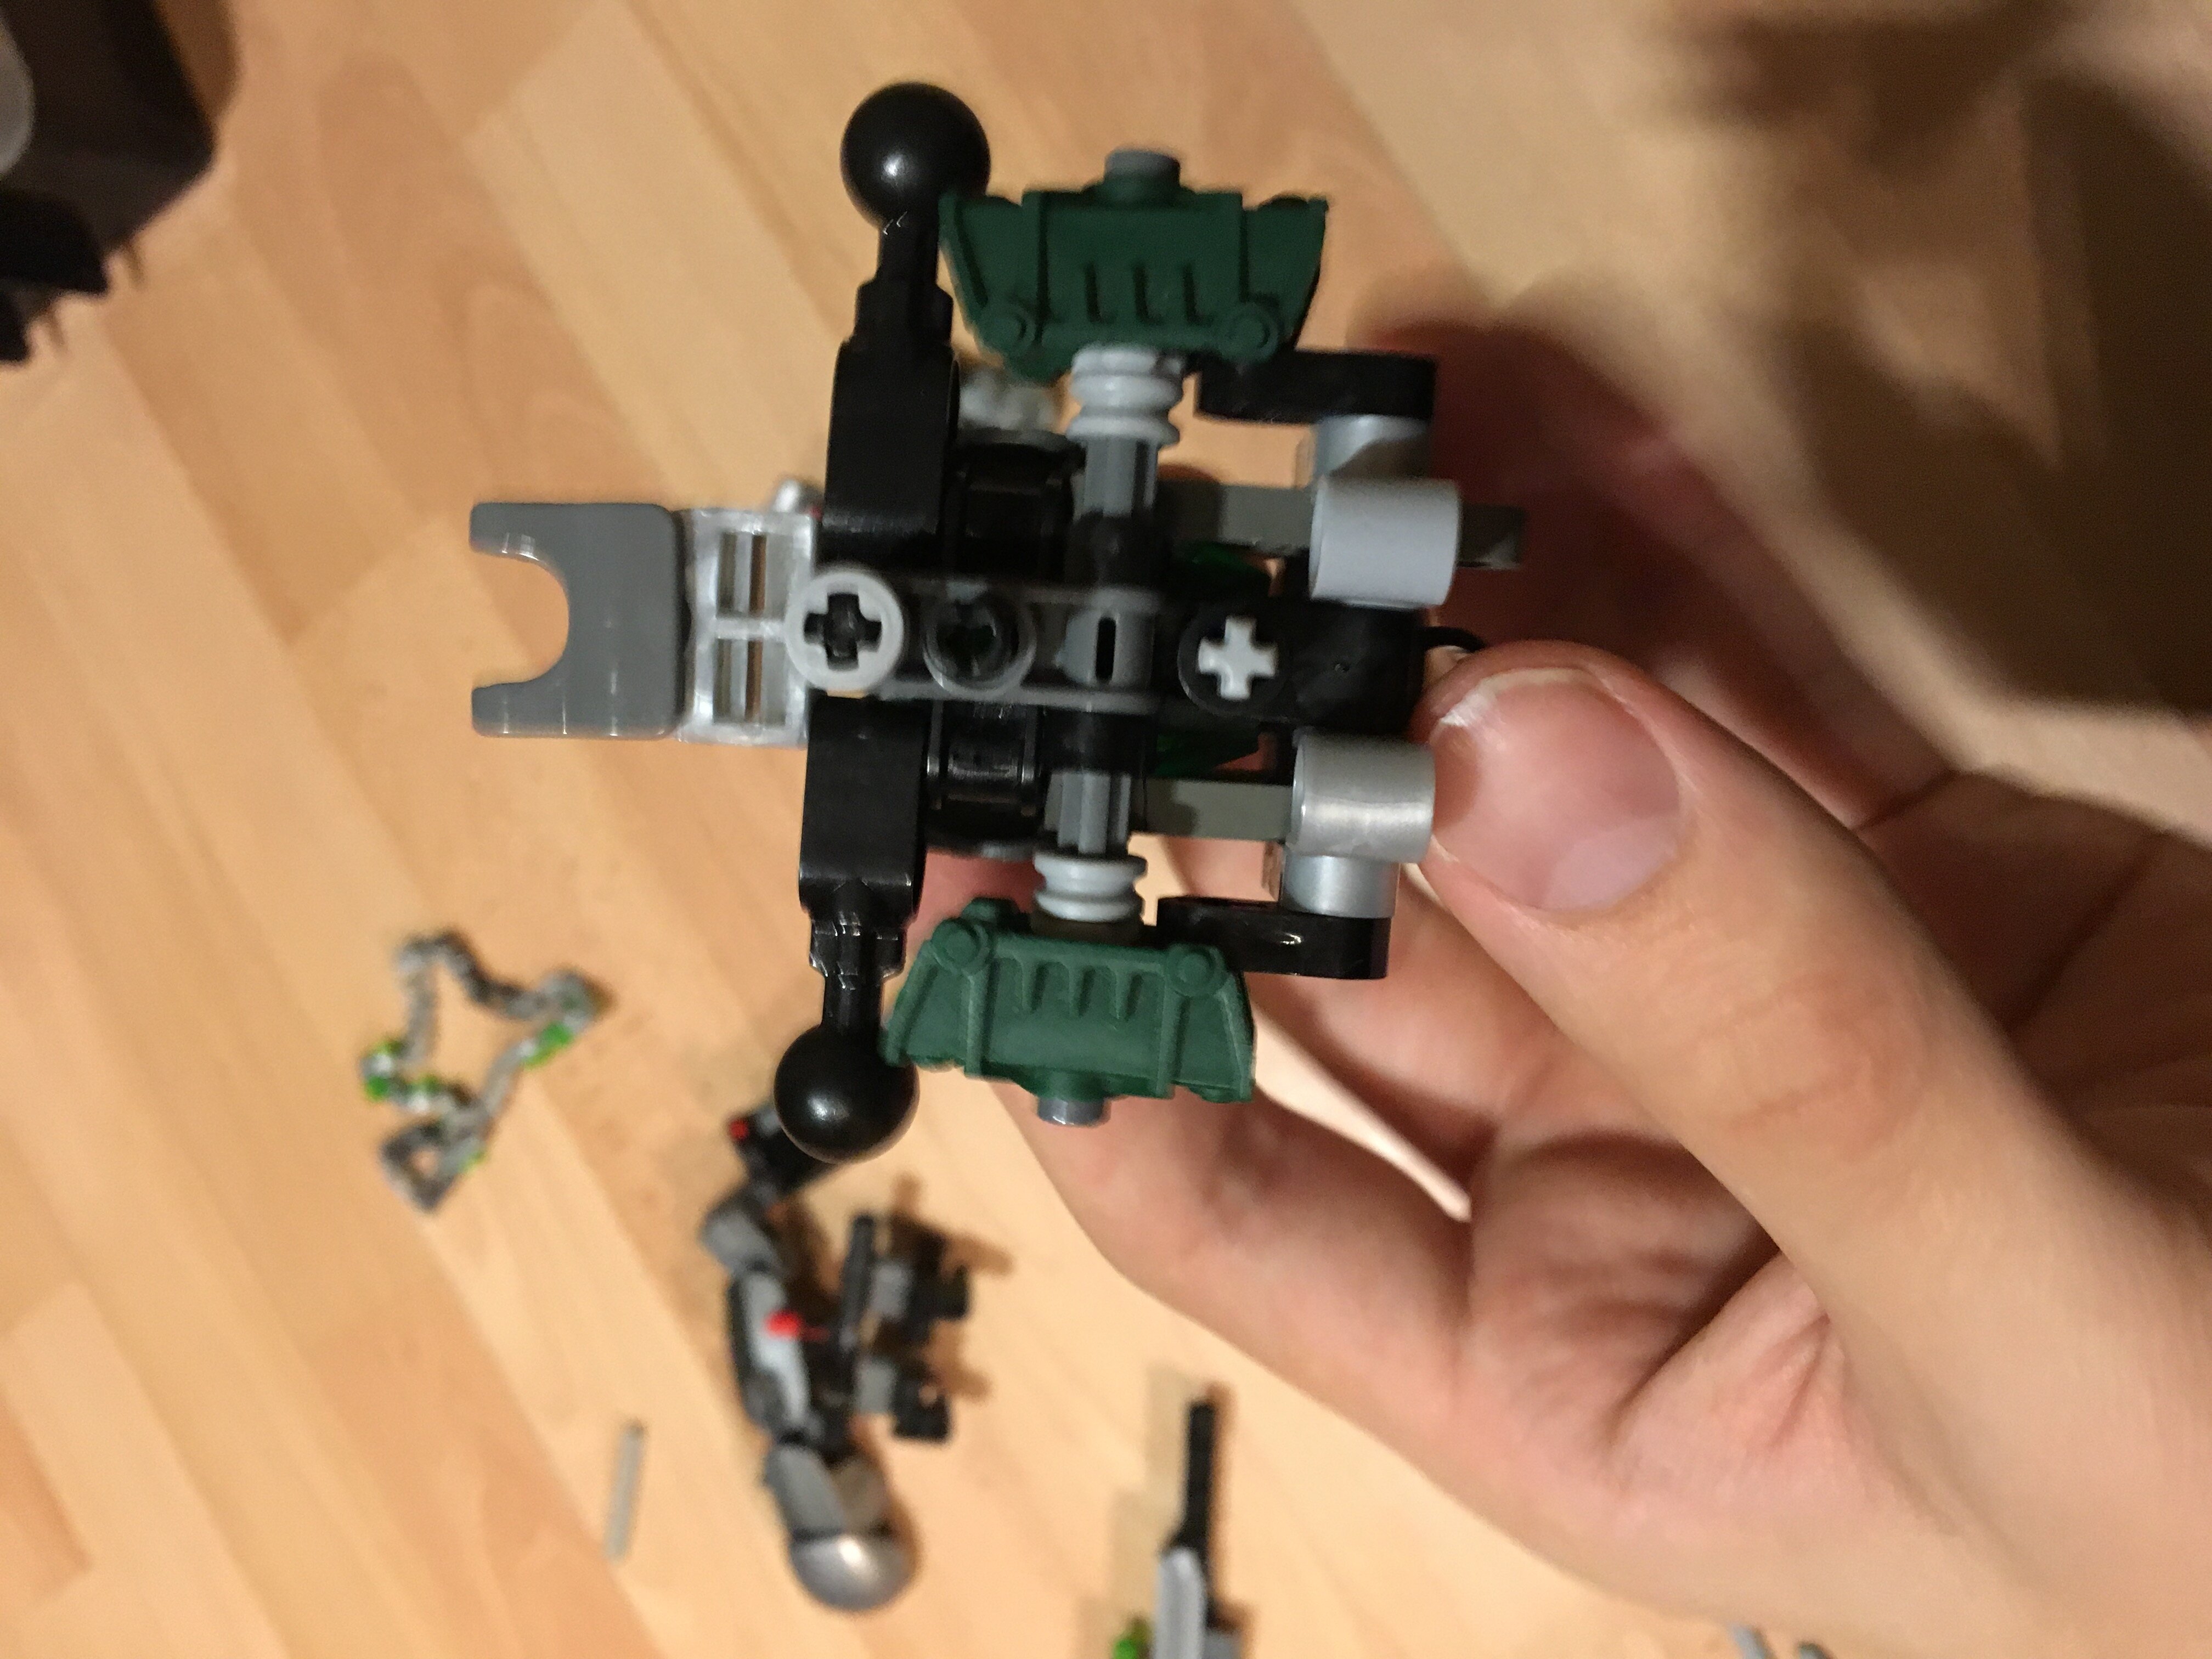
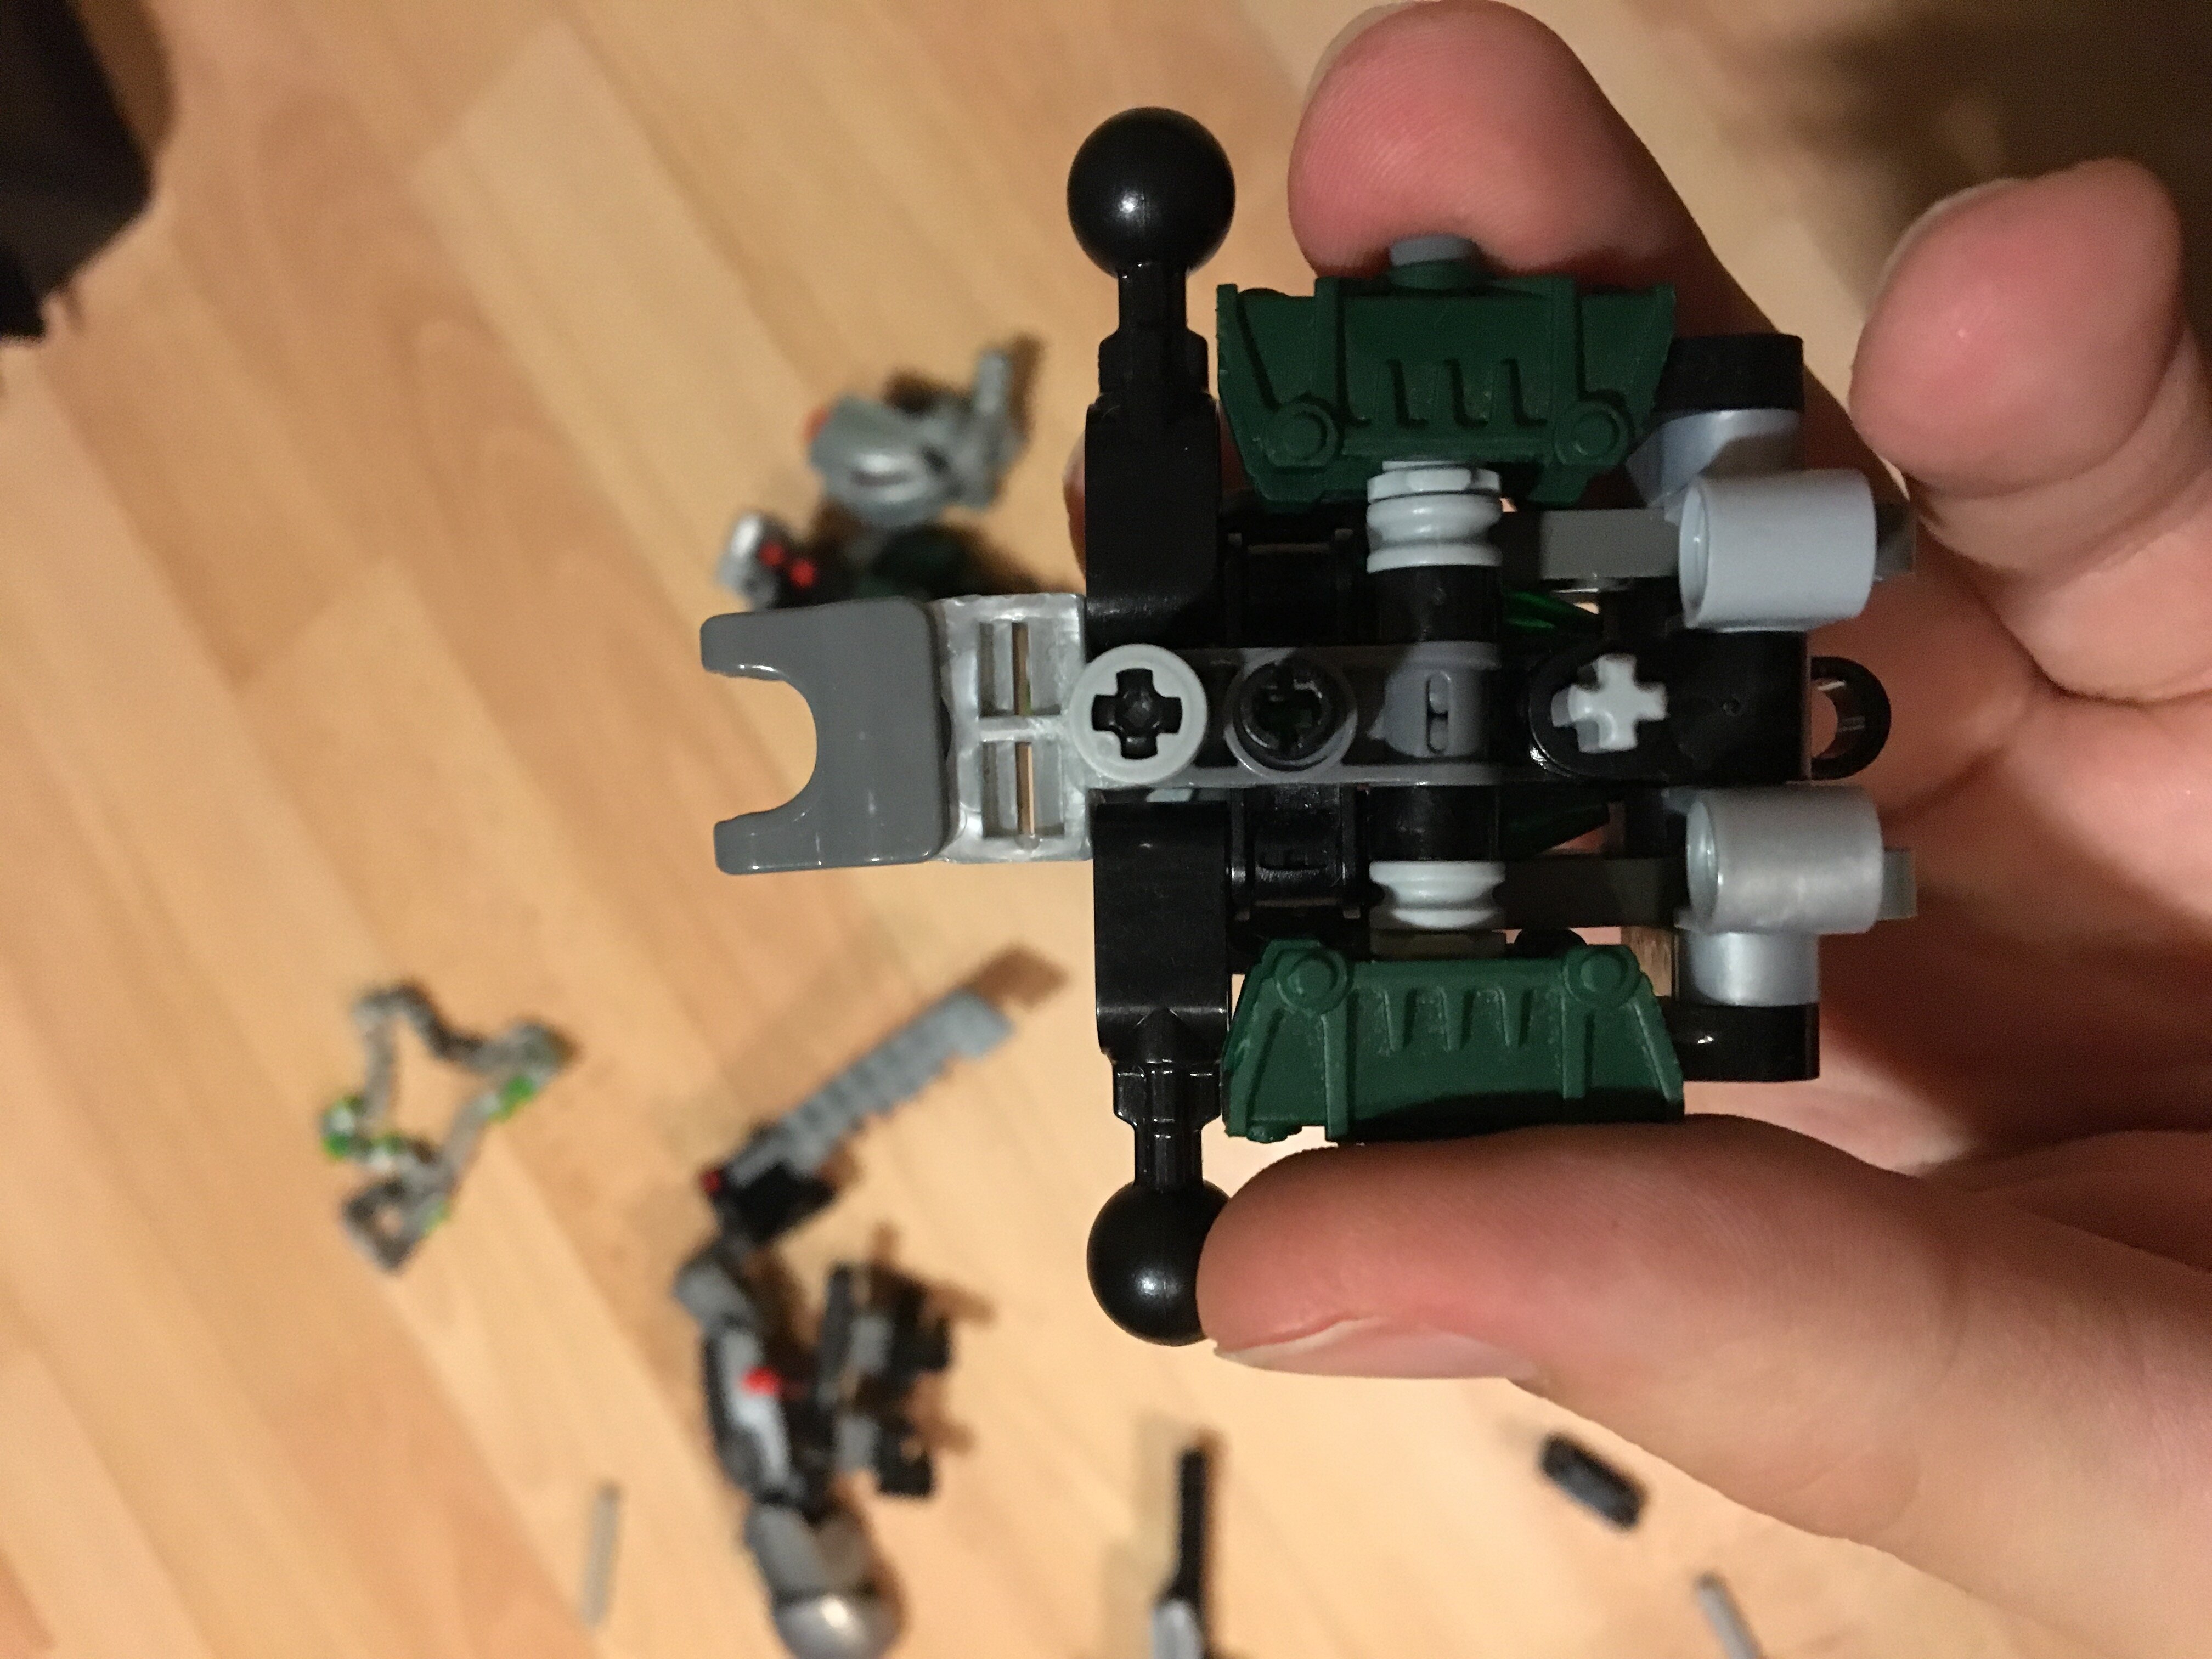
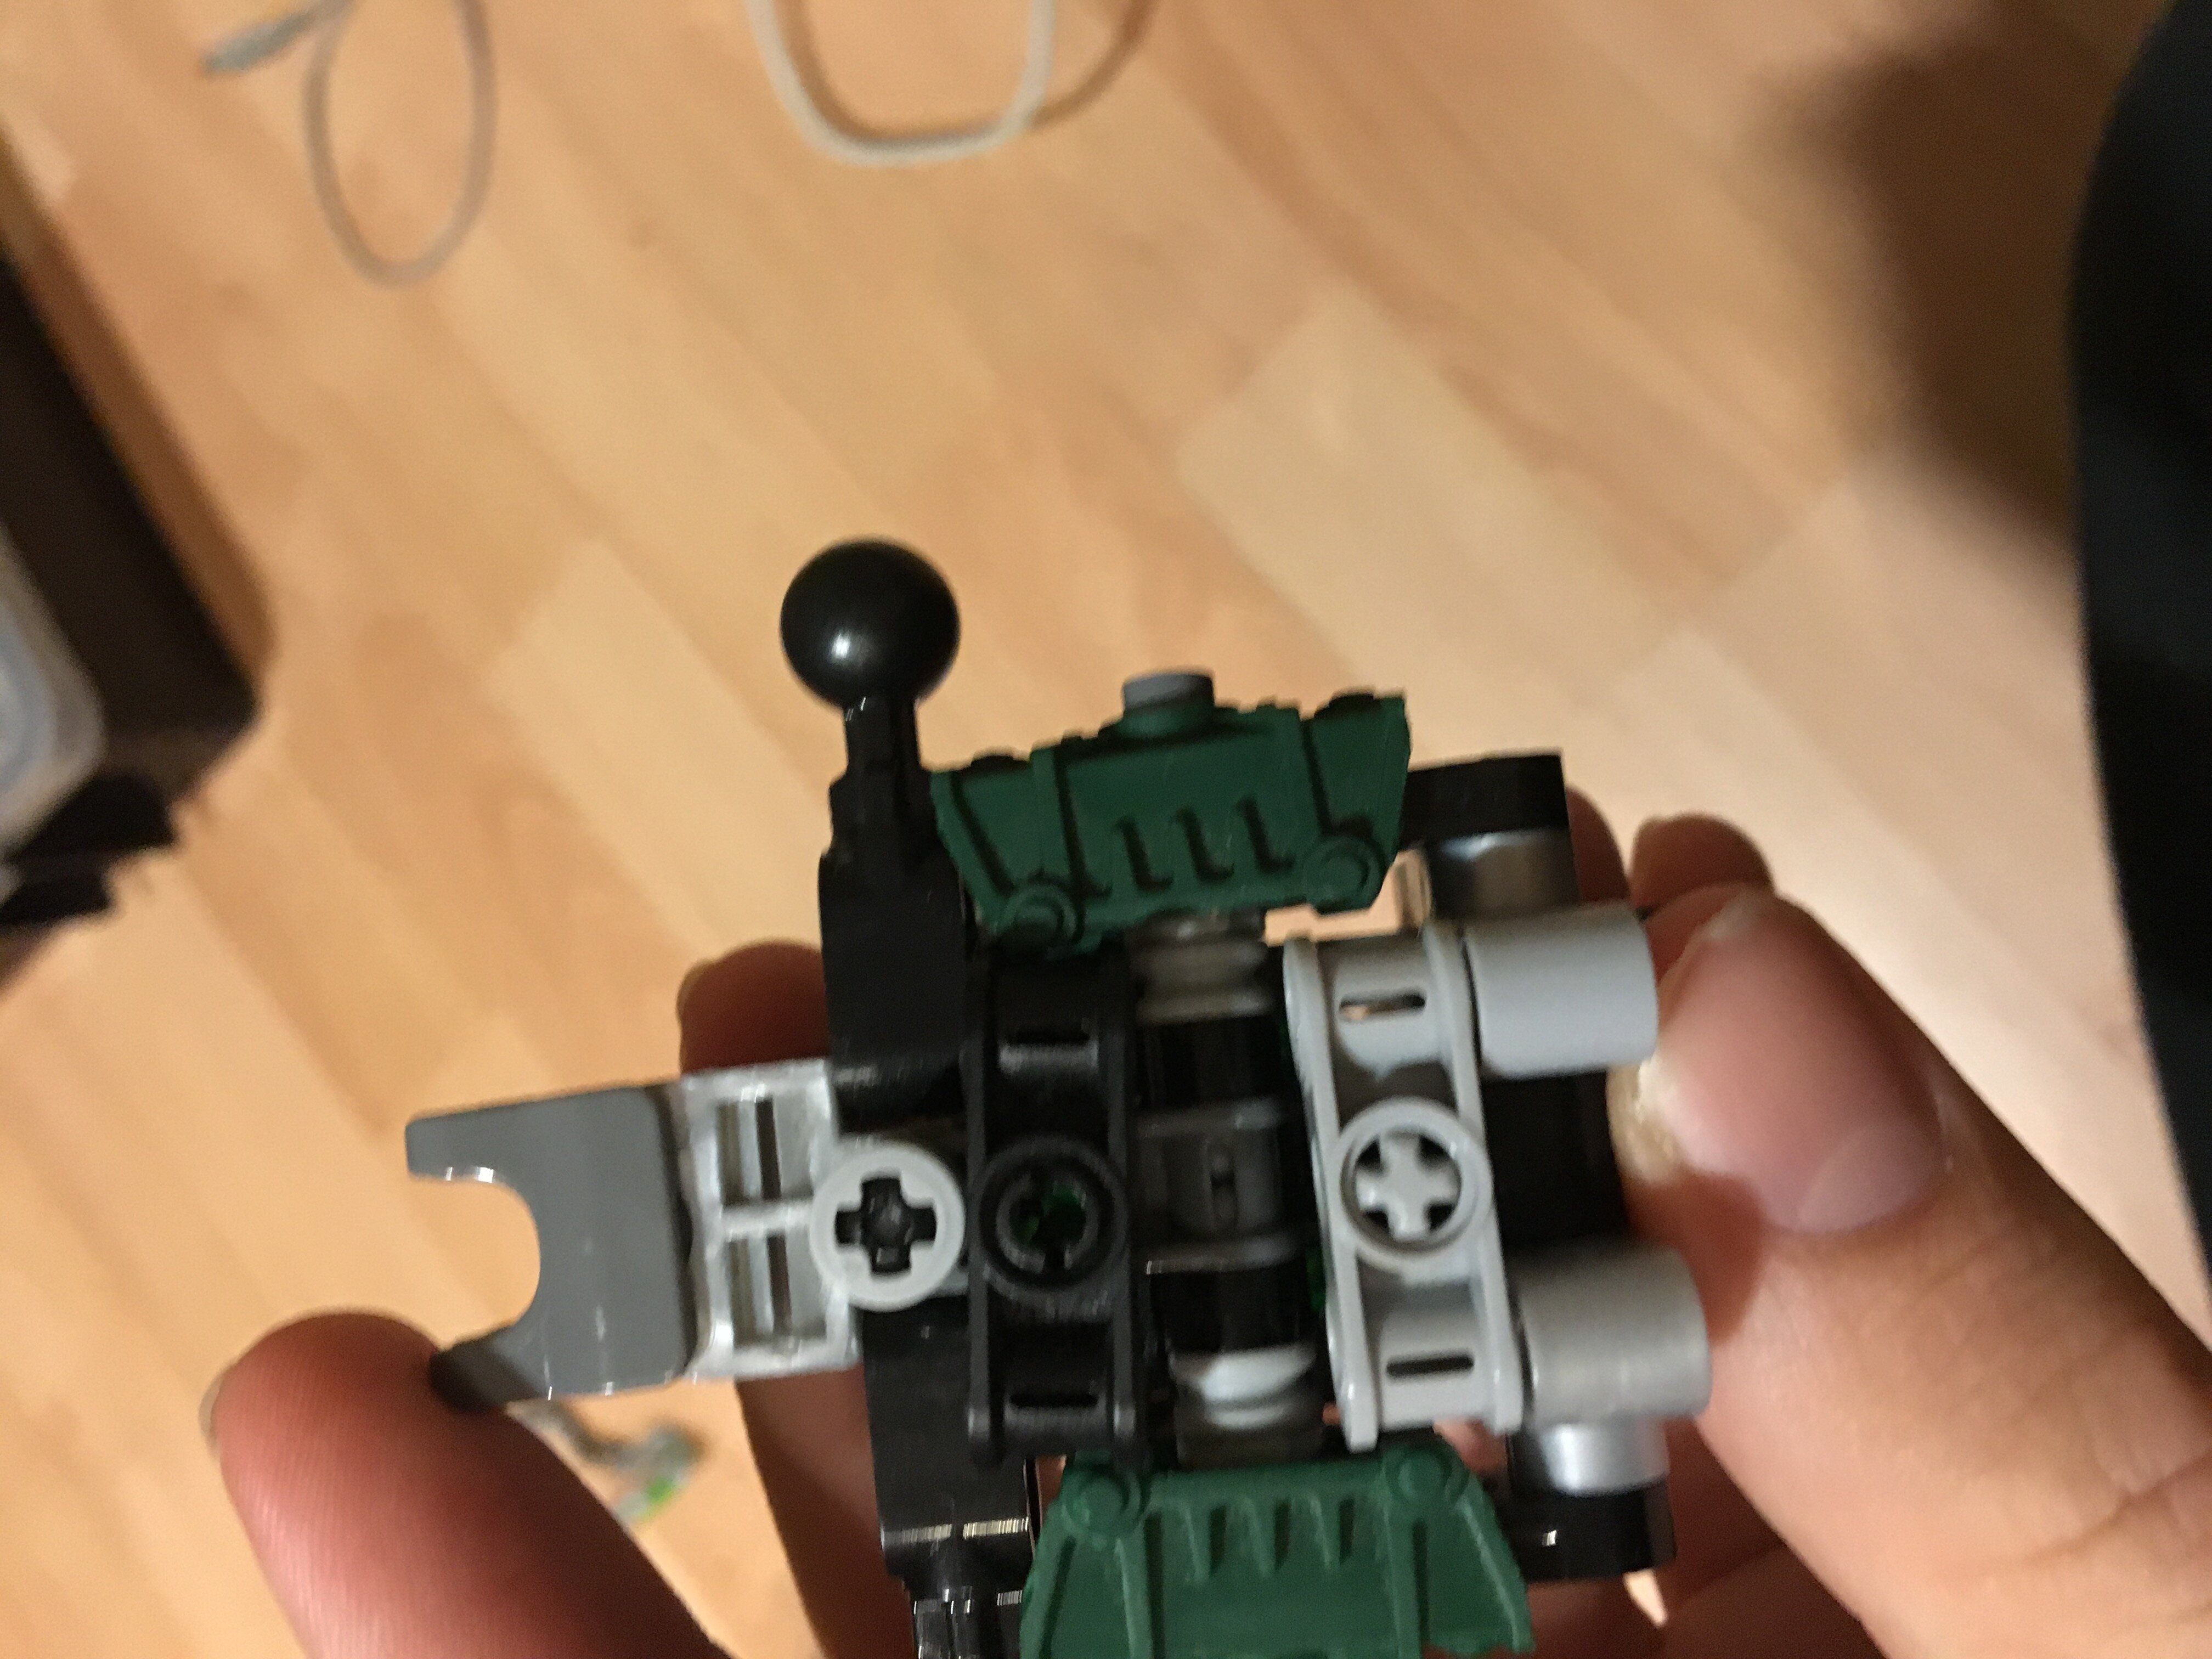
Also i should mention that the jet pack piece has no axle on it. But I’m sure it’s possible to modify the design so it works with a regular jet pack.
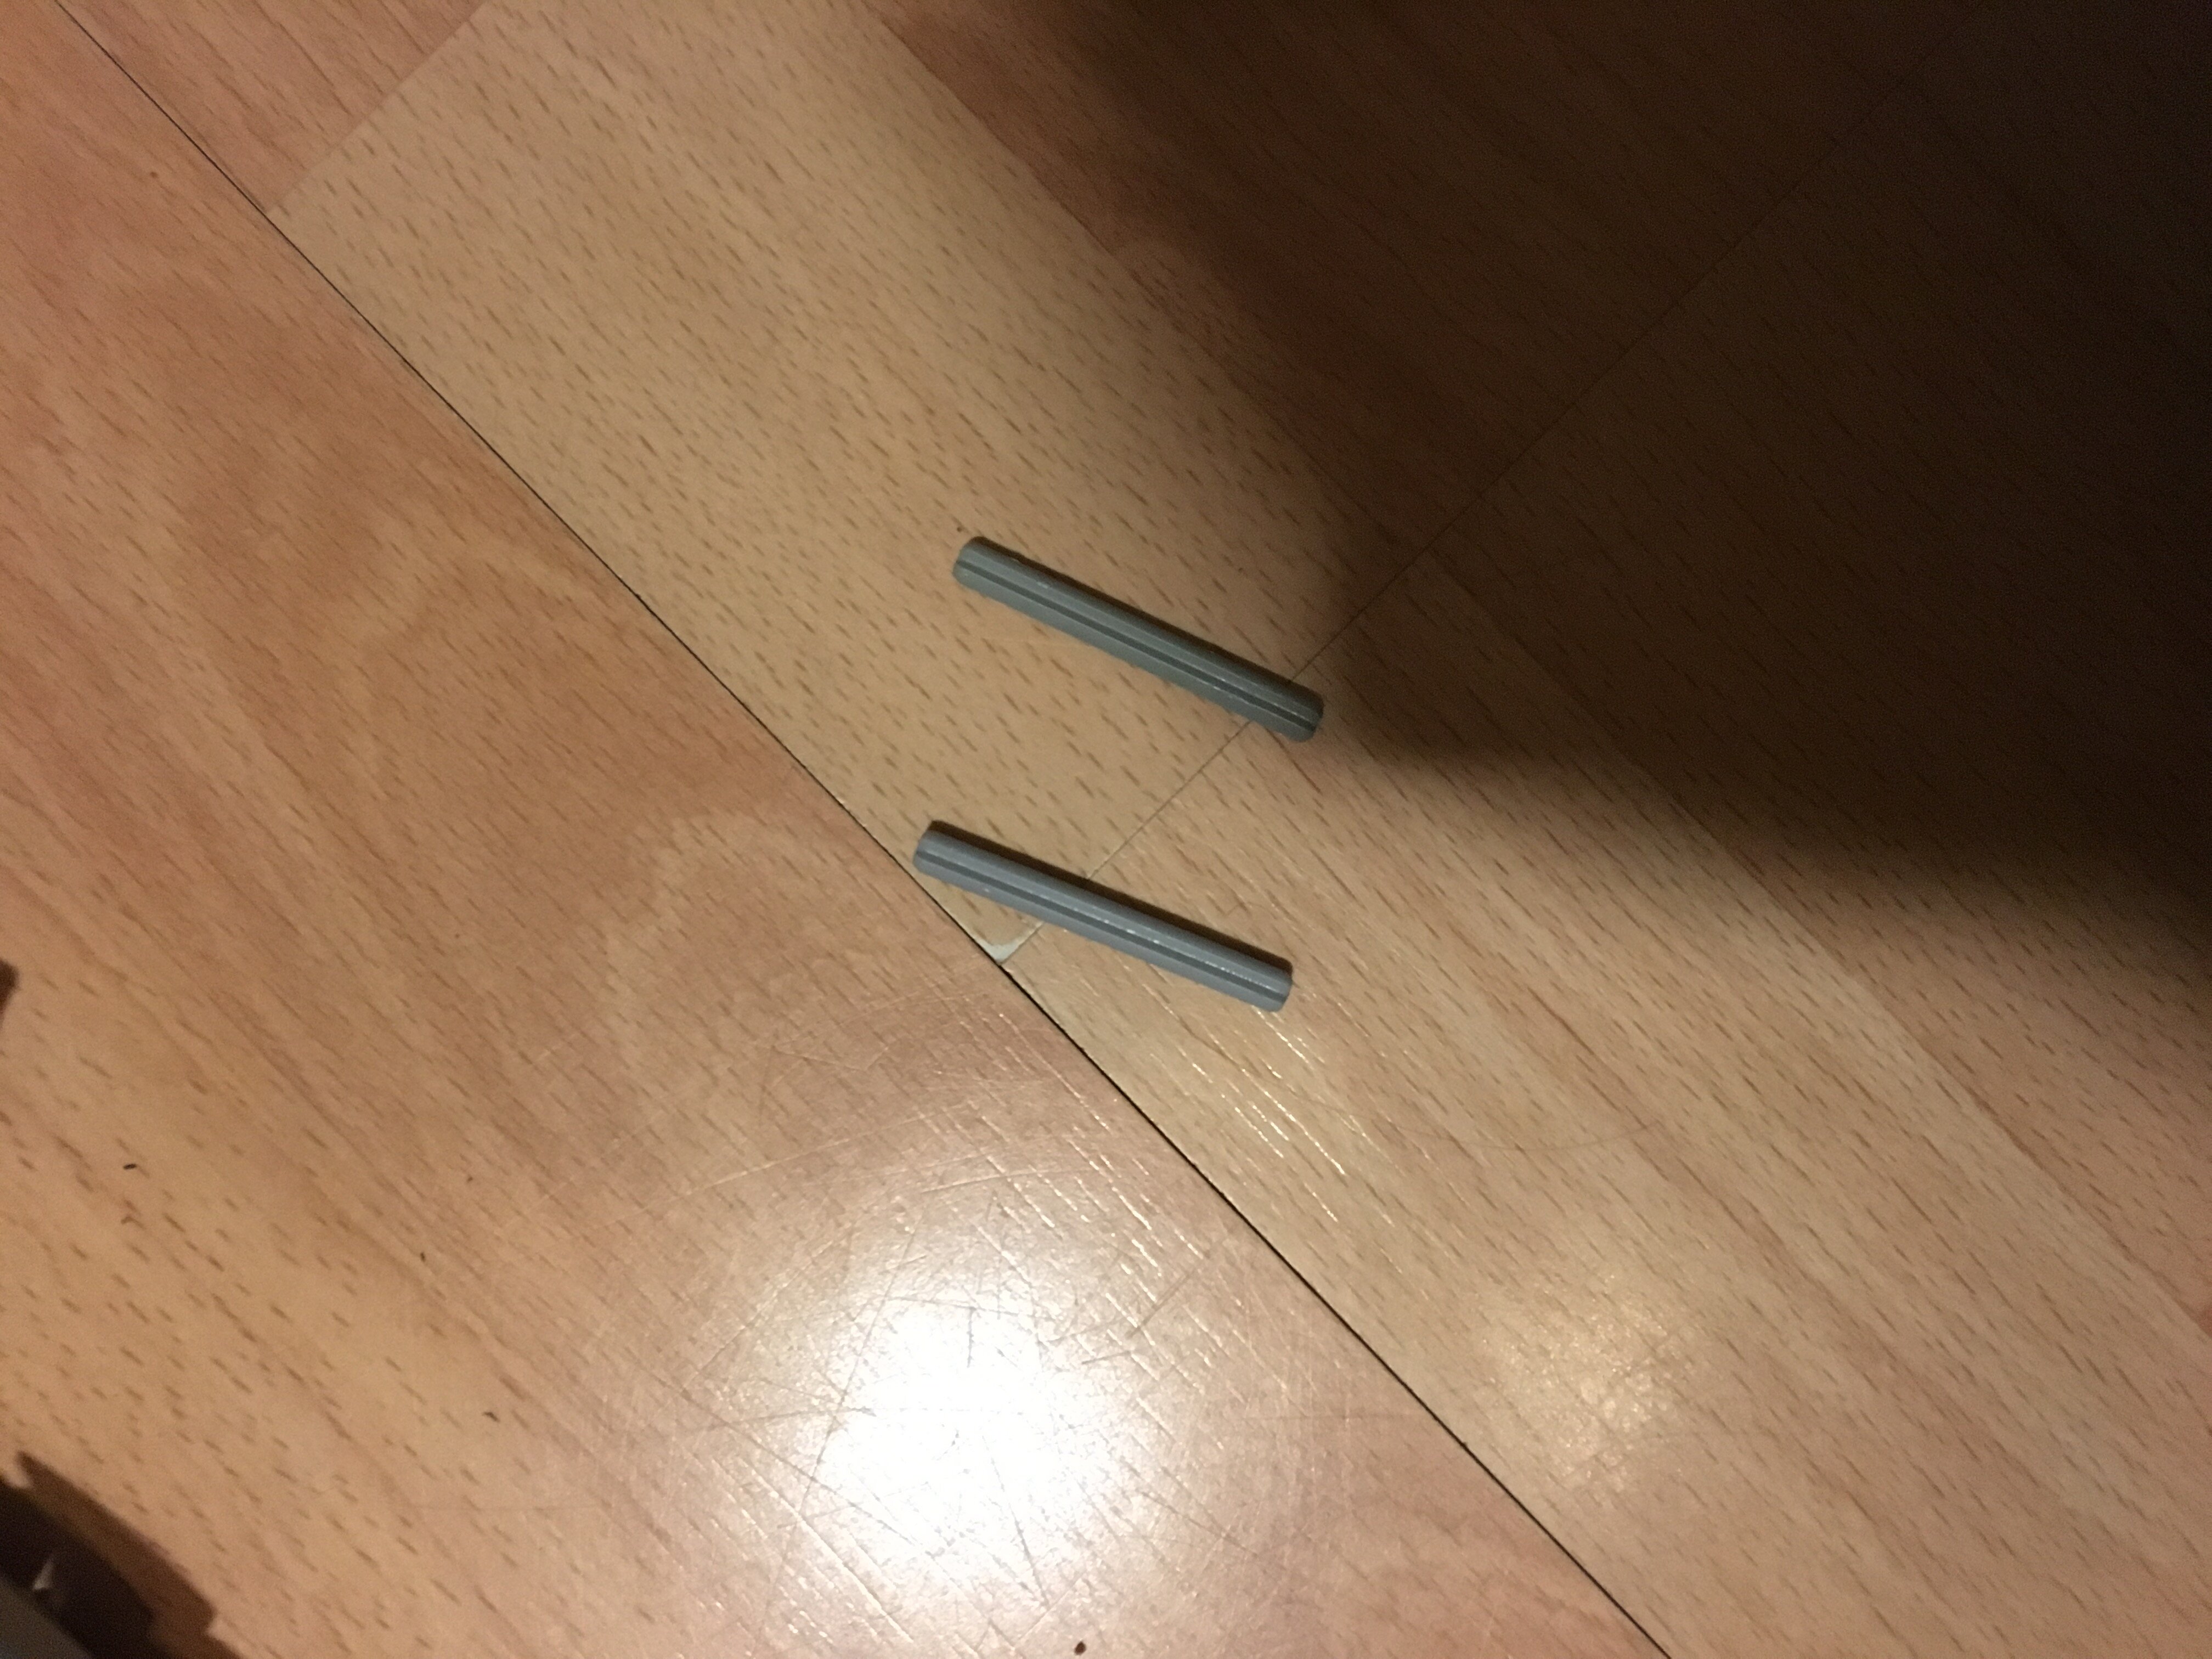
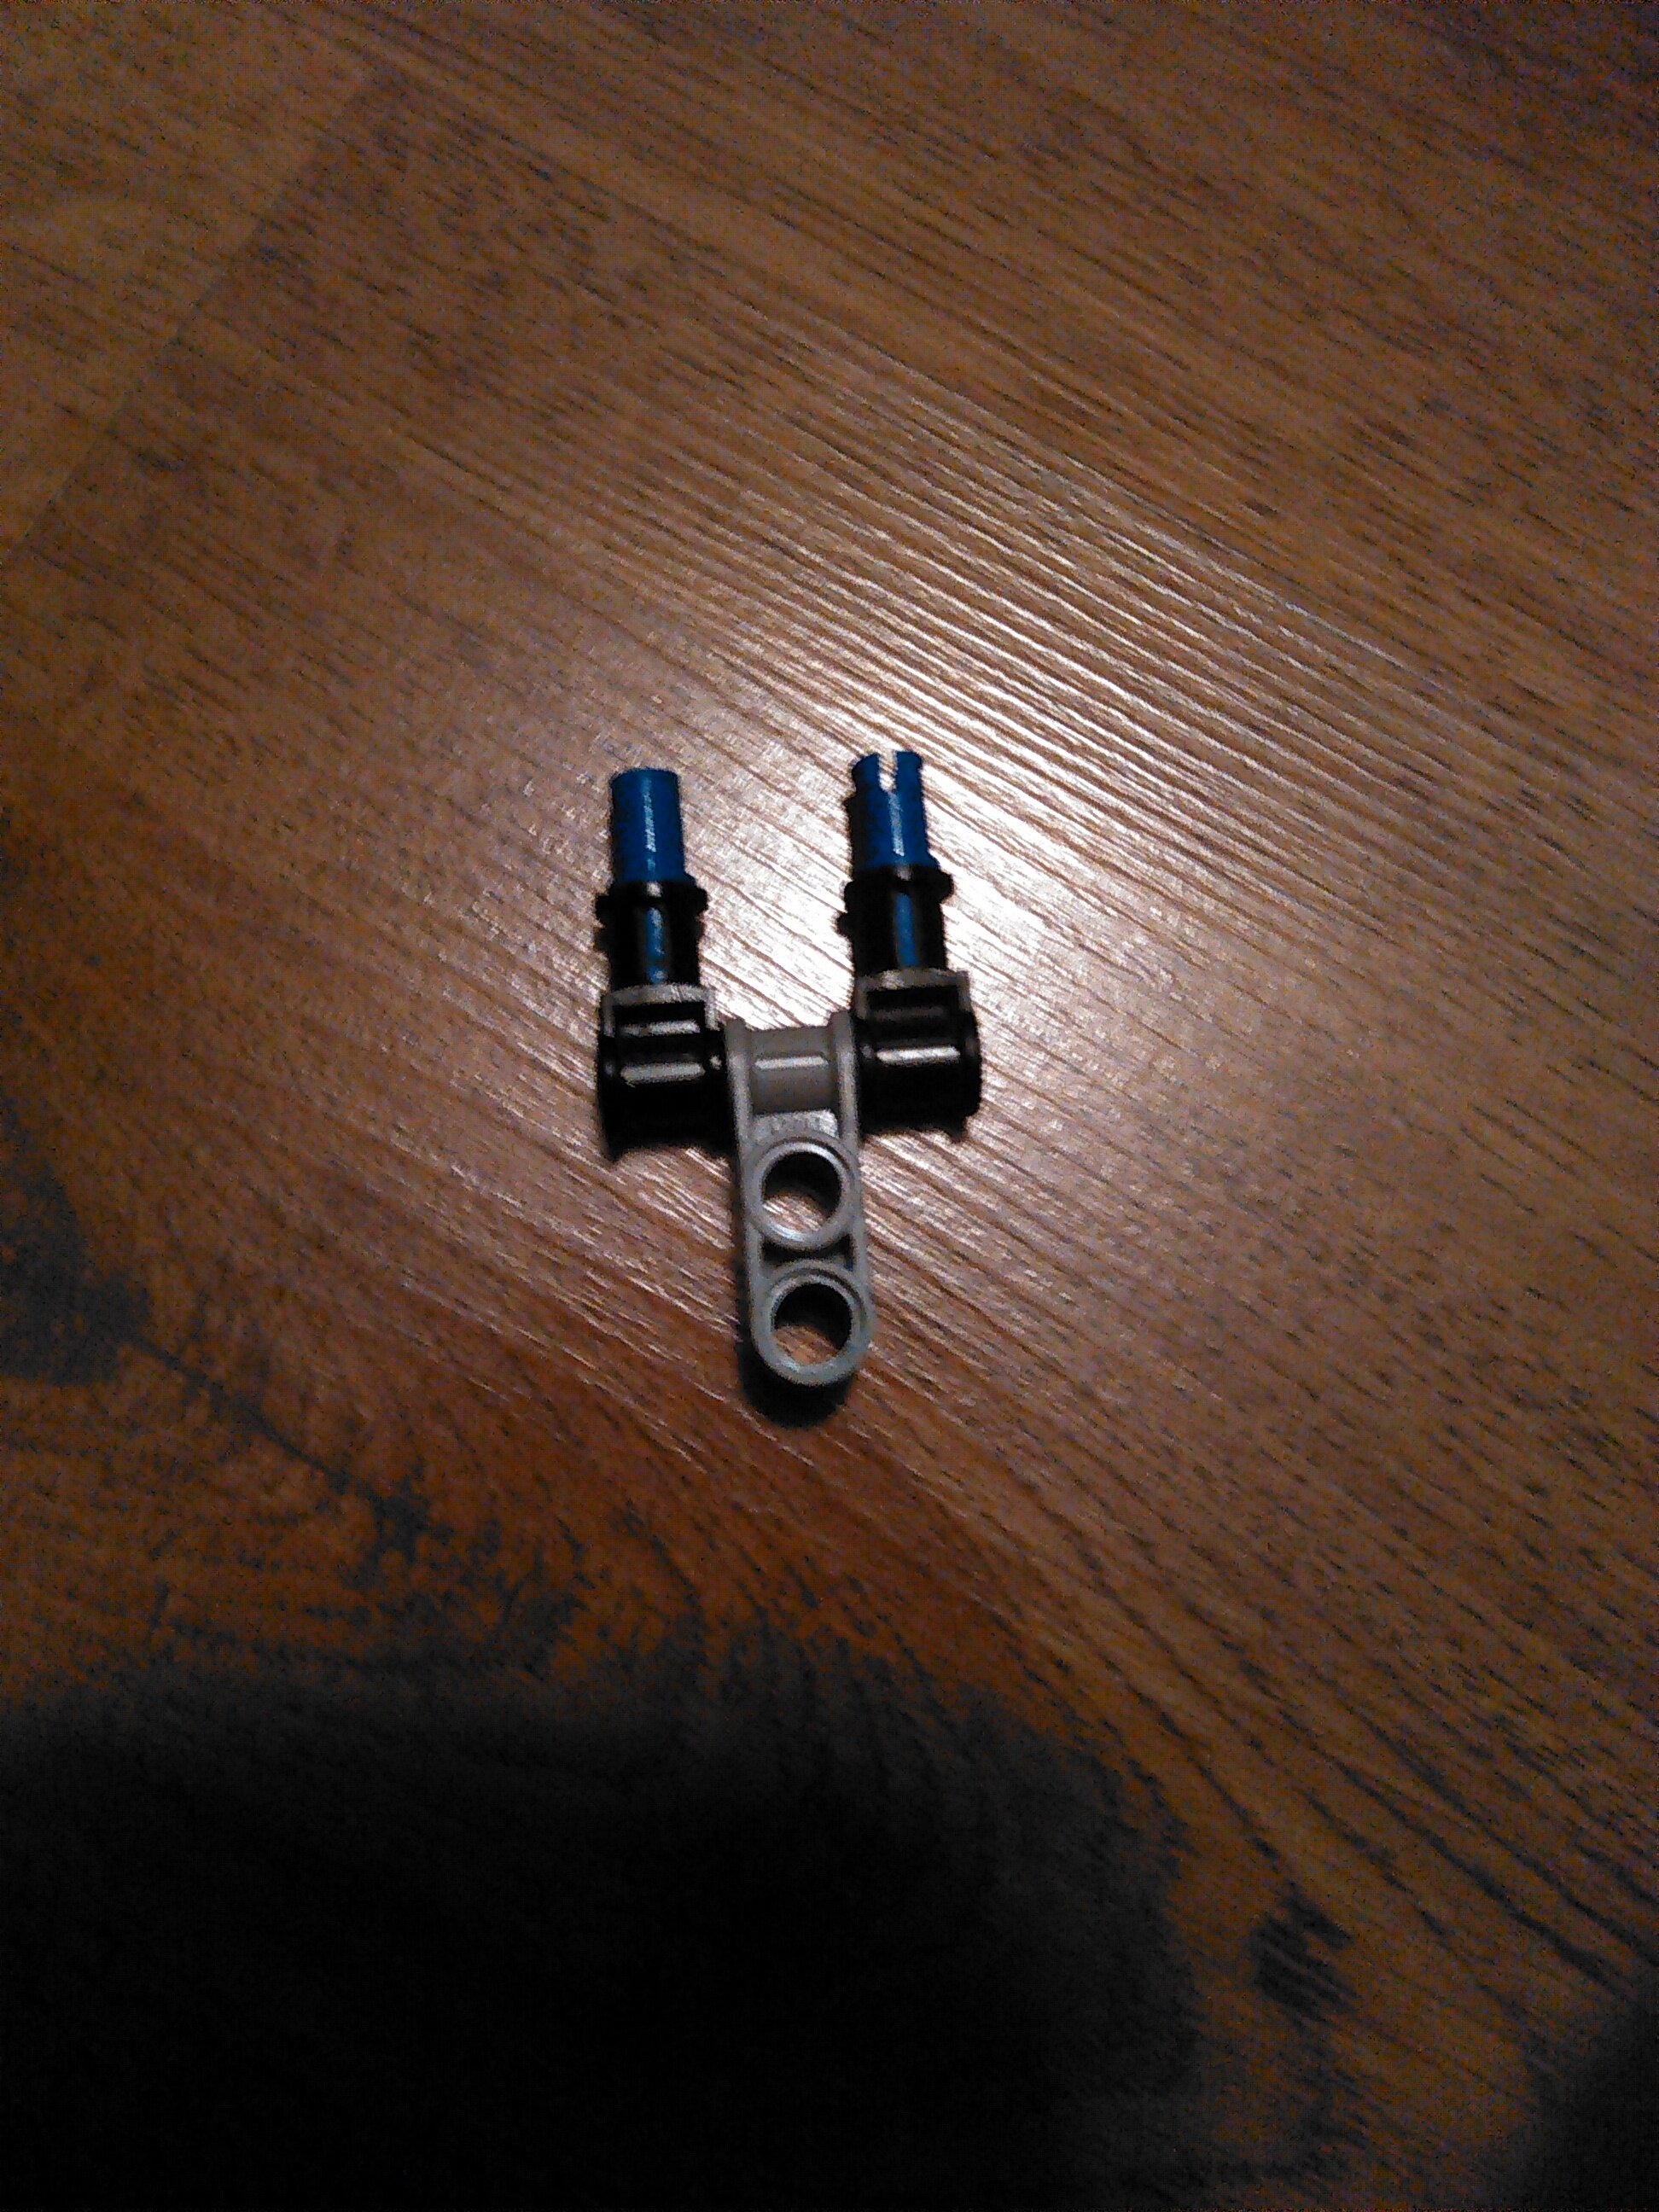
these are five long axles

and they go into these holes.
there it is. Hope this is enough. If not just say so and I’ll do what i can to help.
3 Likes
Ey! Don’t worry! Also, thanks mate! This looks pretty cool! Ima try and use it soon! (Once I find said necessary pieces that is…)
2 Likes
Show me the result when you’re done.
2 Likes
K! Will do!.. Do hope you don’t mind if it’ll probably be in a villain moc (I need to make so many more of them, I have so many hero/toa mocs! XD)
=============
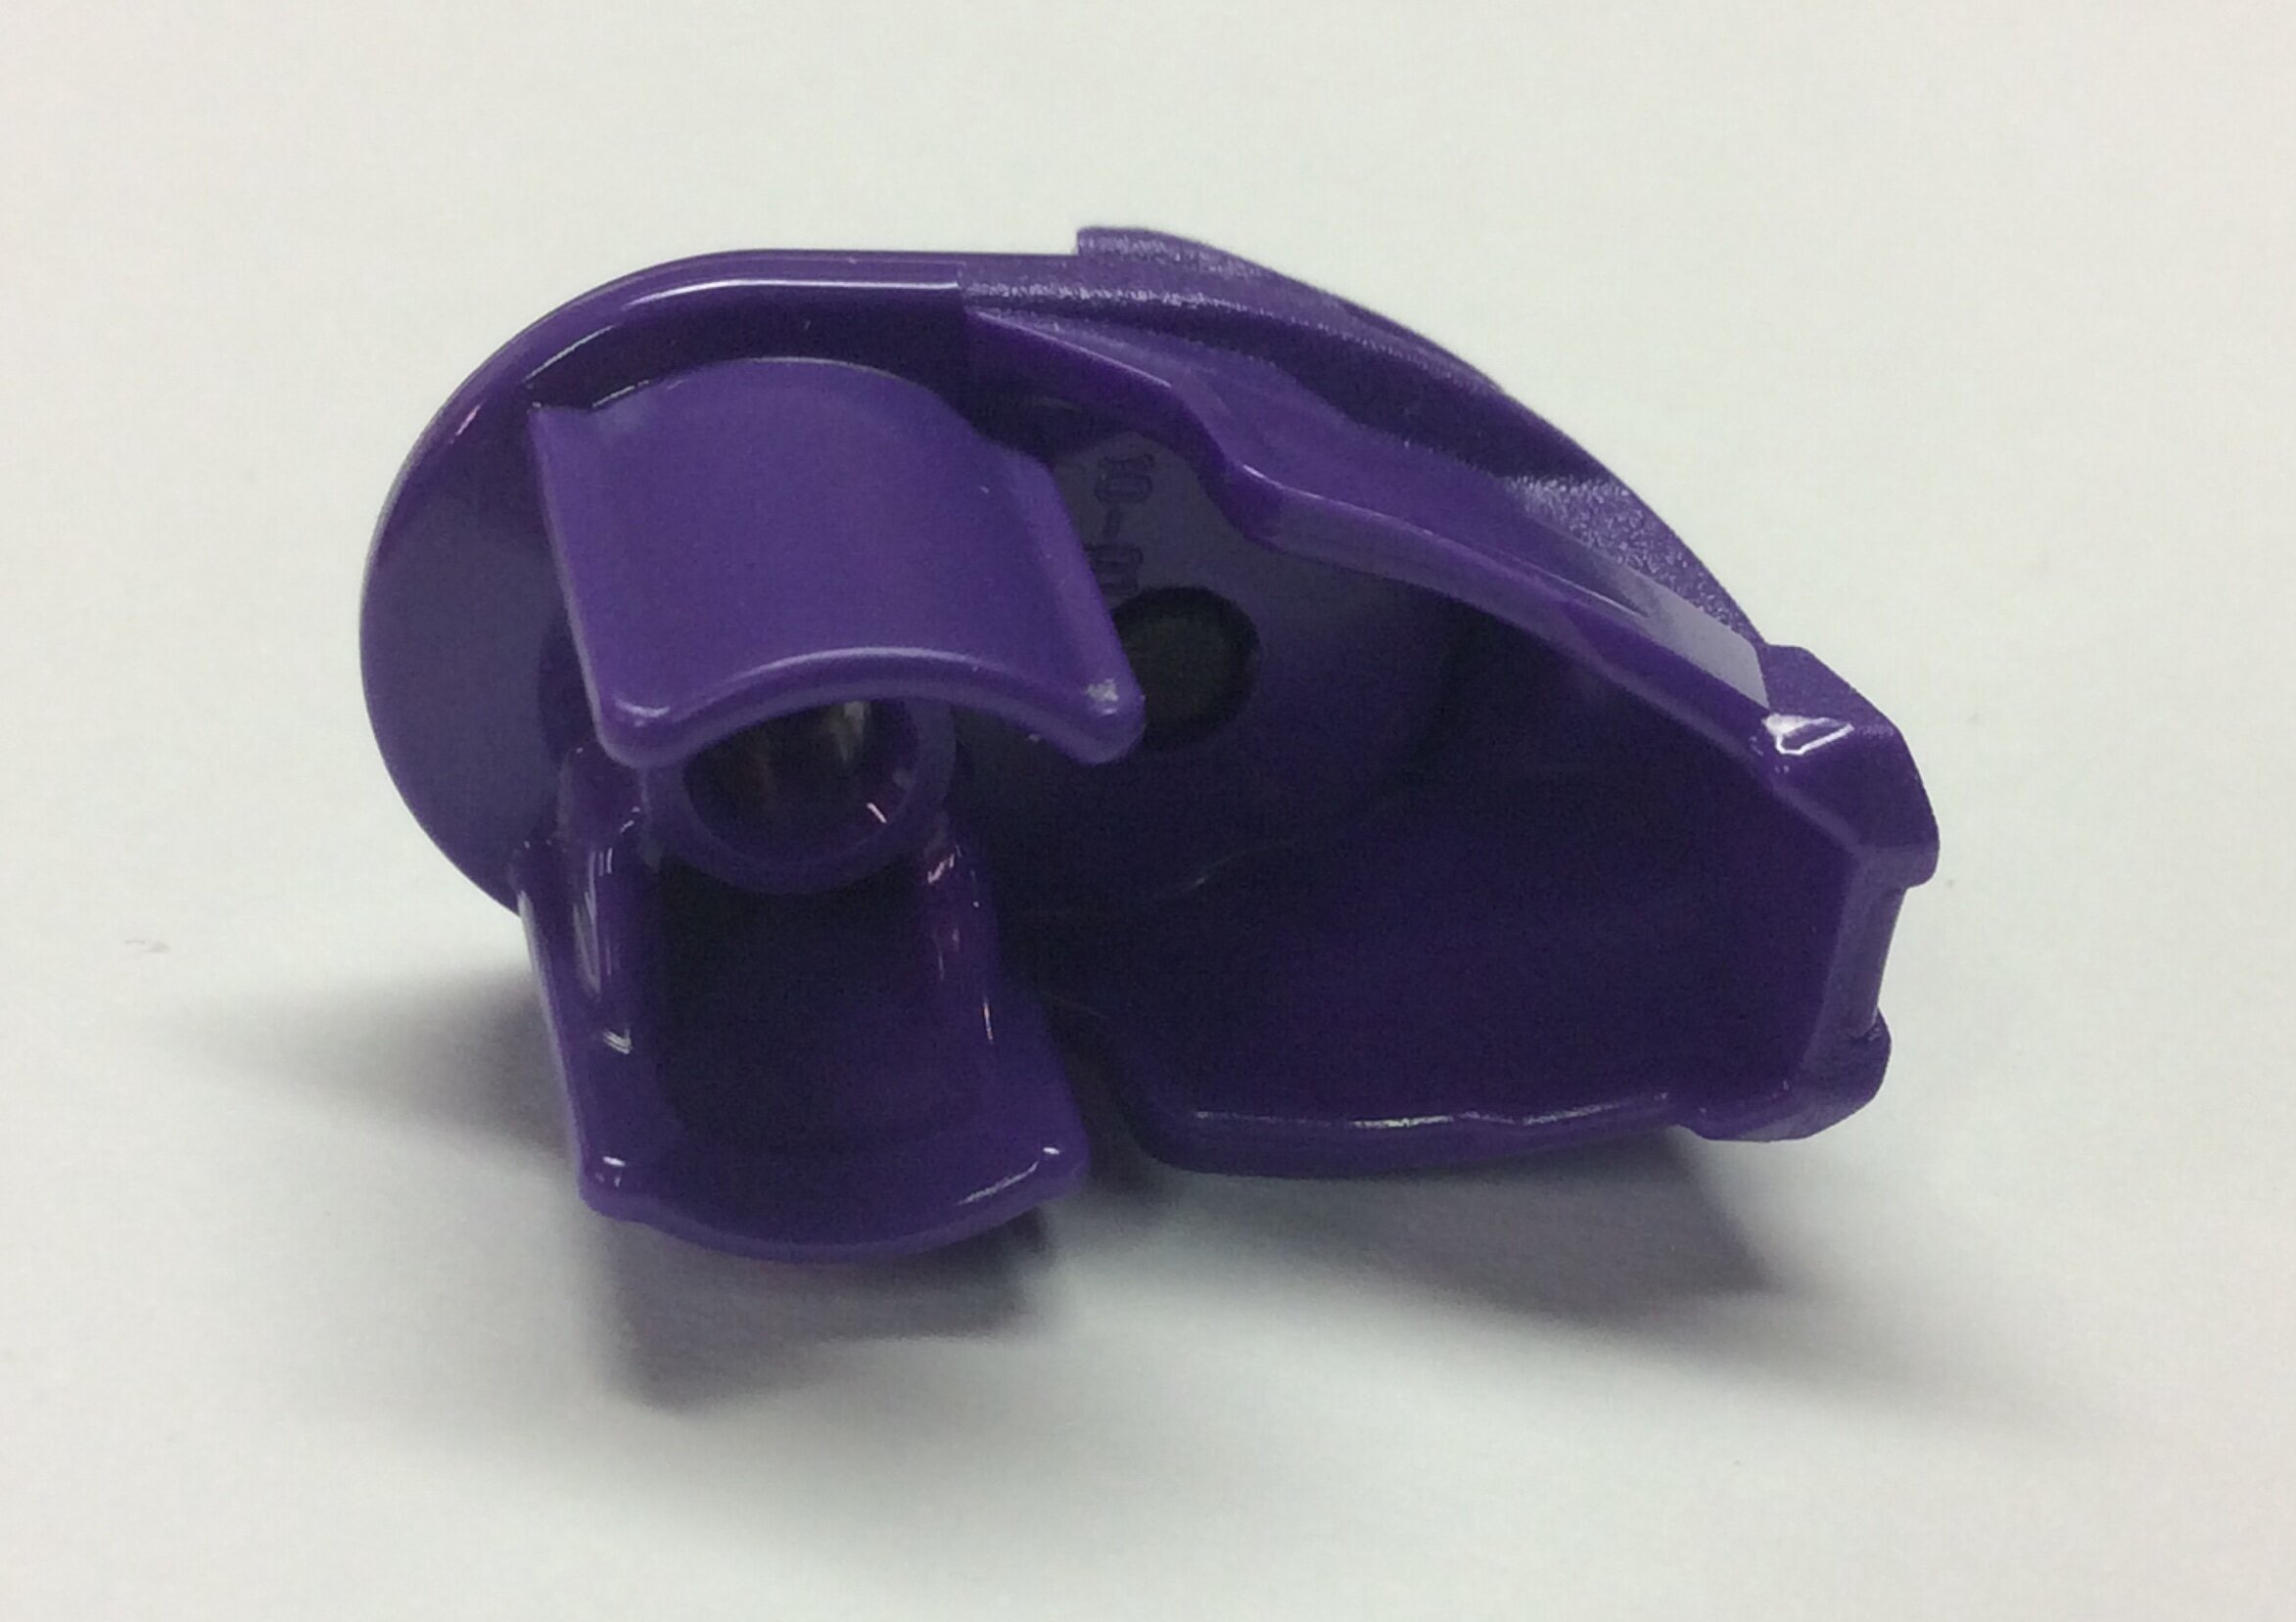
So, uh, yeah, meant to put this up like a lot earlier but… eh, stuff happens. So here, as requested by @Toa_Vladin, is how I stuck a Breakout Bulk hemet on an V.2 HF head. (This may require some heresy/part modifying, currently I have found doing so to provide the sturdiest result, but, to each their own)
So as you can see (sorry for shadows) this helmet’s head has solid purple eyes, a colour only made for one inner head, Evo’s.
Here’s how you do it:
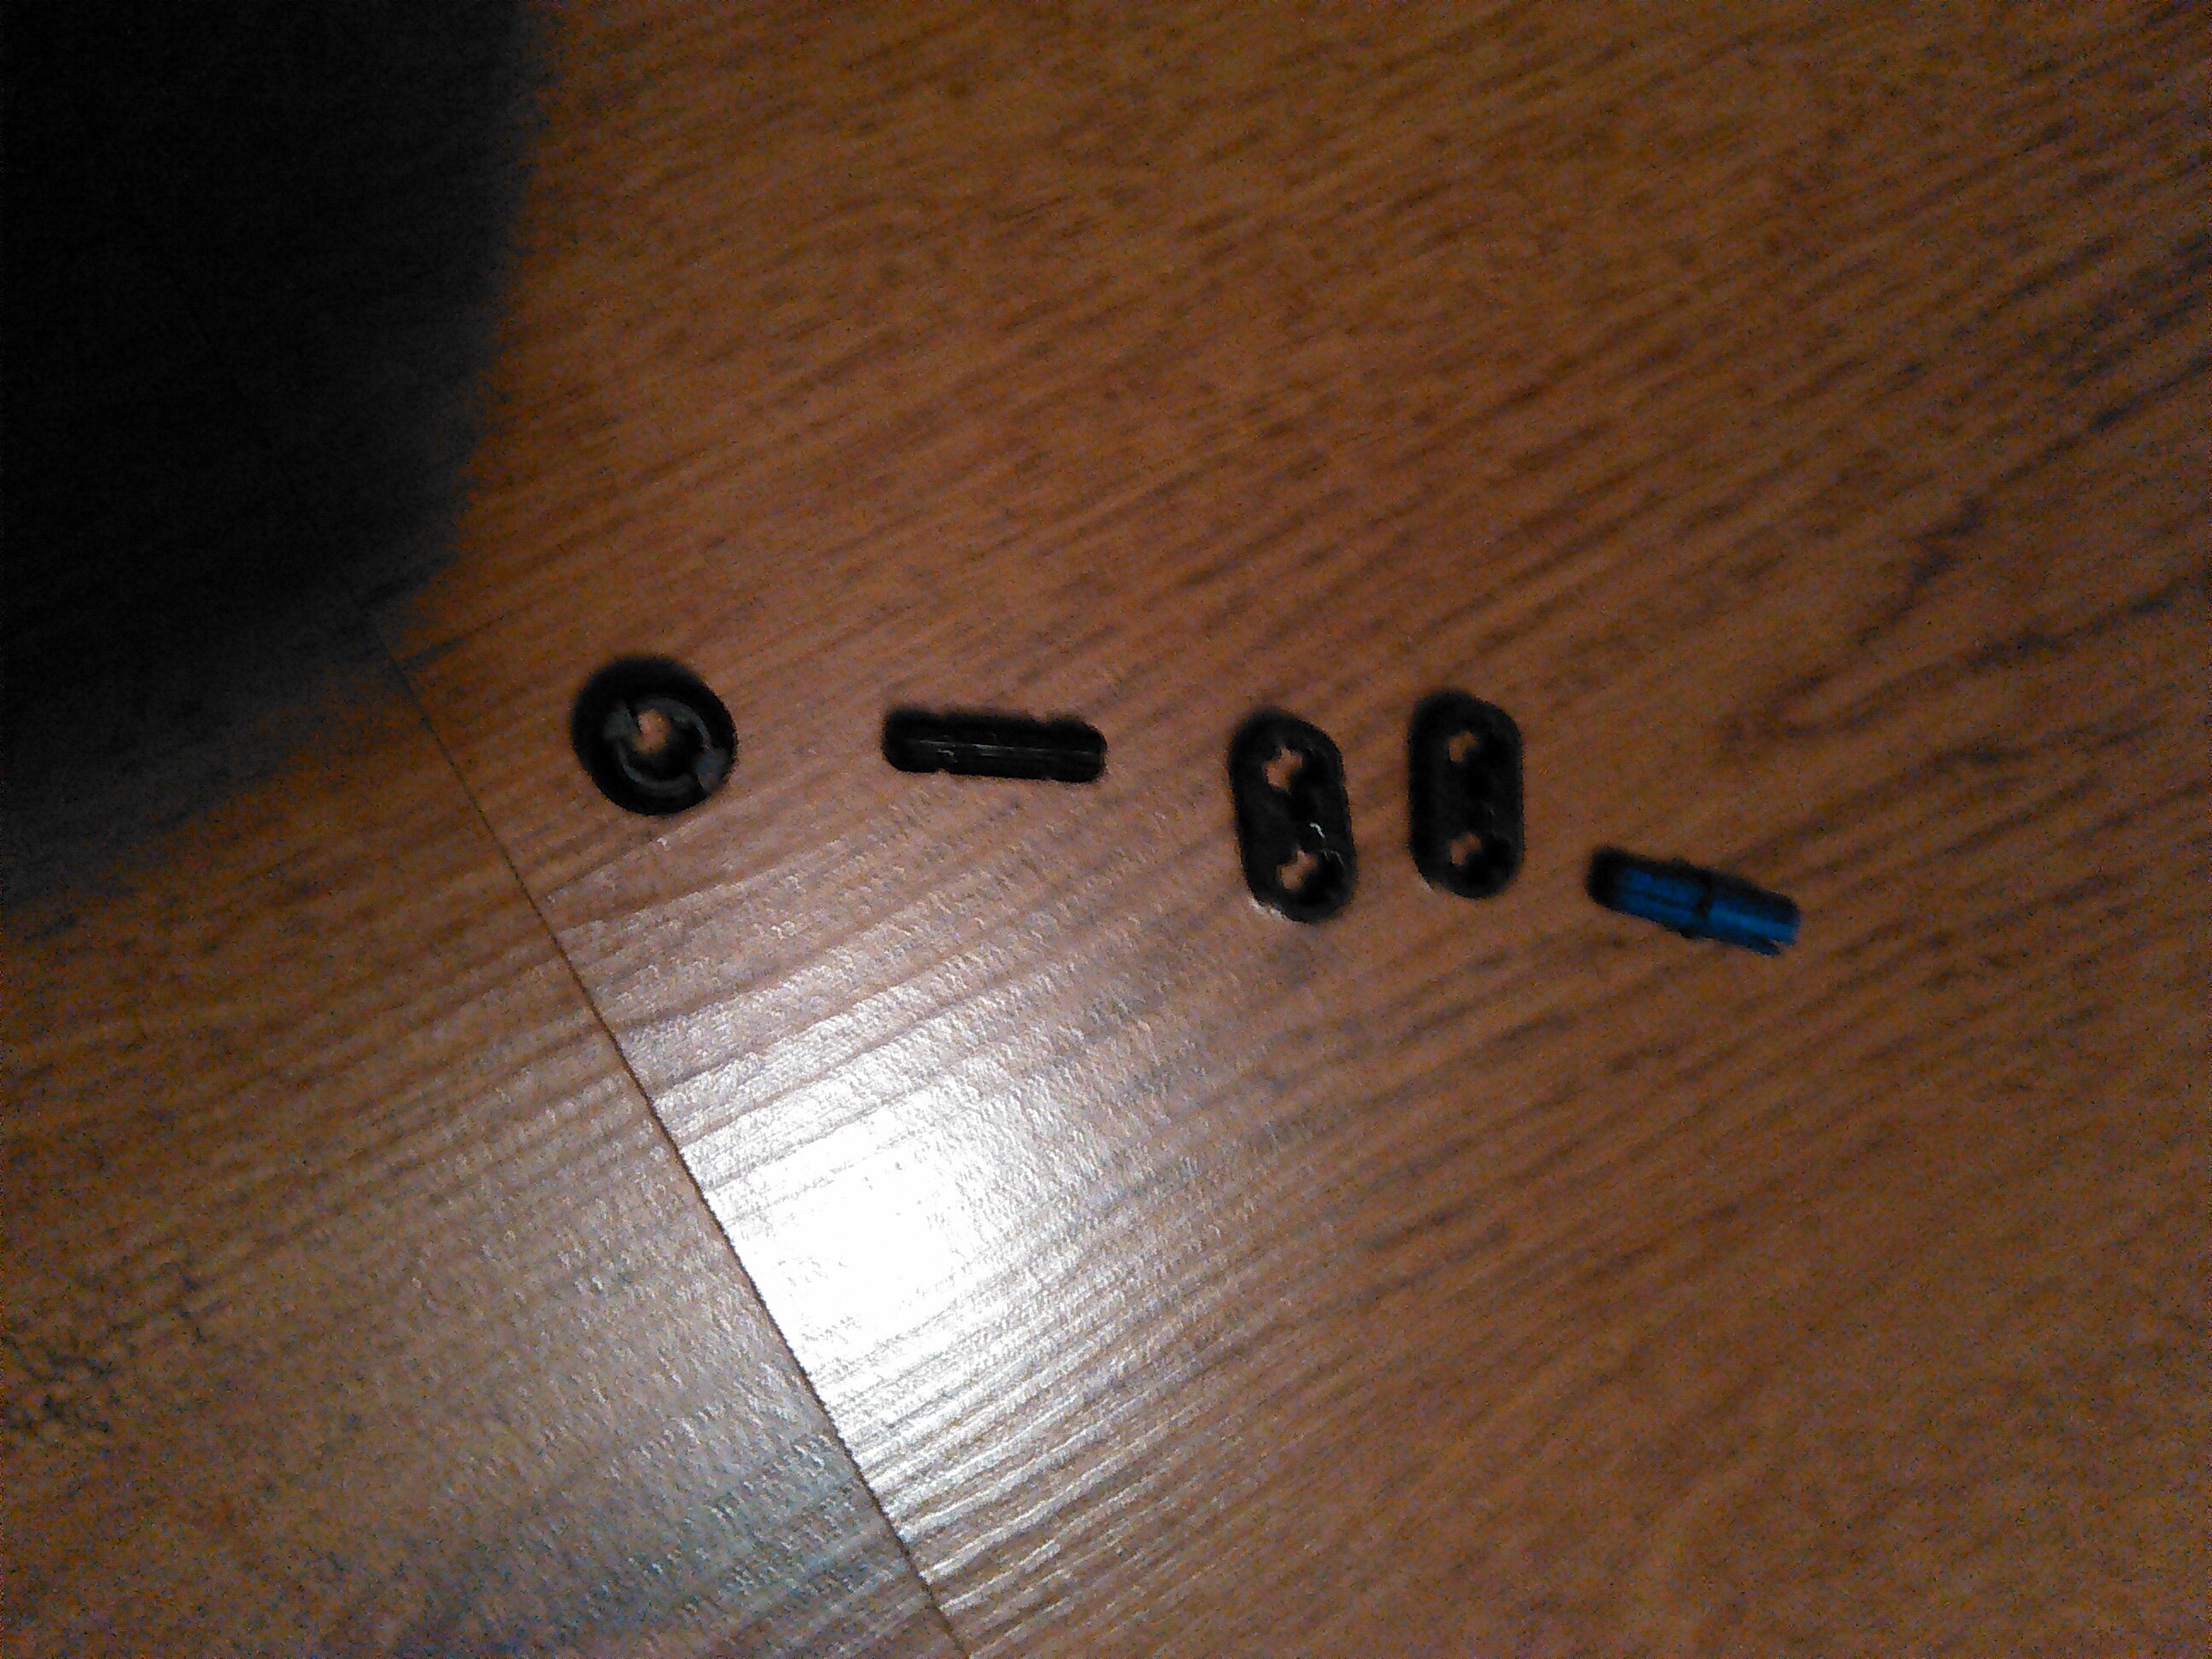
Step 1 - Parts:
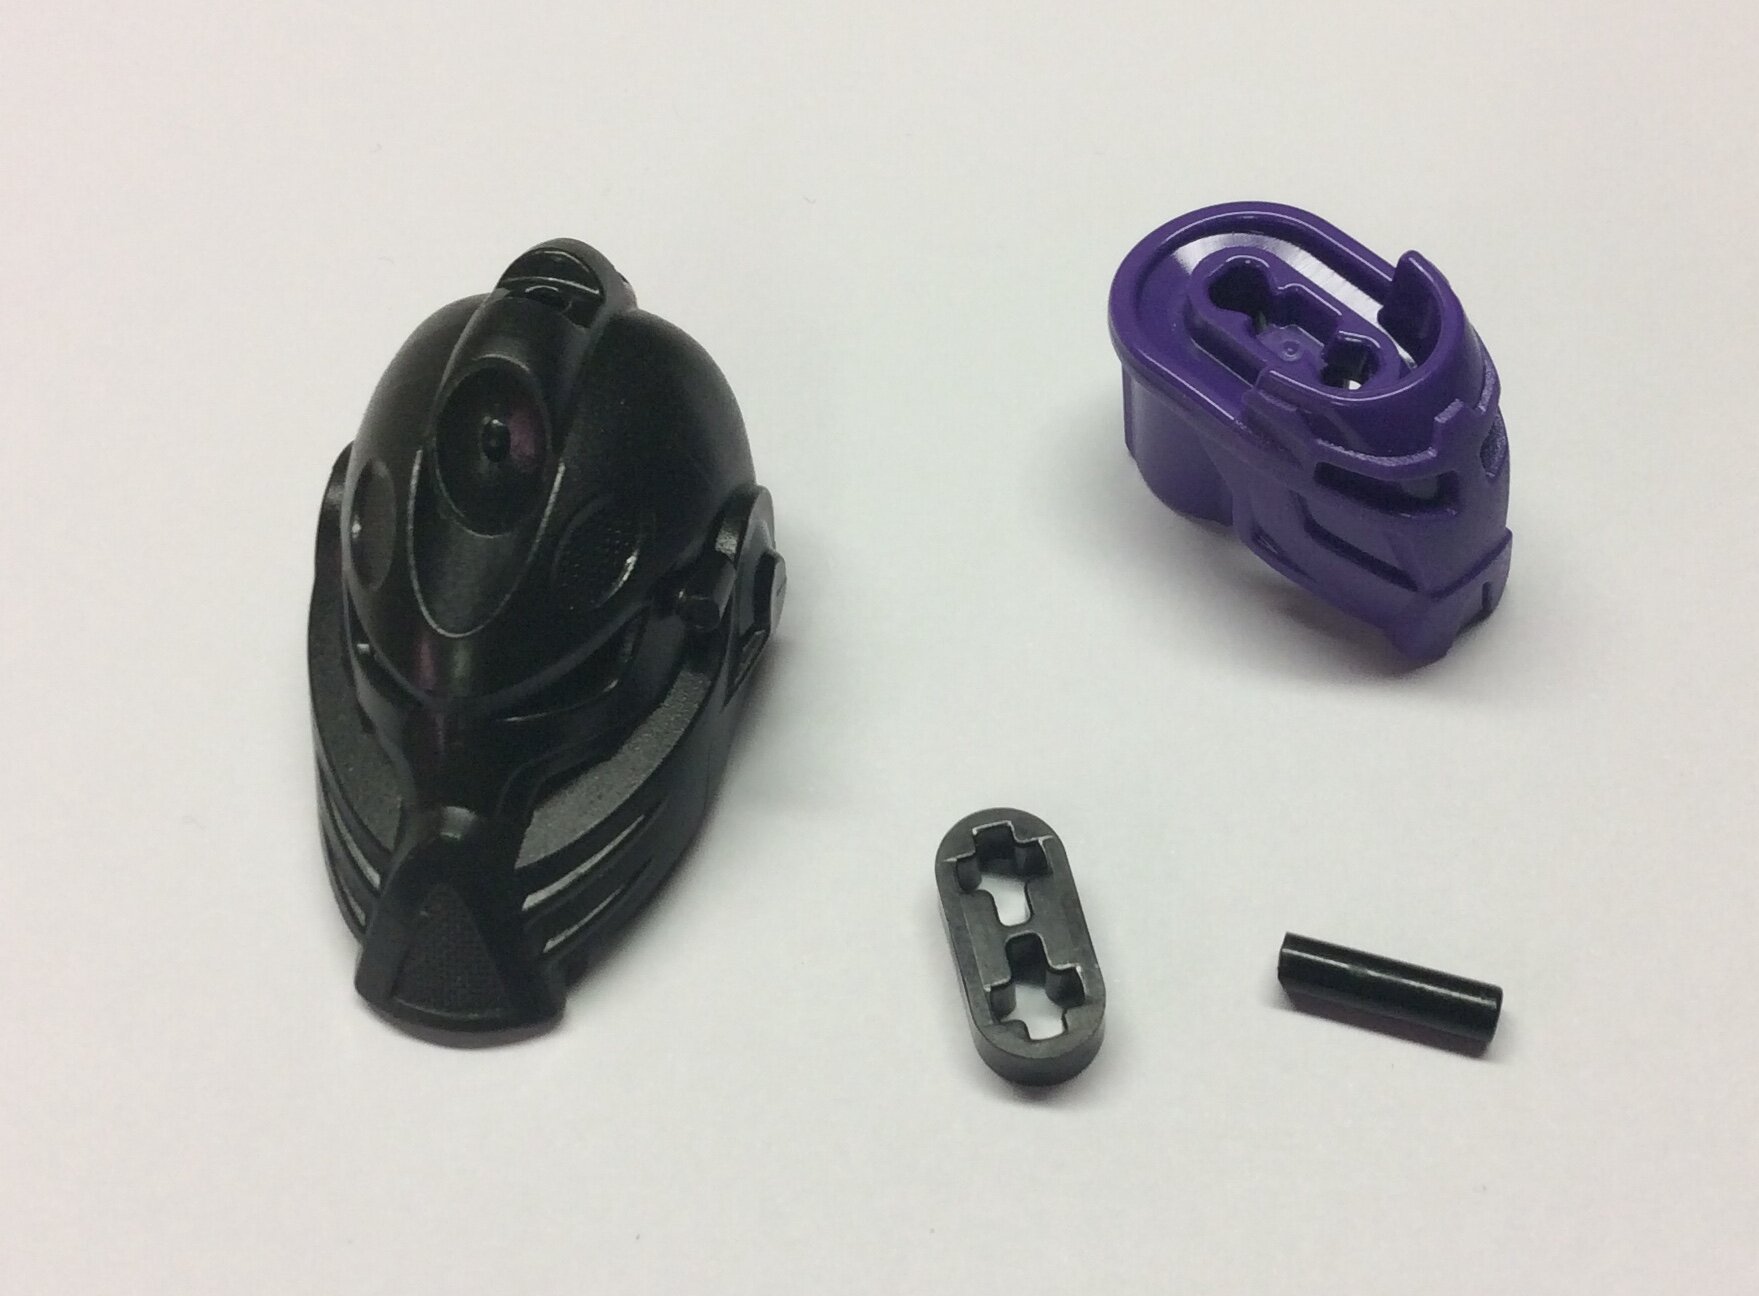
These are the parts that you’ll need to do this.
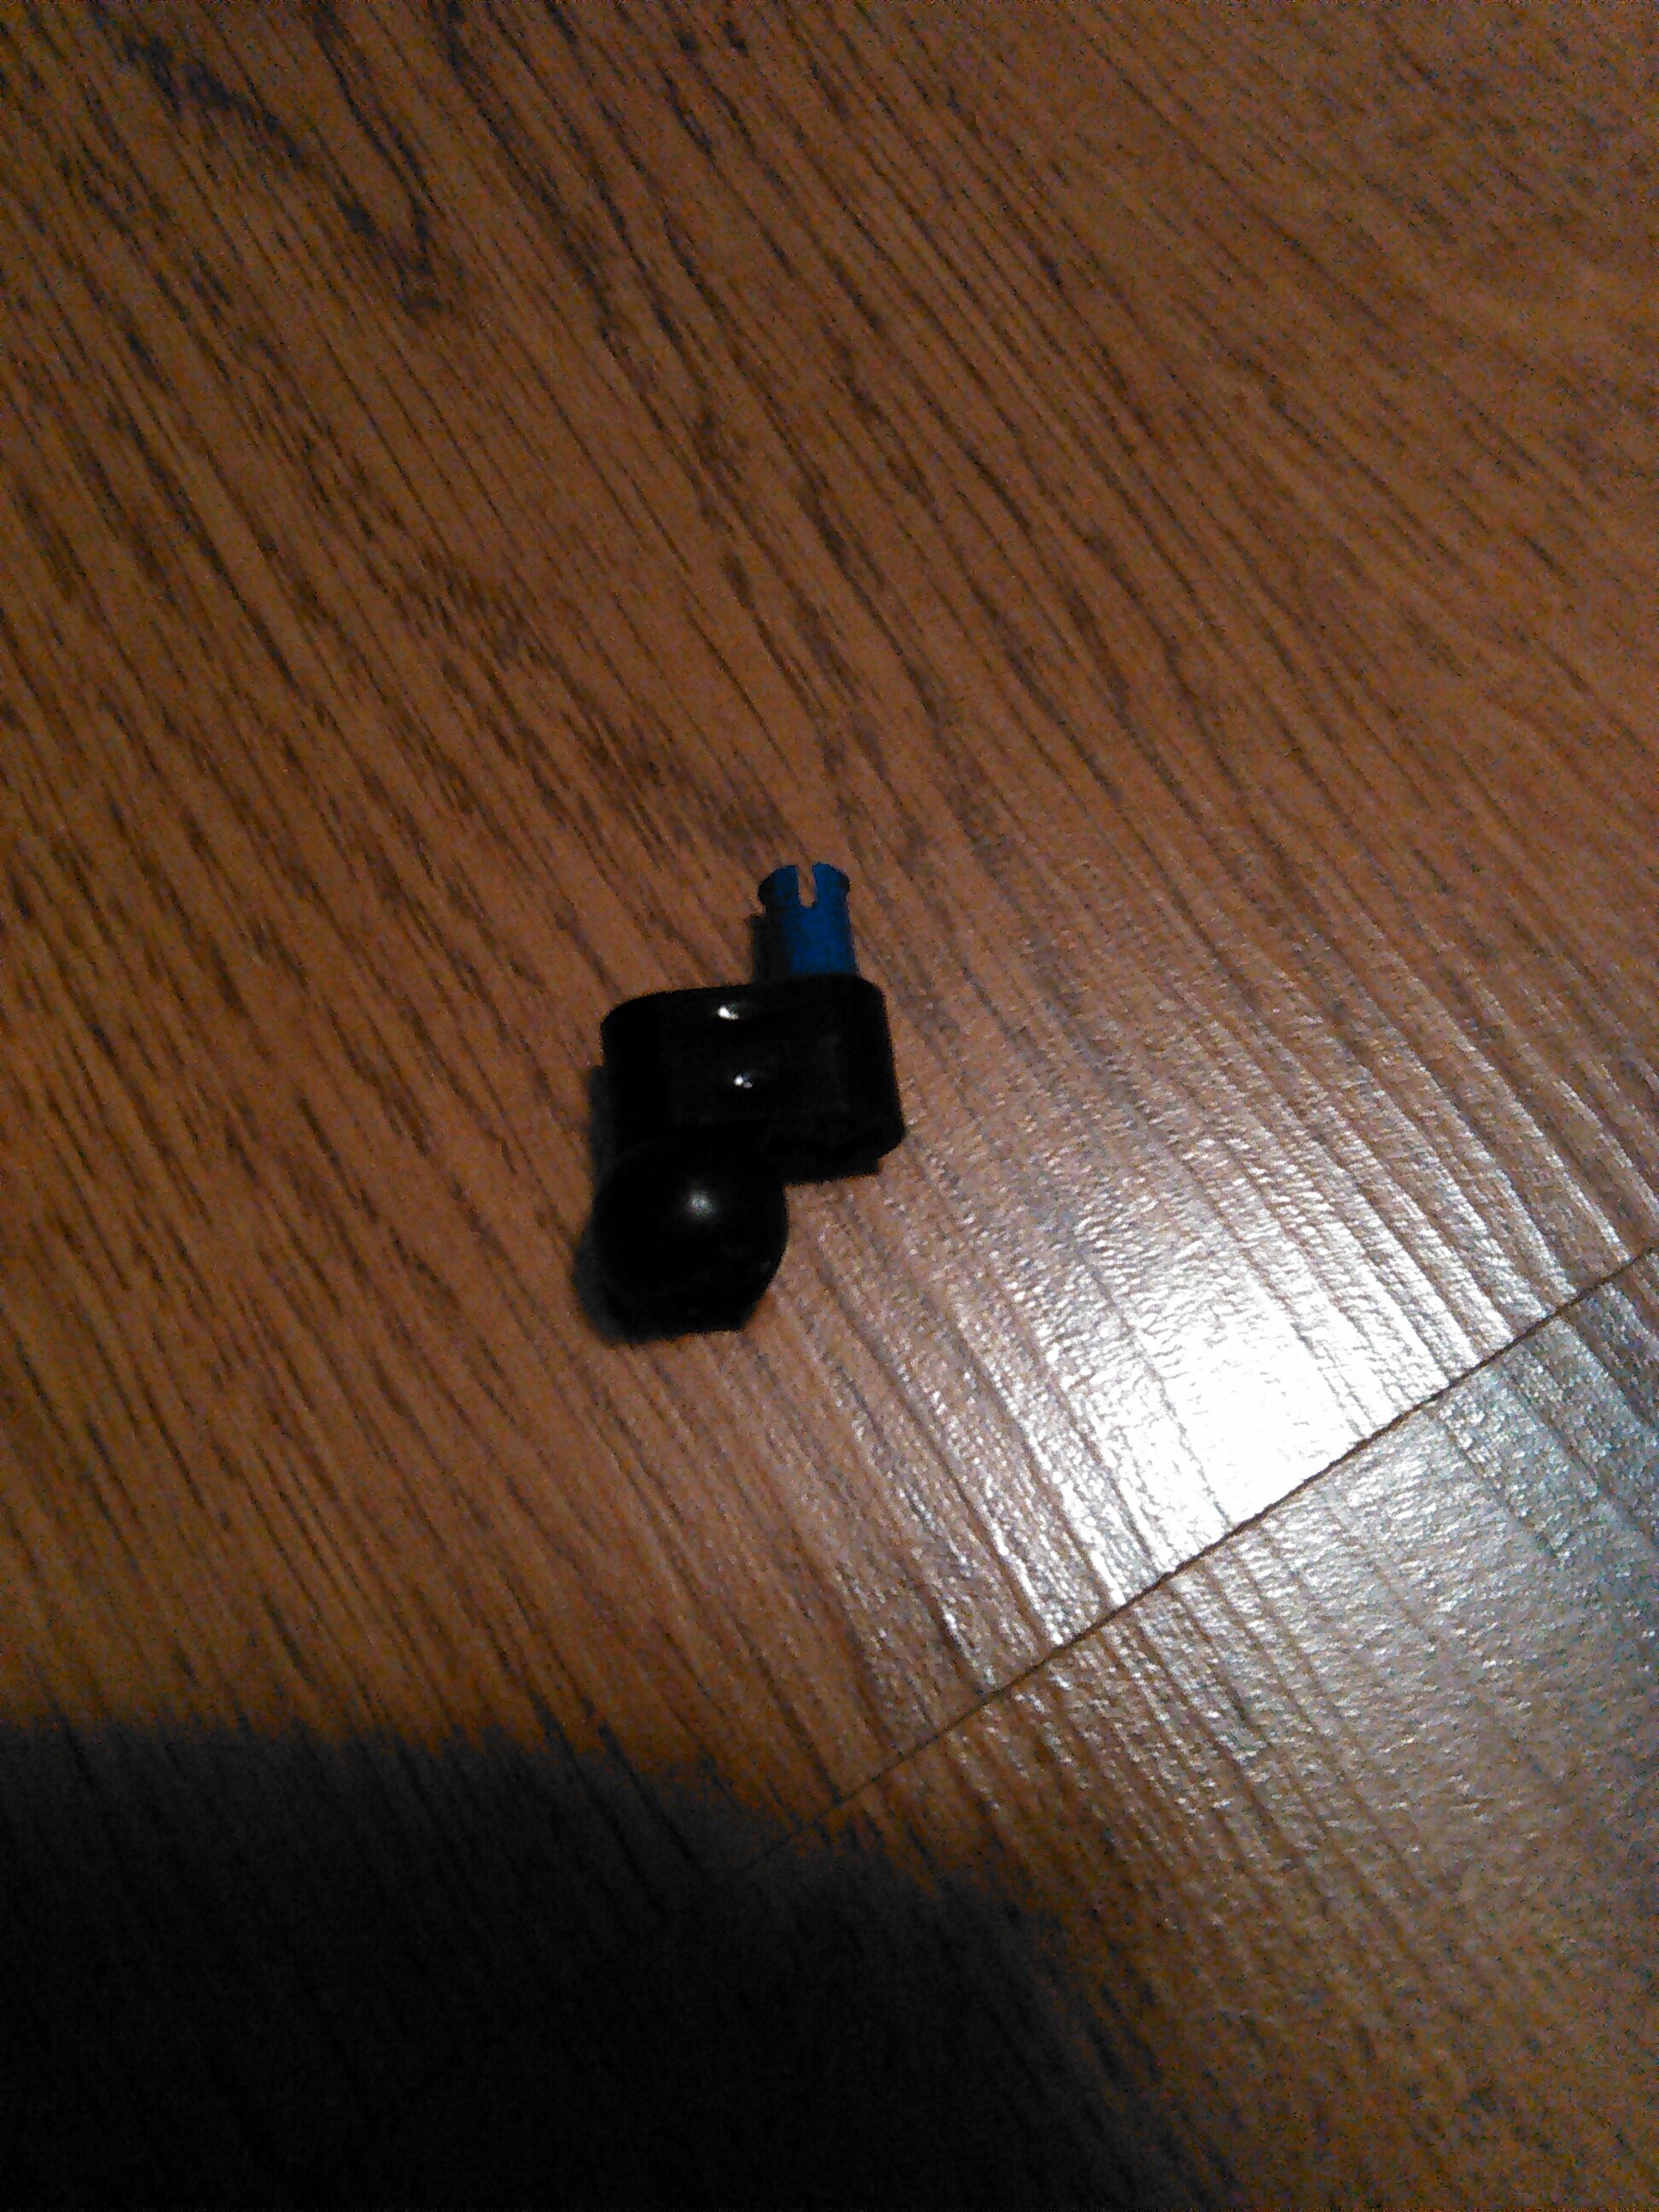
Now then, I know you guys are going to be wondering where I got the stick piece from. This is where it comes from:
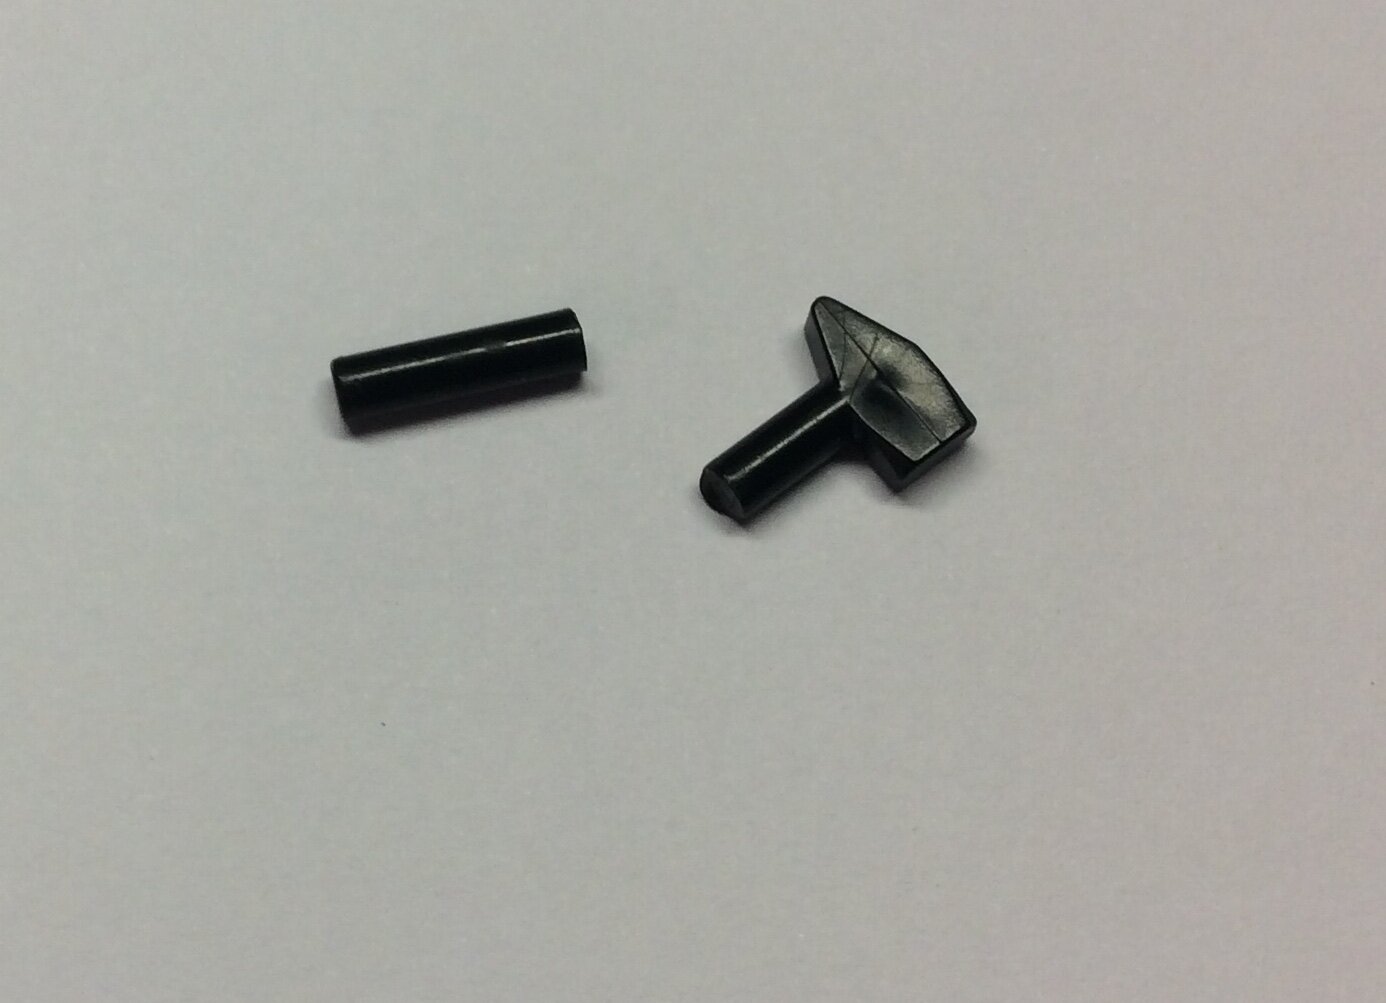
The lower half of a lego chisel.
Now before I get any heresy comments here’s the thing, I didn’t do this. In truth I’ve been keeping this thing around since I found it in a bag of Lego parts, figured I’d need it someday, and hey, I was right.
Now this can be accomplished using any other pieces of similar size, from the robot claws to a Lego icepick. If you want you can even use an unbroken chisel/black Lego axe.
Warning if you do, the end will stick out below the chin, but, hey, maybe that’ll work for you in your design.
Also, while said above smaller items will work I find their connection to be looser than doing what I did.
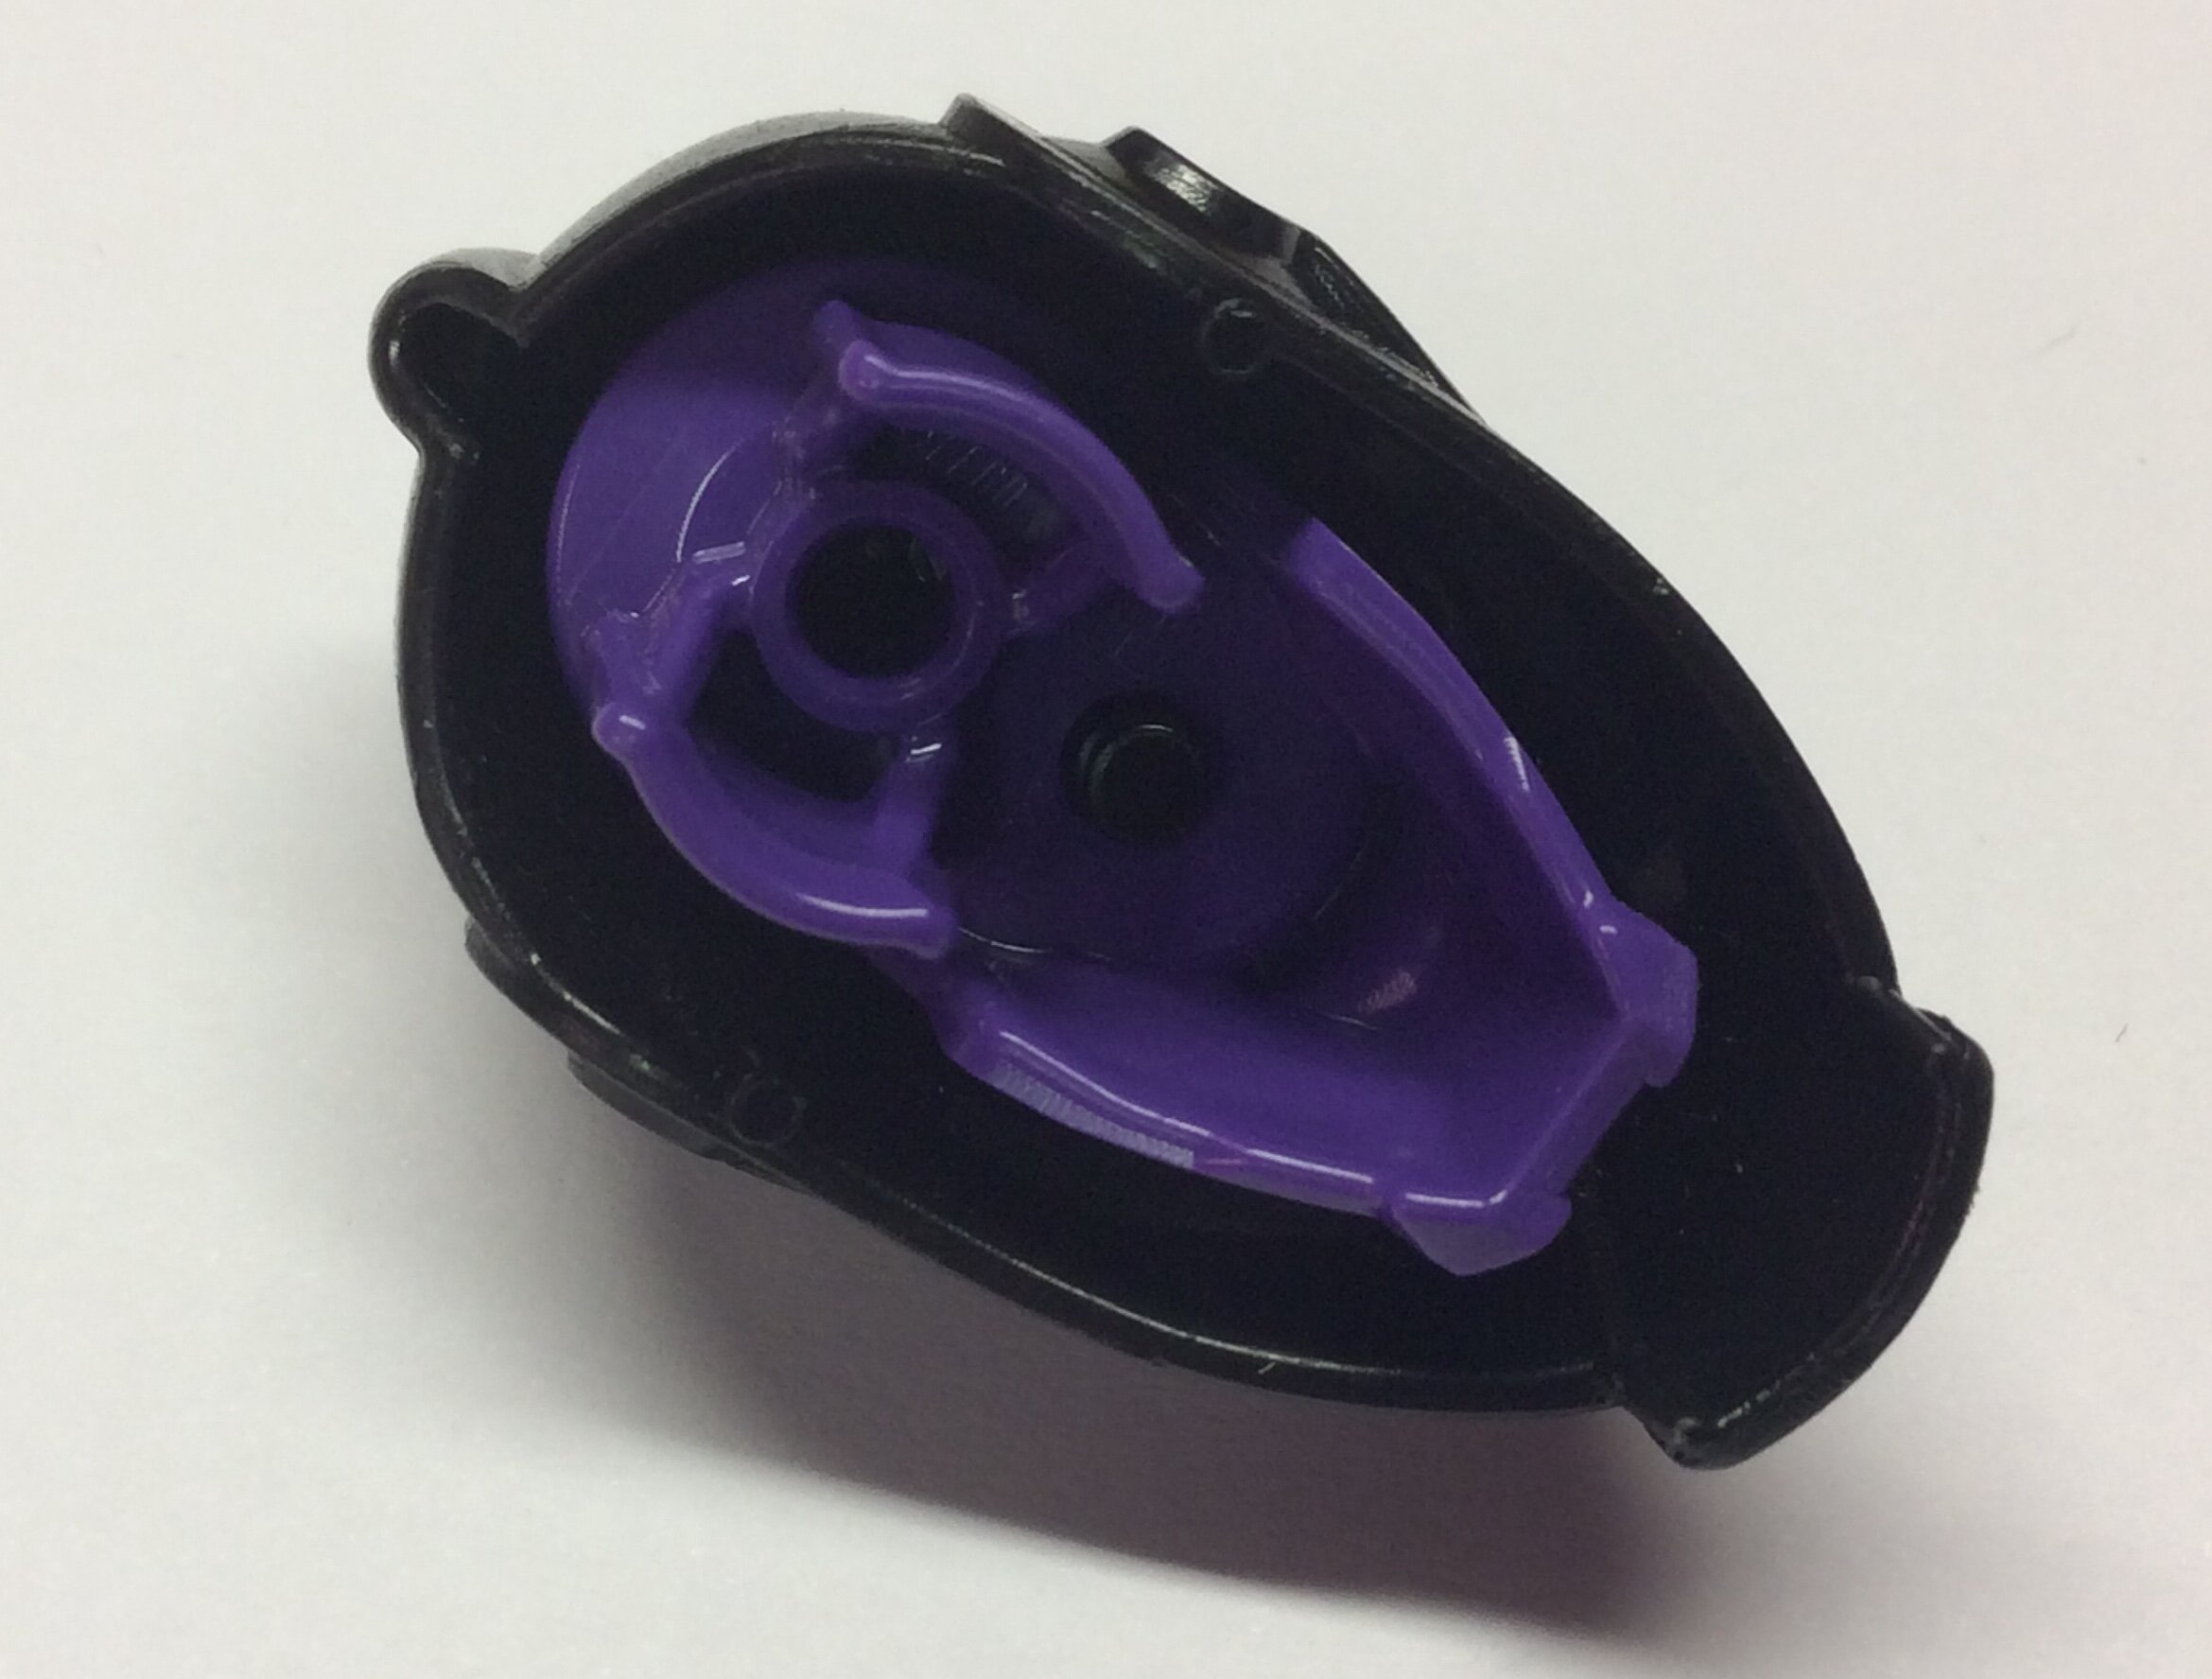
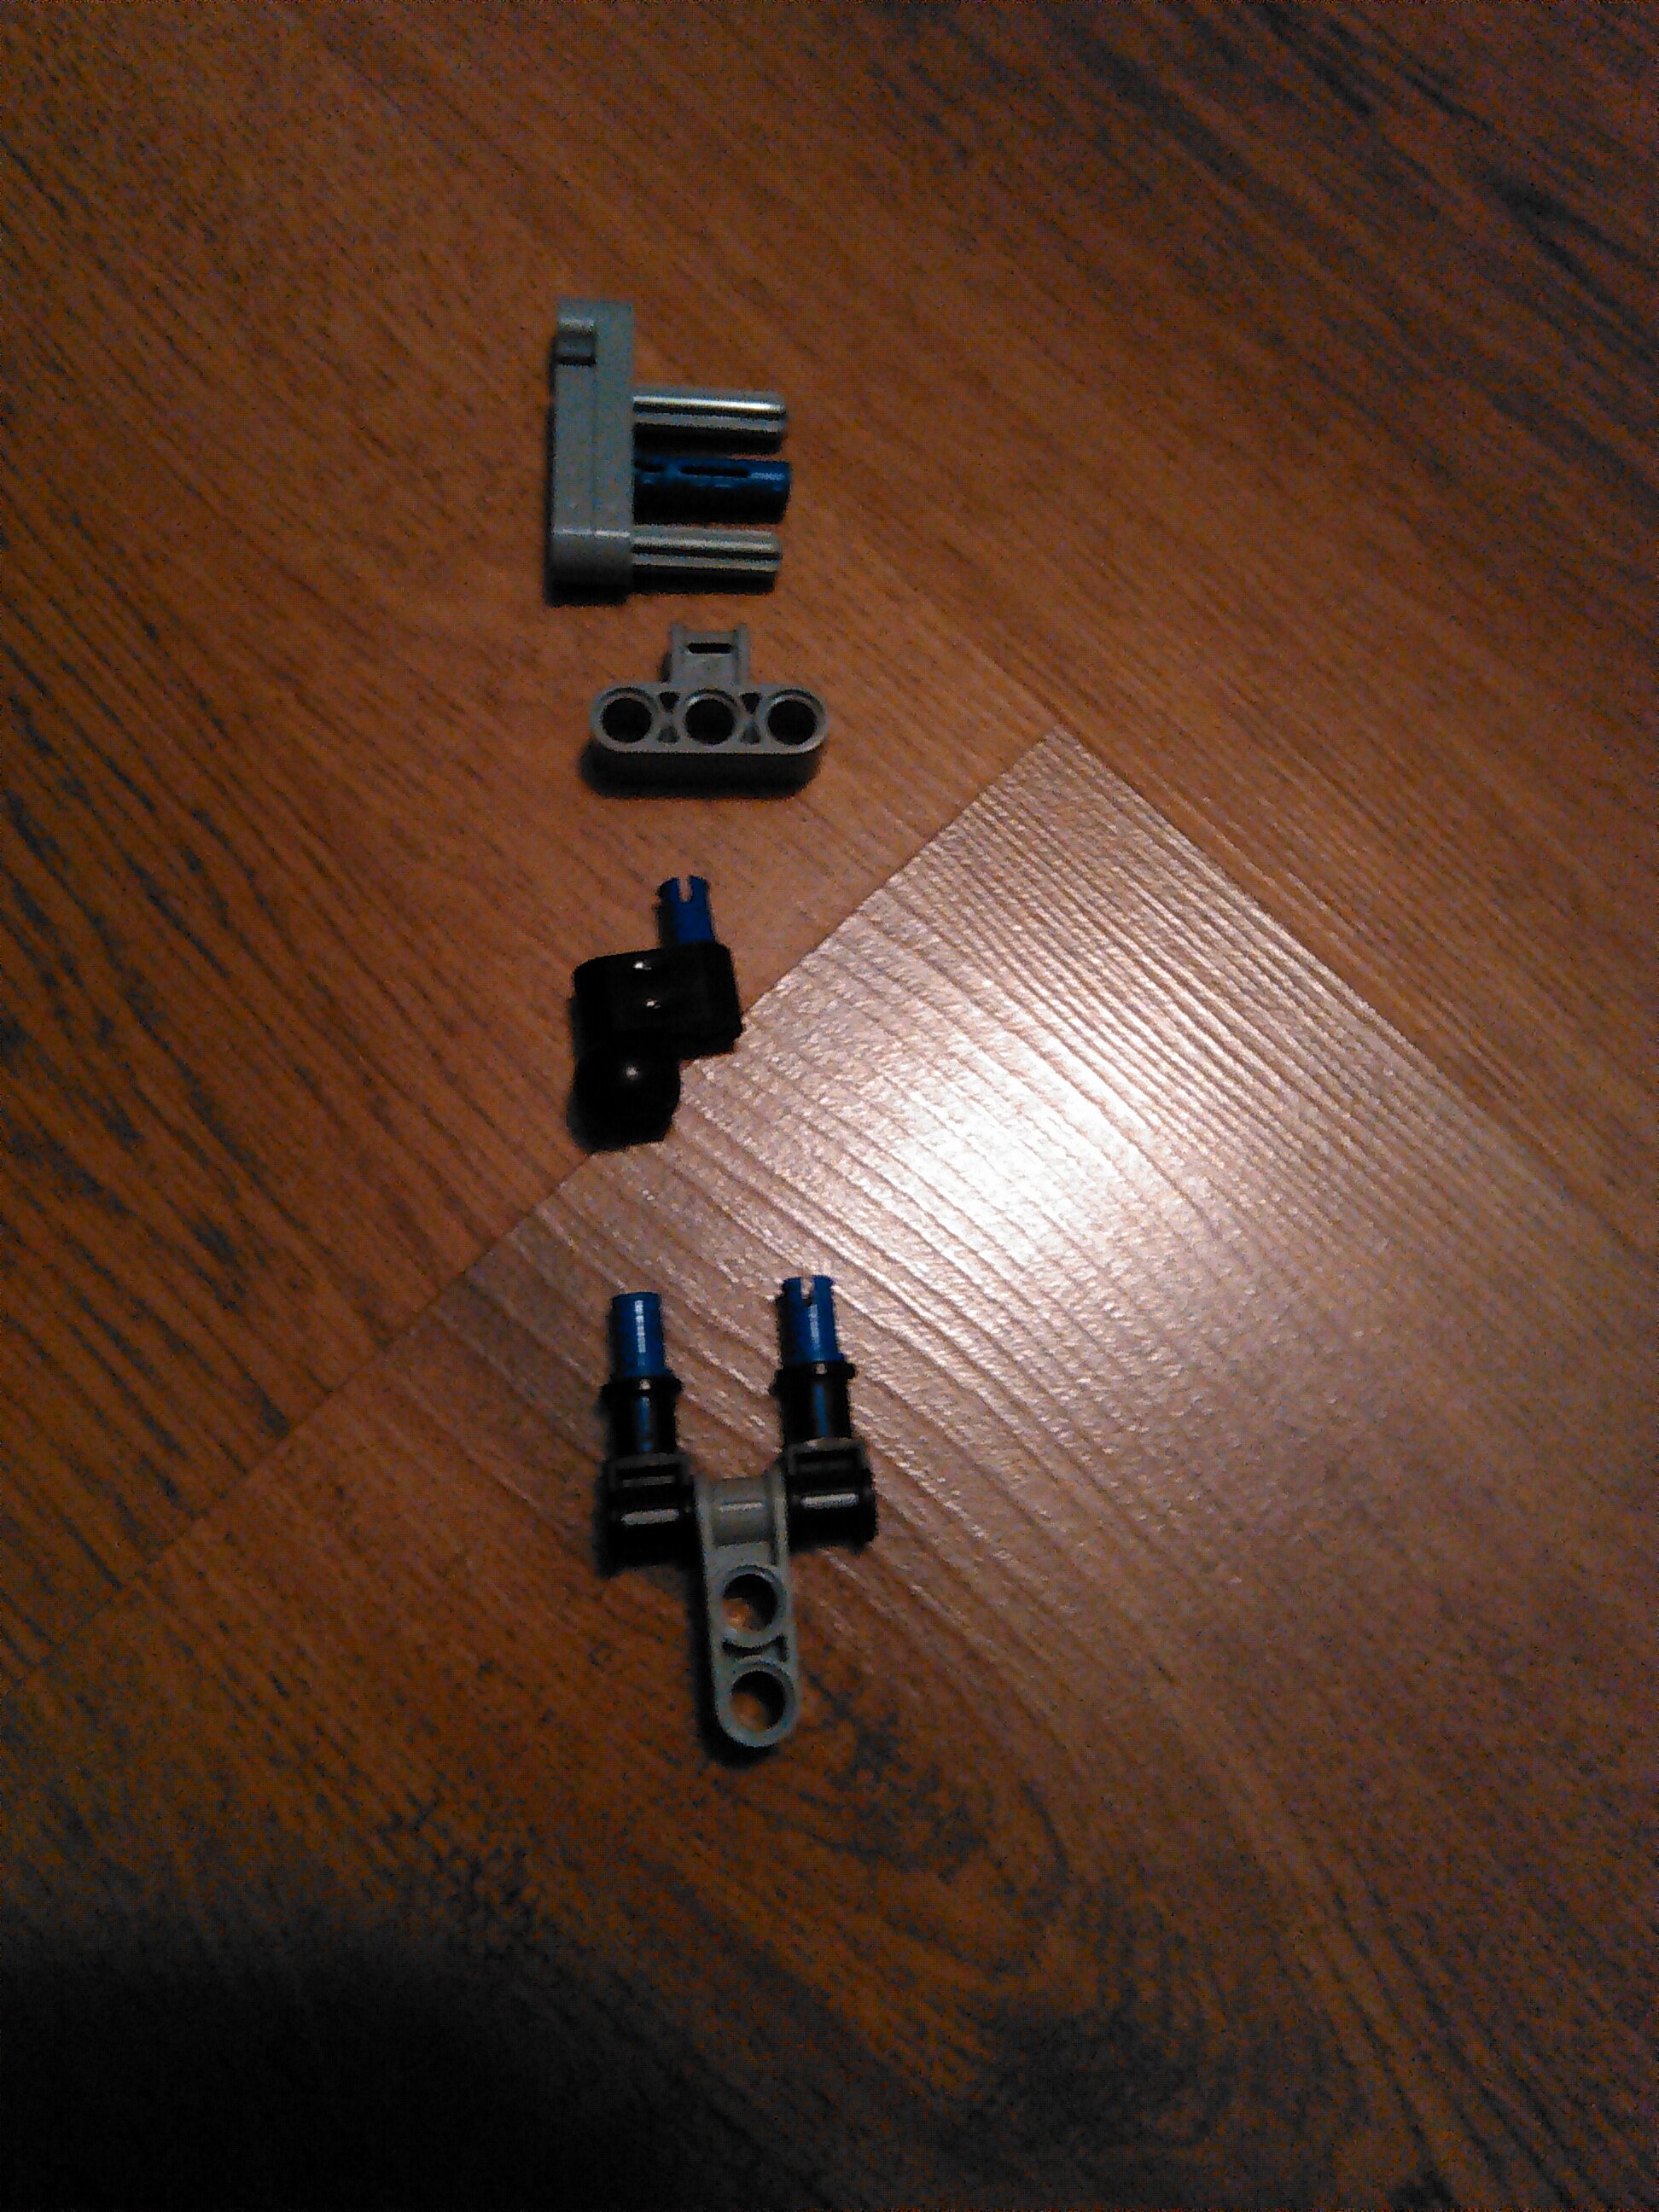
Step 2 - helmet/head connection areas:
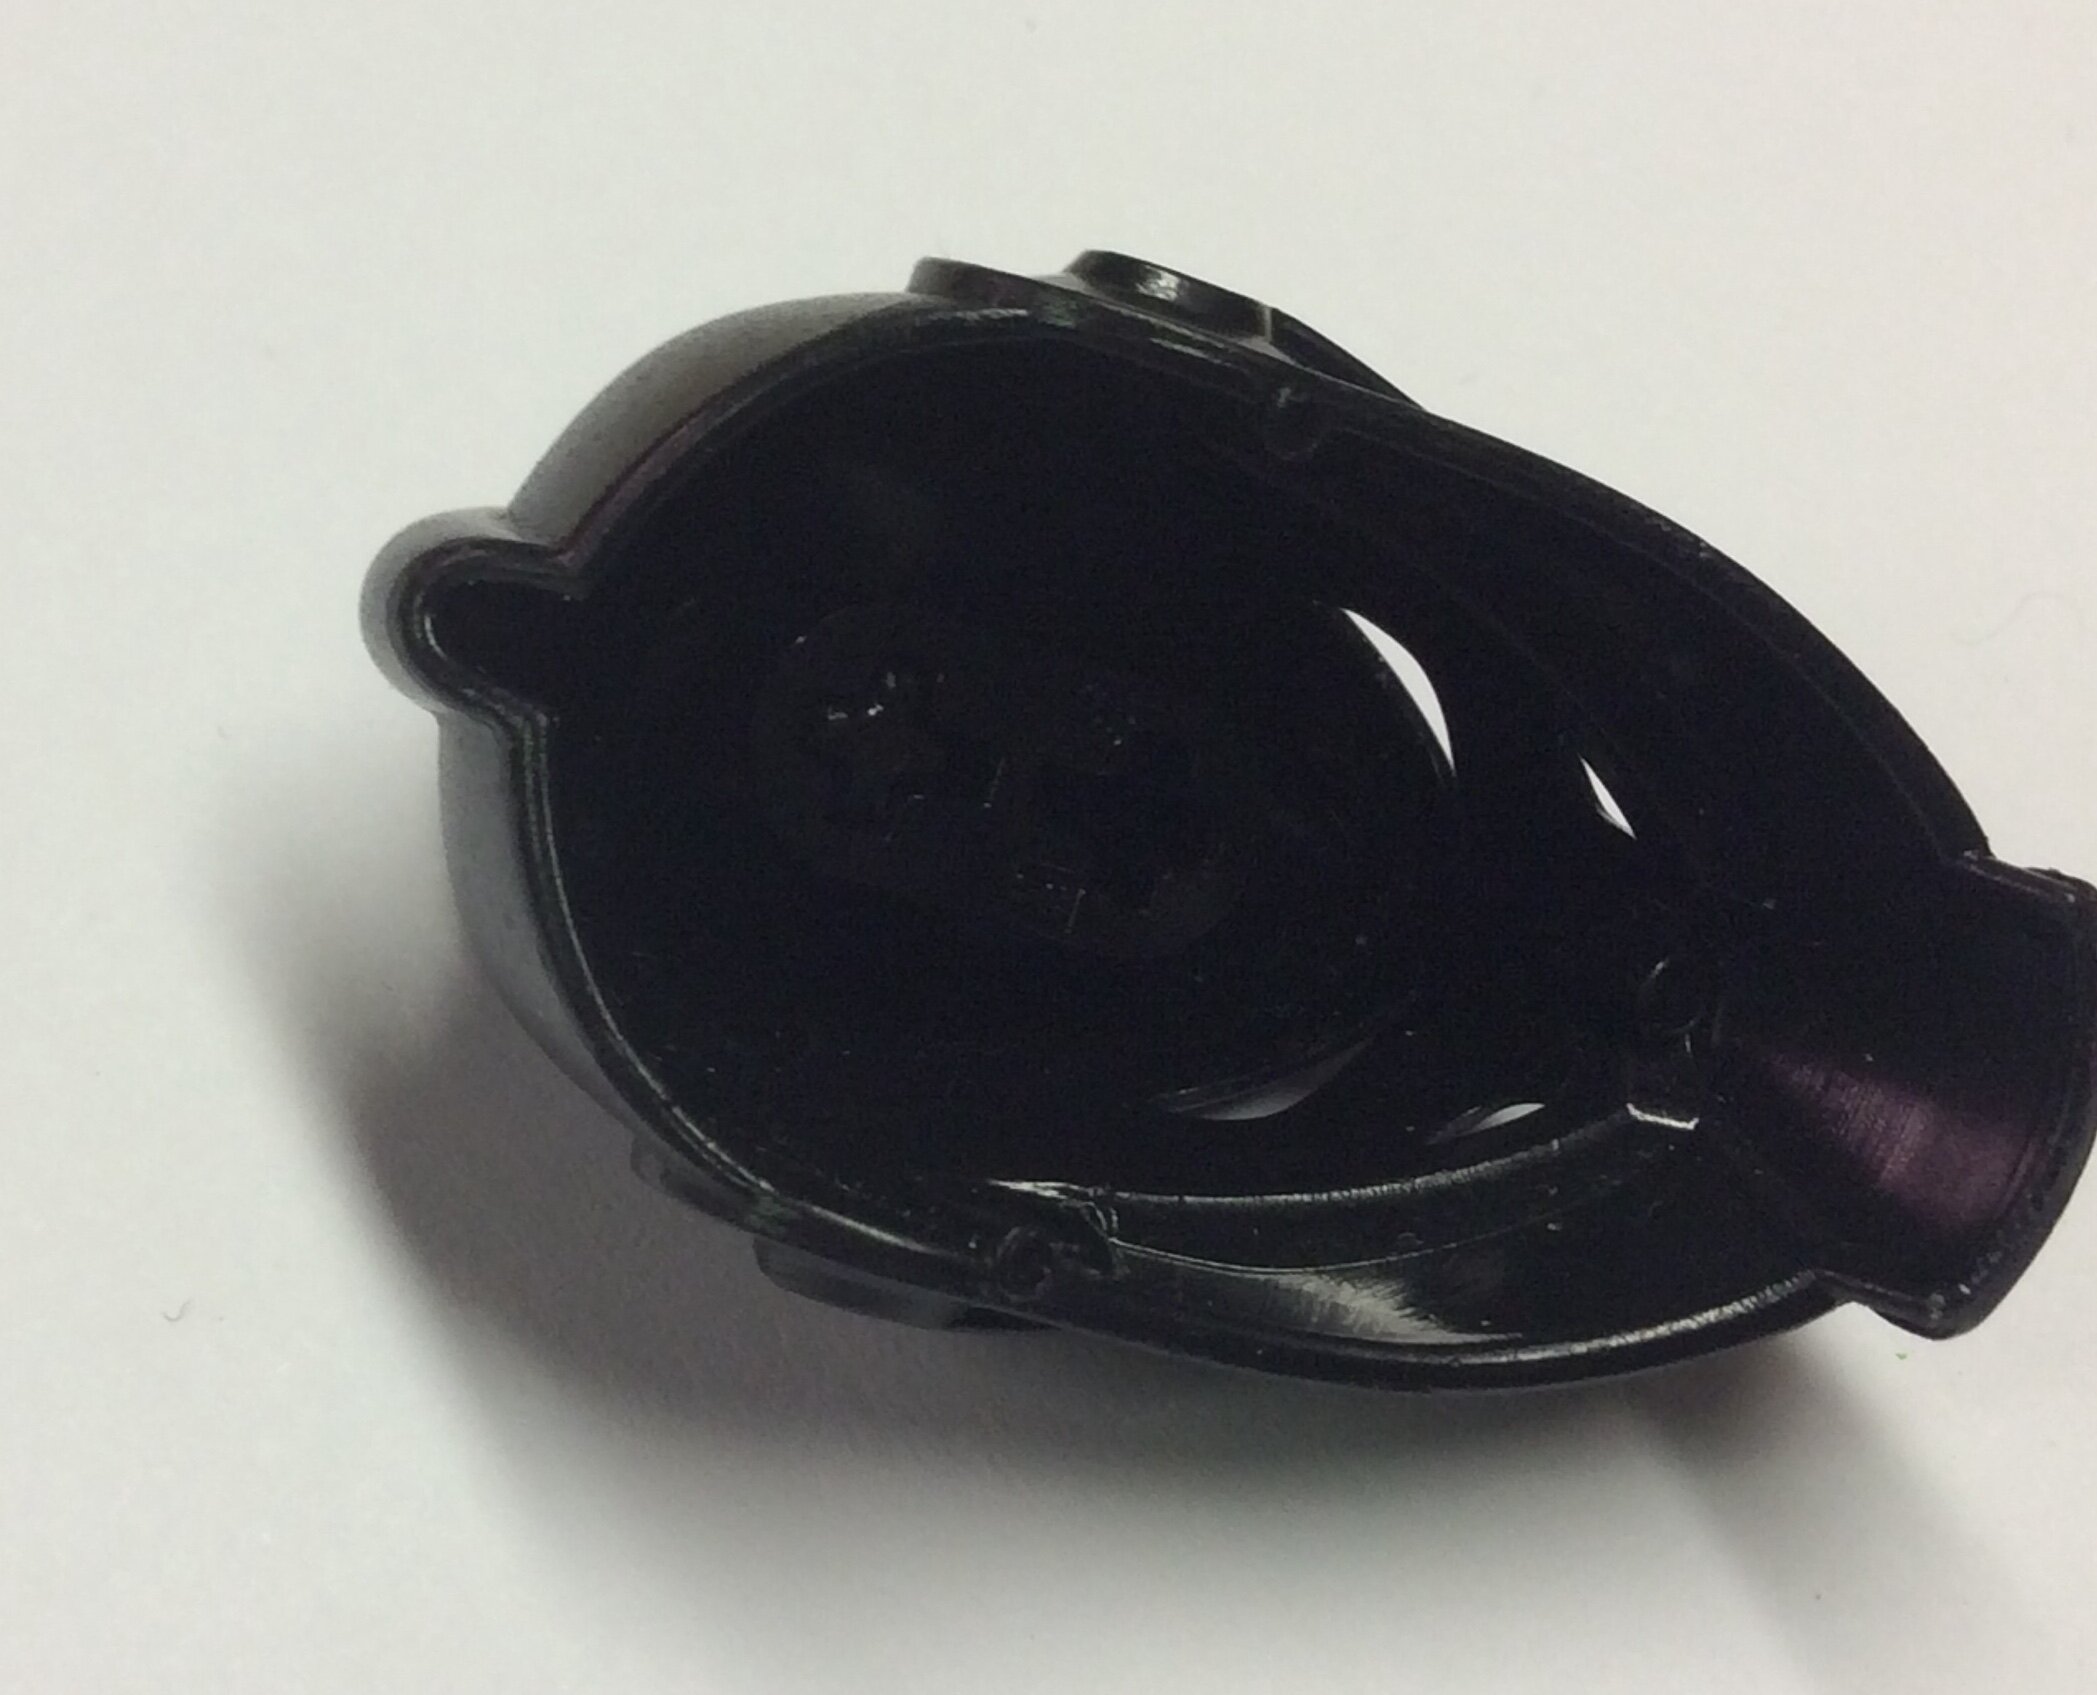
So here’s what you do with the dual axle hole piece (sorry for lighting again). Don’t worry, this can easily be popped back out with tweezers, a small screwdriver or just any long Lego piece you can angle behind it.
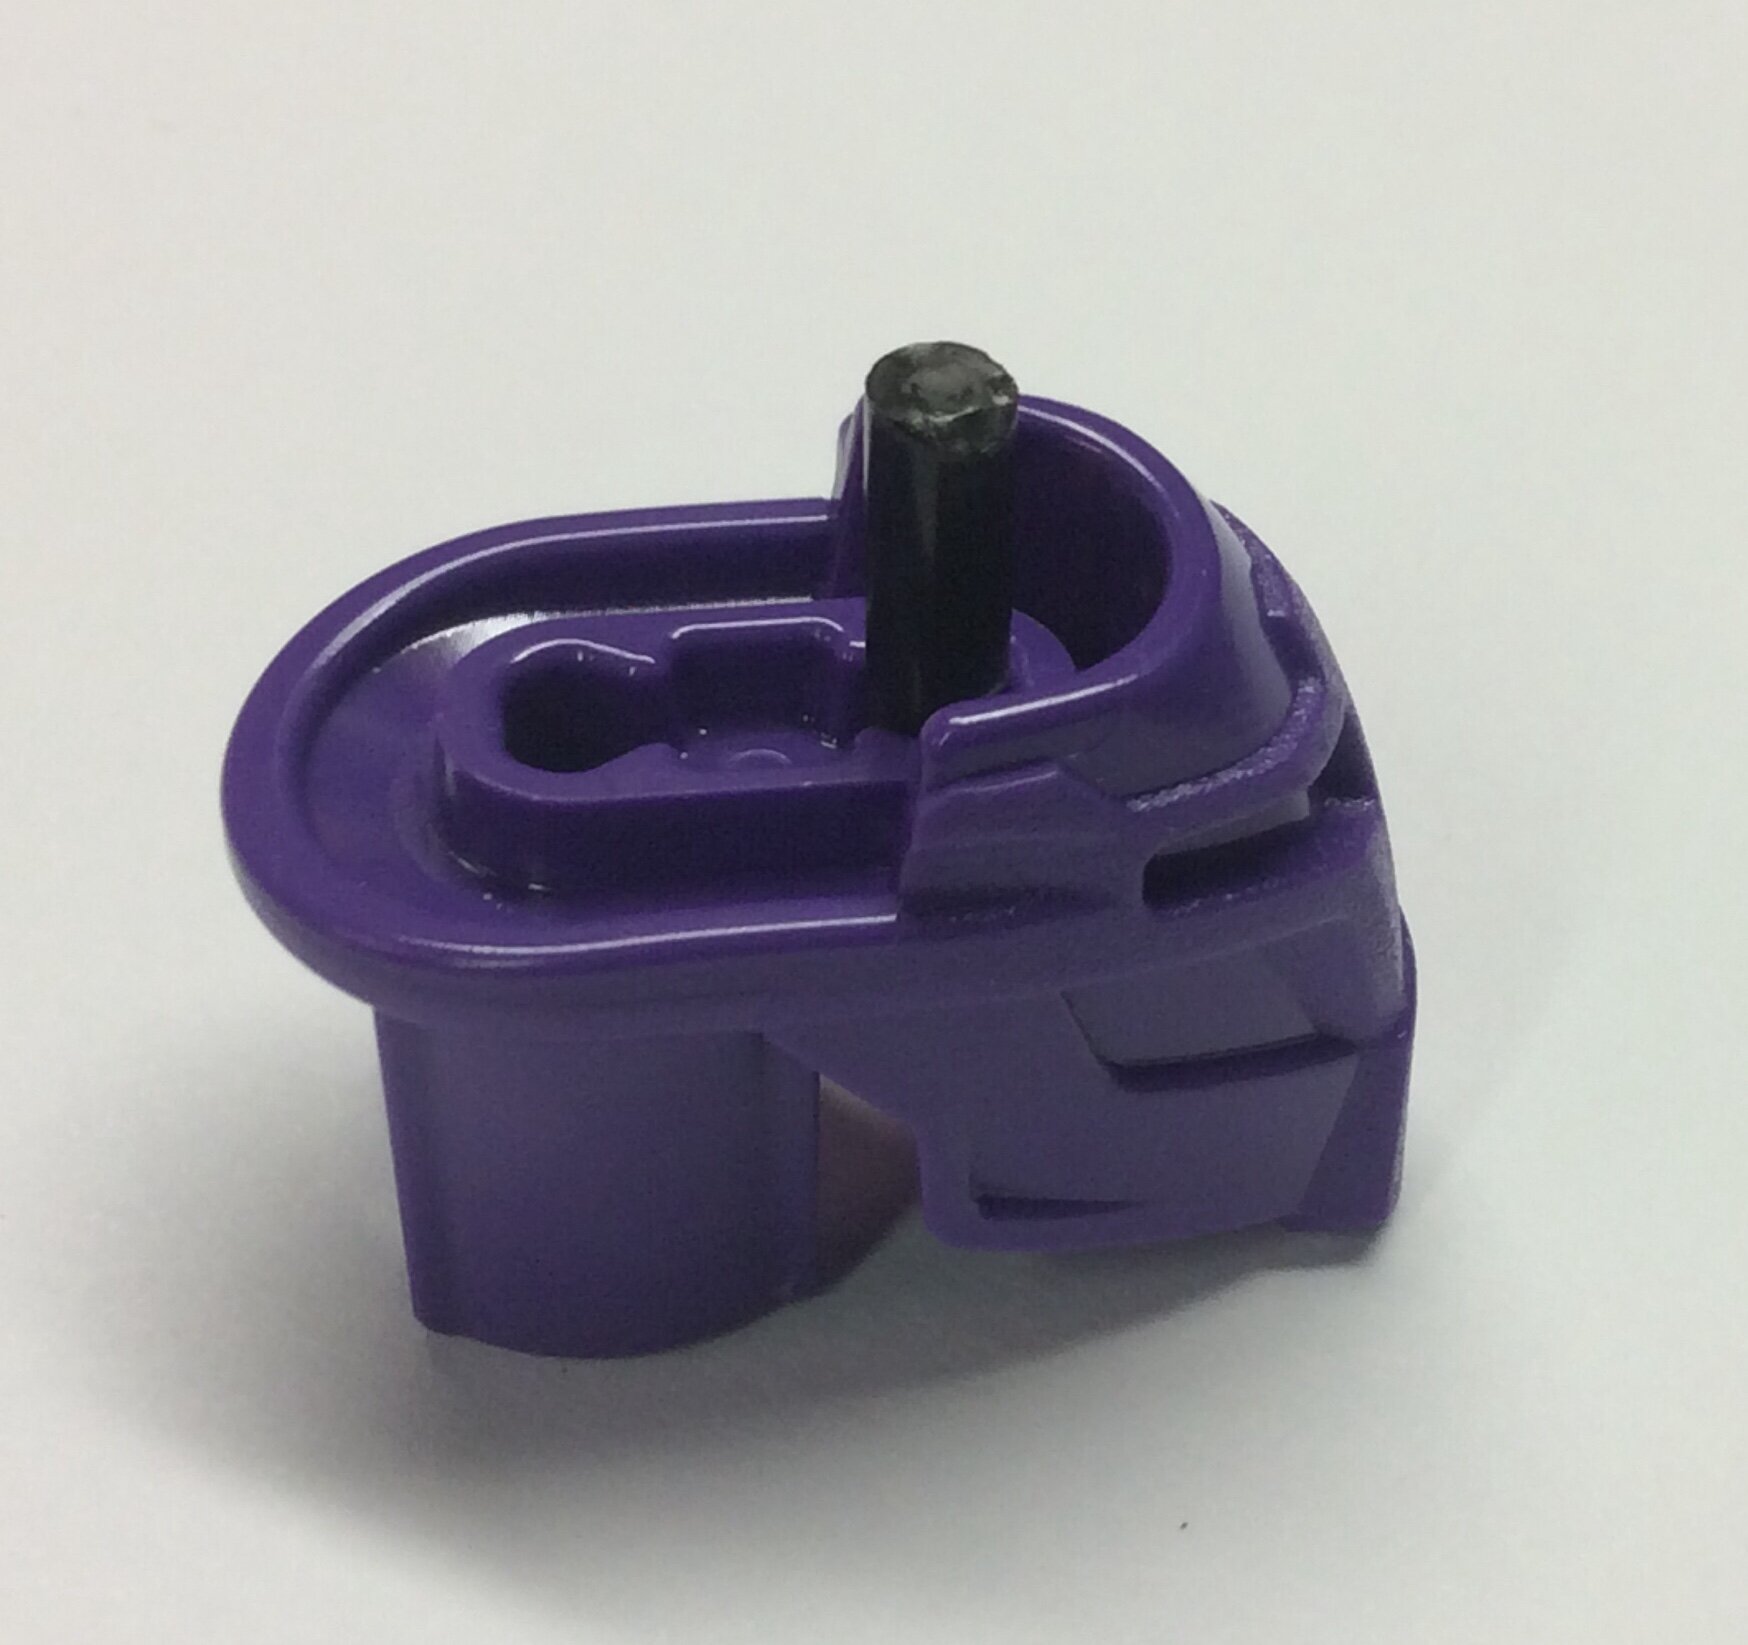
So here’s where you stick whatever pole/stick piece you’re using, make sure to push the stick in as far as it’ll go for the bottom, it will end up being moved later on but this provides for an easier connection.
In my opinion that is.
Step 4 - Connecting:
So now all you gotta do is line up the stick with the open axle port, push the head in and then push the stick in as far as you can while not disconnecting the dual axle piece or moving the inner head.
==============
Now you do have to check that the head itself will fit in the mask first before you start doing all this or else, well, this’ll all be for nothing.
You will also notice that the eyes won’t line up perfectly, most likely with the eyebrows lining up instead.
Now while some people may enjoy the look, for those who don’t this is why I recommend the piece I’m using/similar. Now while I haven’t figured out how to perfectly line it up I have found out that by pressing on the innermost head until it’s eyes match up with the masks eye holes (or a small close as you can get) as long as you press it down for a touch it’ll line up, and it doesn’t even bend anything (at least not that I can see)!
From what I can tell the head itself will slide down due to looseness/not being built for set mask and basically apholding it down kinda… sets the ‘sturdiness’ (?).
I dunno, it just works.
So here you go, how to stick a top axle mask on an HF 2 head!
Hope you all enjoy!
2 Likes
So I got some advice from this thread regarding a torso design for a female character over a year ago, and I ended up never posting the results.
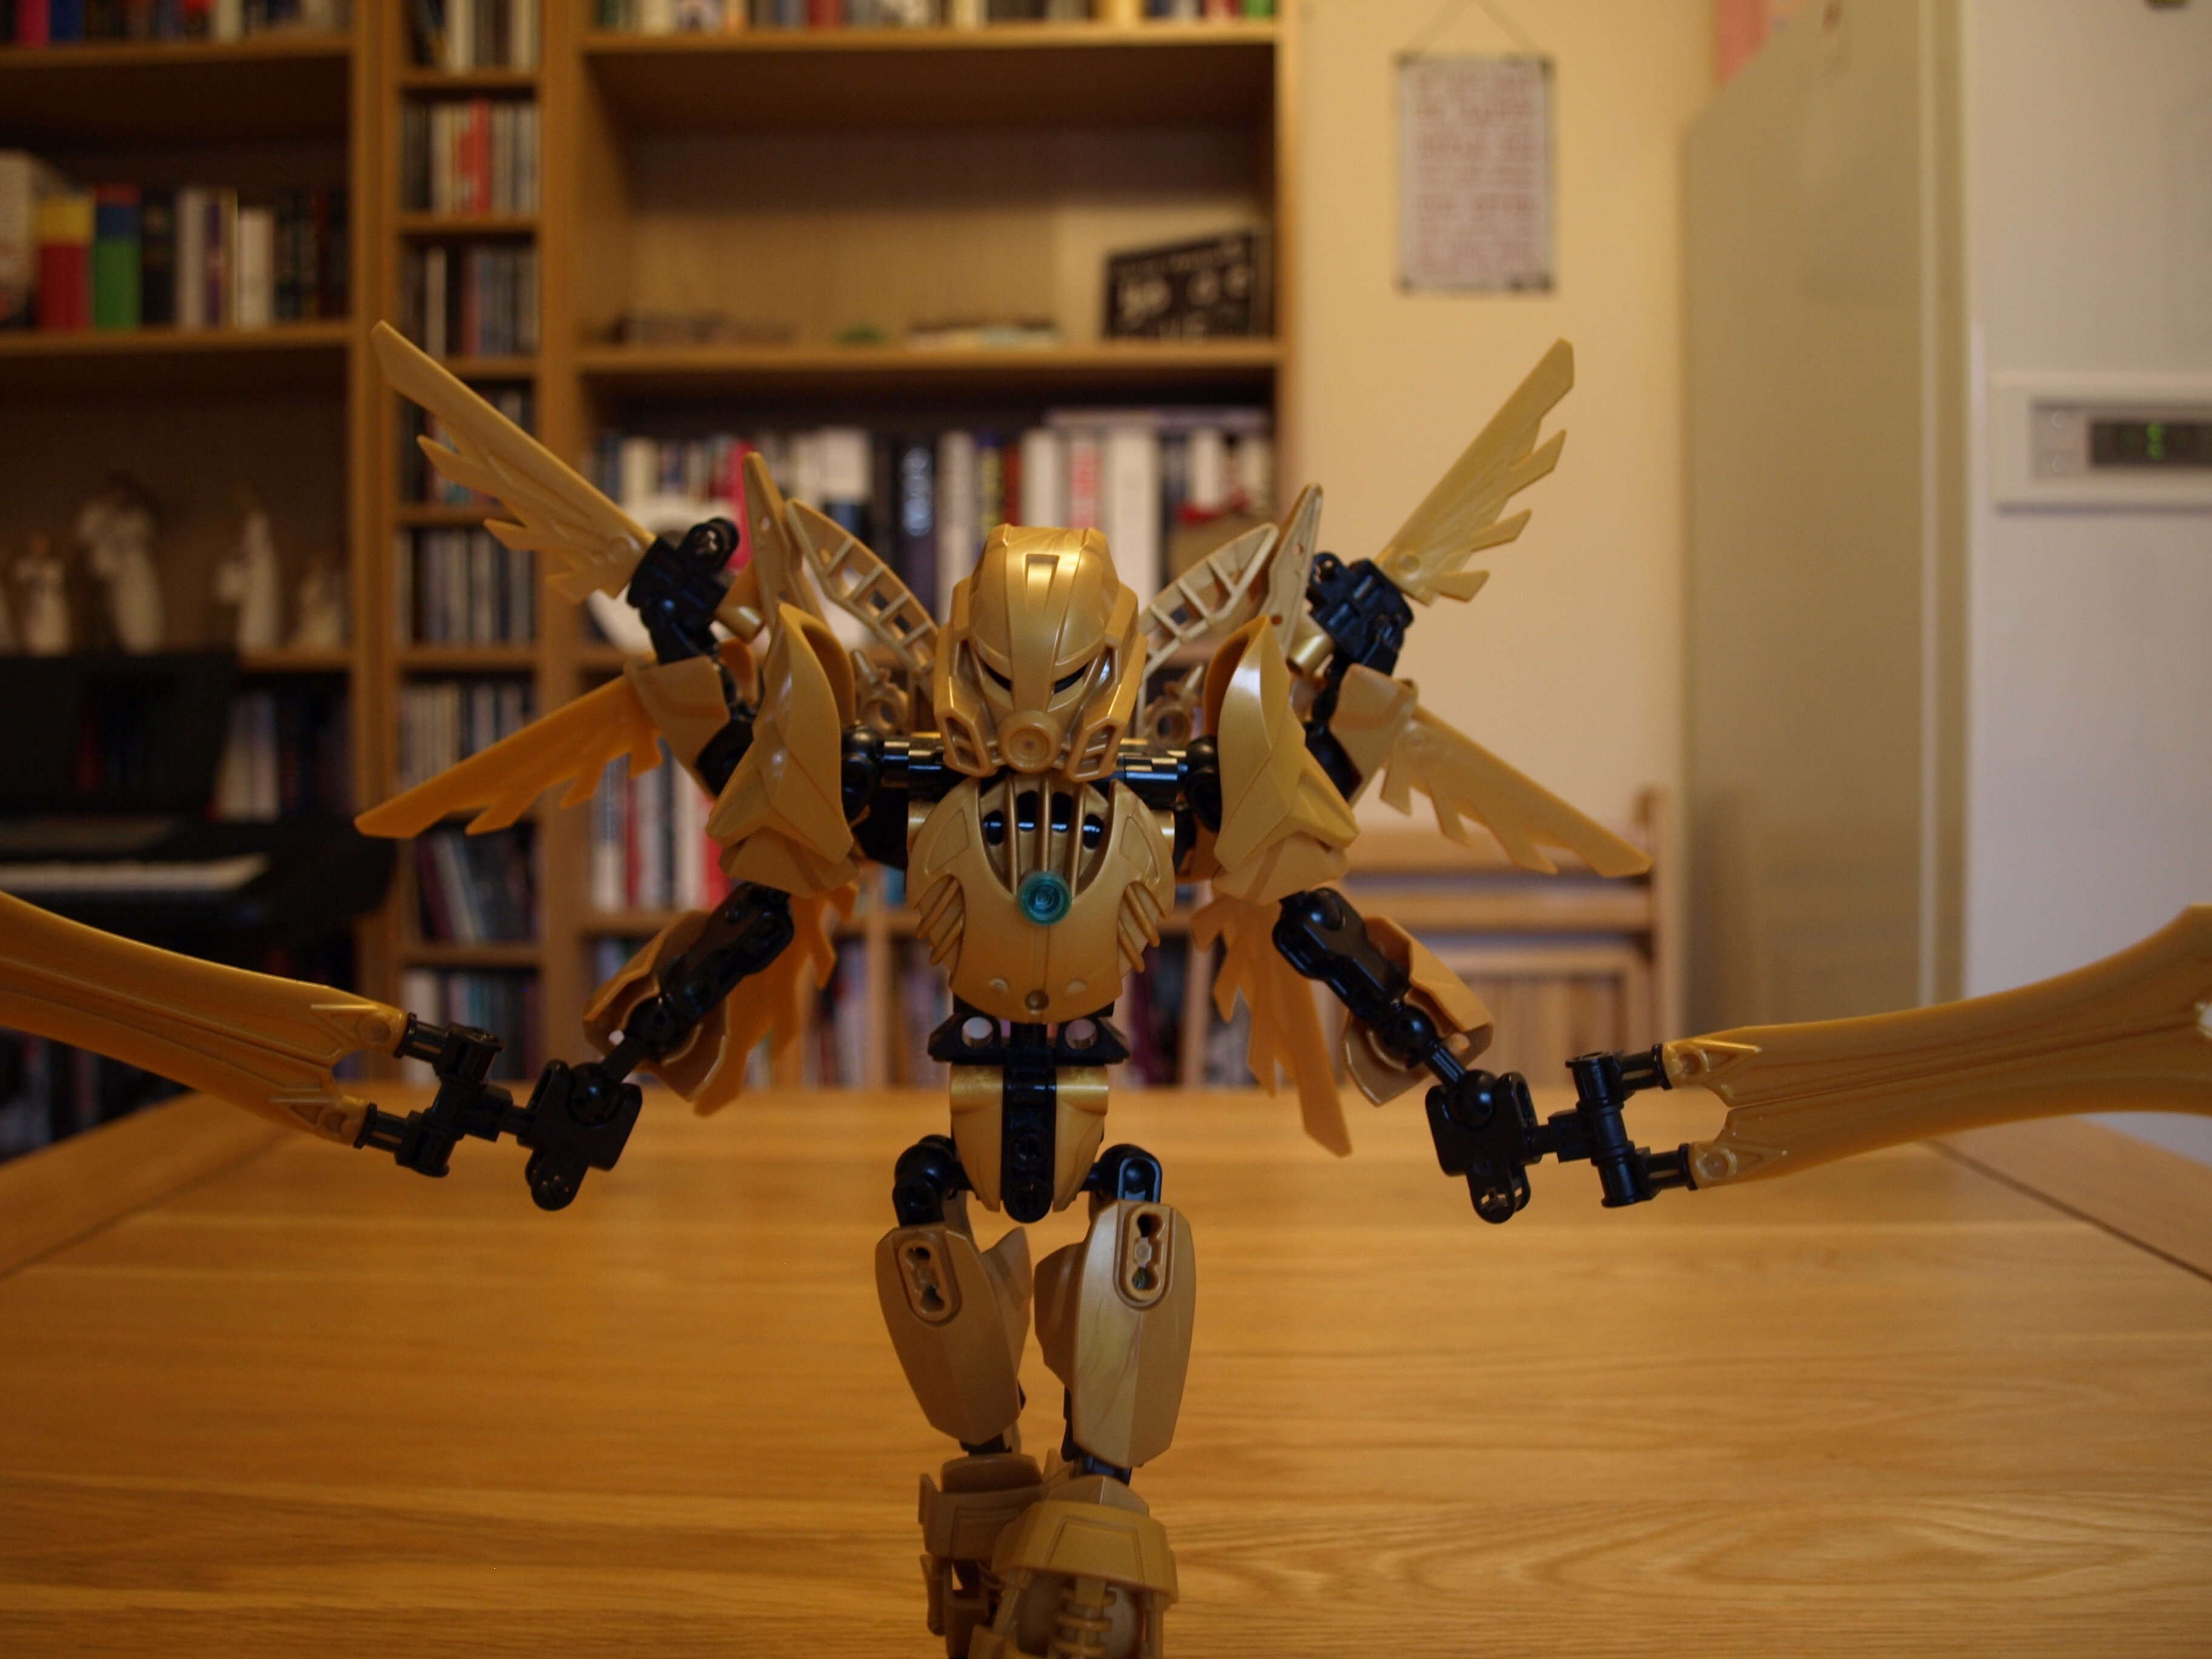
I have a full body image but for some reason the uploader keeps rotating it sideways and squashing it for no reason.
10 Likes
So… where is the how-to?
2 Likes
So… what’s the advice and where’s the design for this torso? (If there is one… I want it!)
Also, lovely build, like the wings addon!
=P
2 Likes
It’ll be coming soon, I don’t have a great setup and it’s currently dark here, so I’ll have to wait for better lighting conditions.
The wings themselves are actually just the same build as CHI Eris, with some colours changed around.
2 Likes
YAY! Thanks, also, oh!.. still a nice use of them! Totally understandable with the delay, my 1st pics were all super bad due to lighting problems until I got my lightbox set up… and then later moved… which now leaves me with once again crappy pics until I reset it… which I still haven’t done… I’m so lazy… ;-;
2 Likes
Willess has been requesting I do this one for awhile, so it’s time I finally did. This is a custom torso I did to get the height of the large CCBS torso with the shoulder width of the small one. I’ve used this design on 6 of my female mocs since I figured it out – it uses parts that are in high supply, in a variety of different colours.
[details=Instructions]
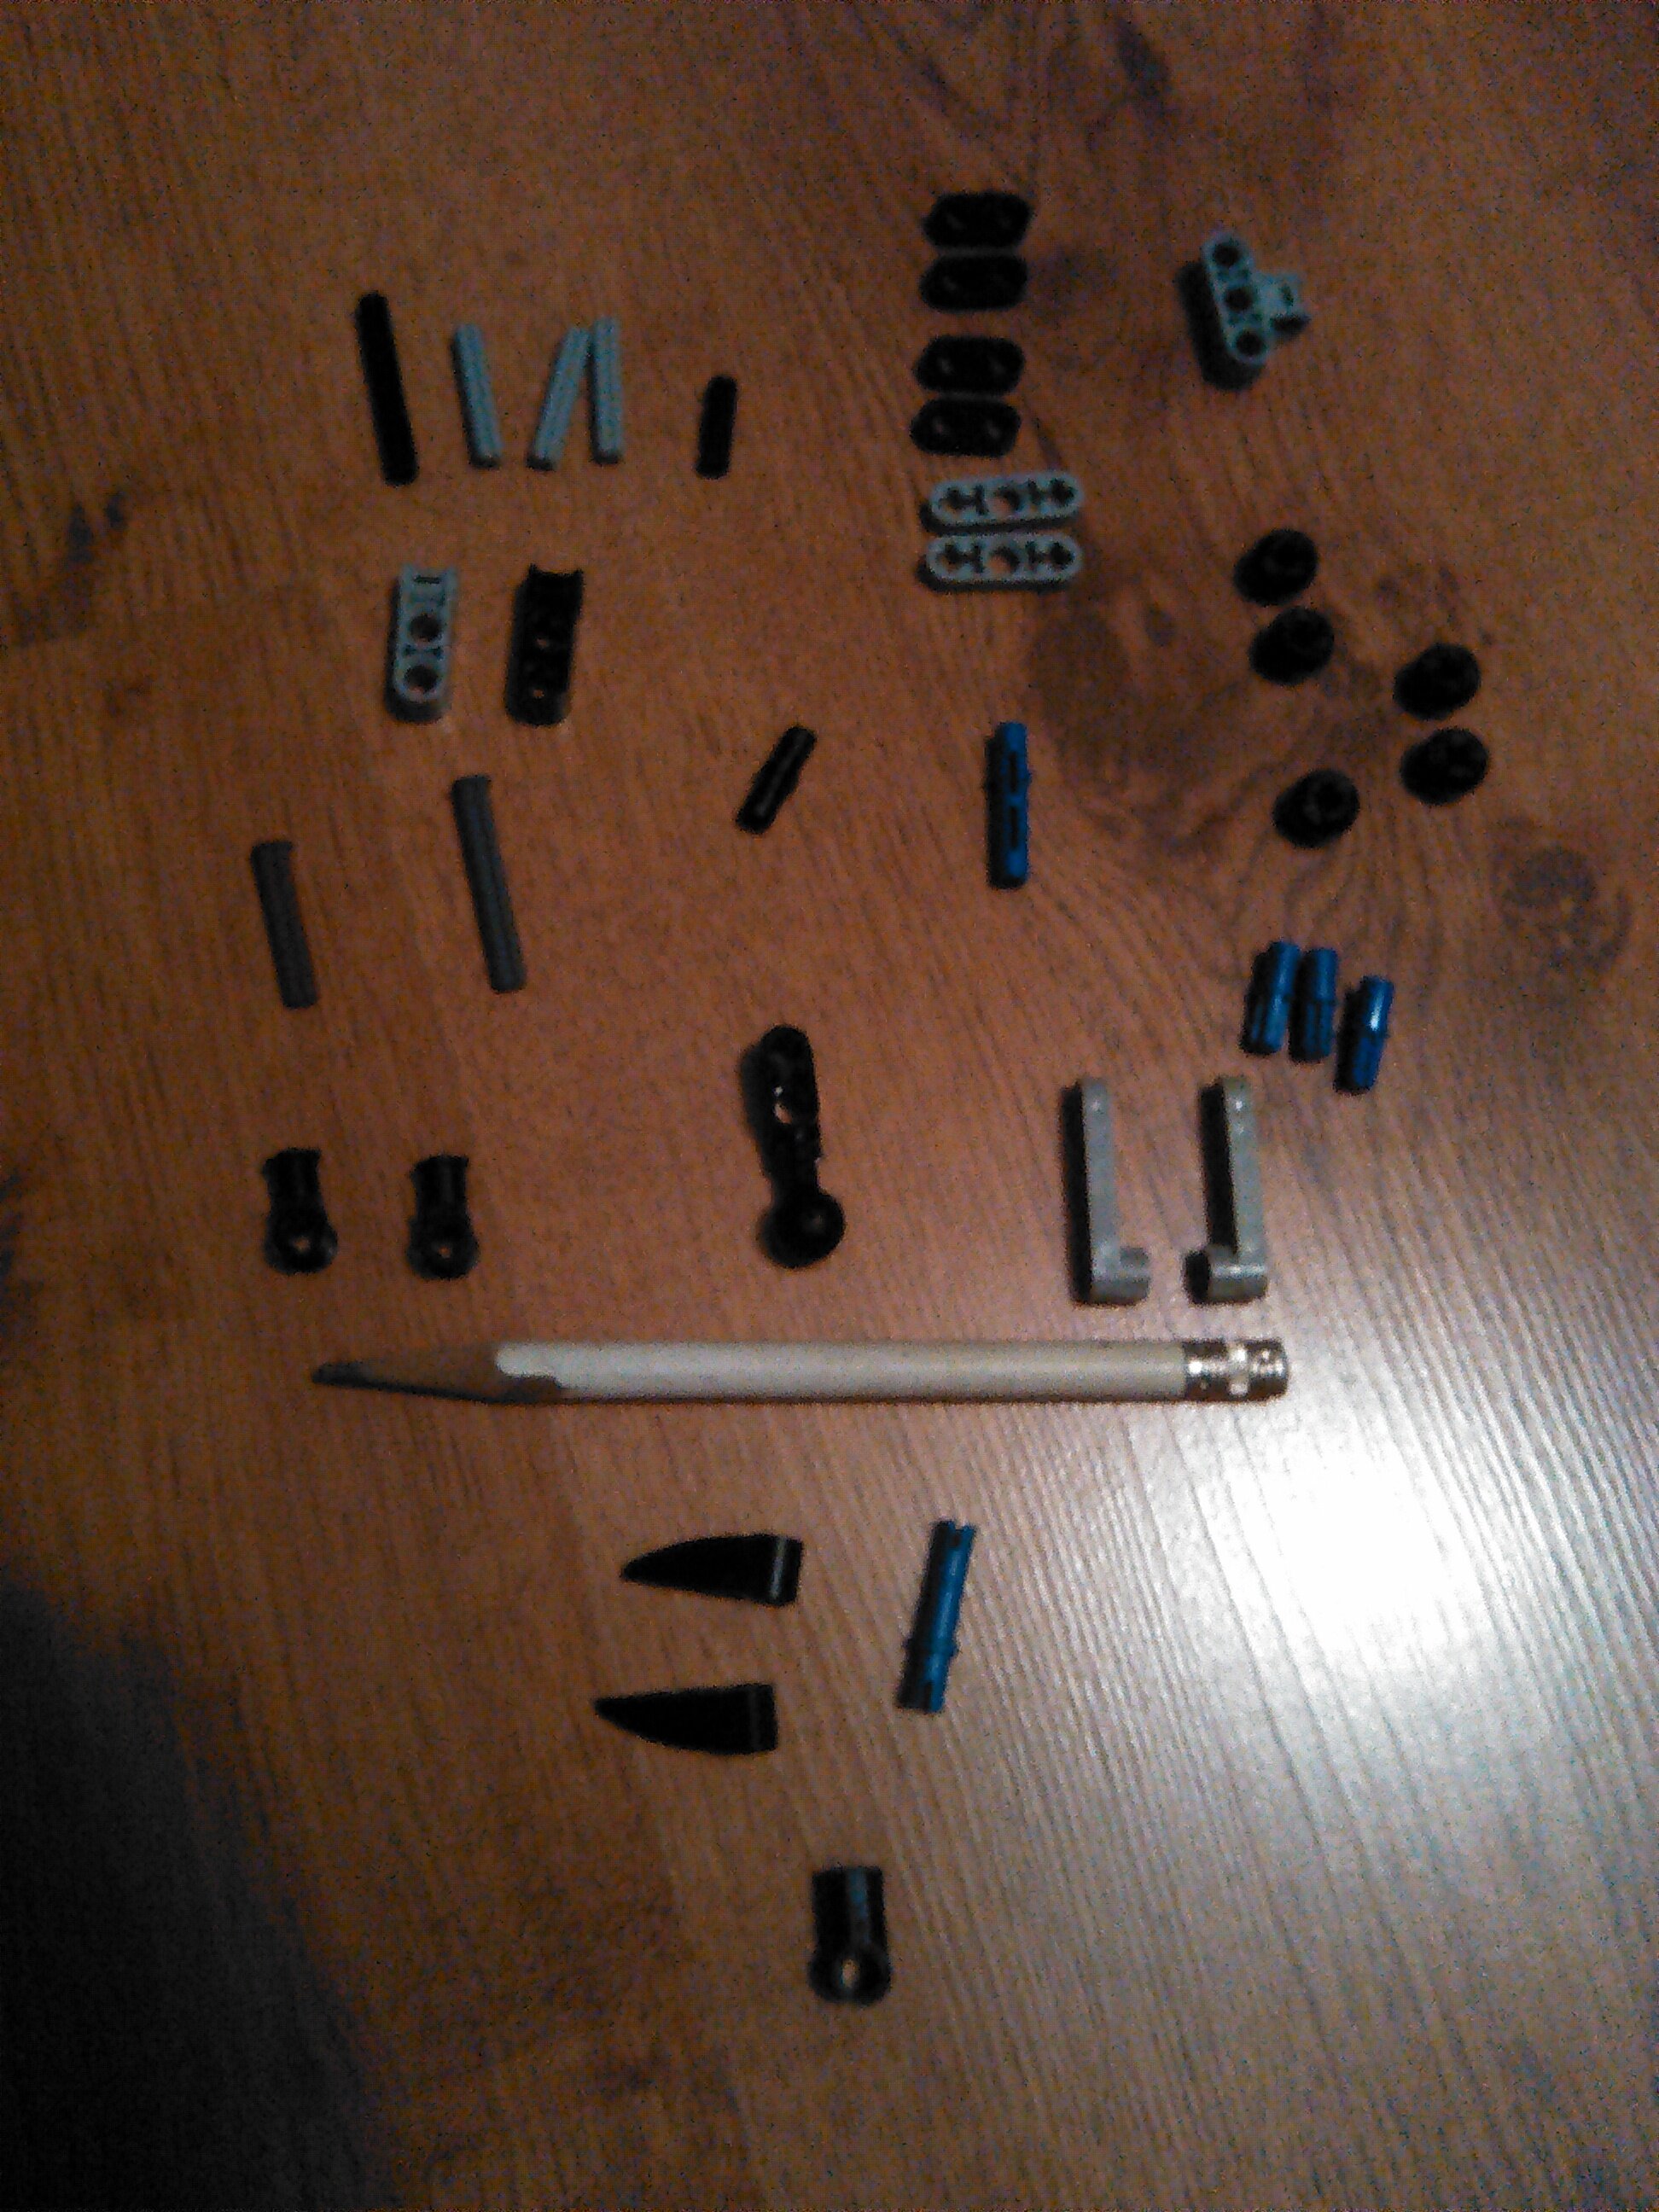
The parts above the pencil are parts you will definitely need. Parts below the pencil are parts you can swap out for another/leave out (shorter pin, etc.) You won’t need the pencil, but feel free to use it as a tool or something.
[/details]

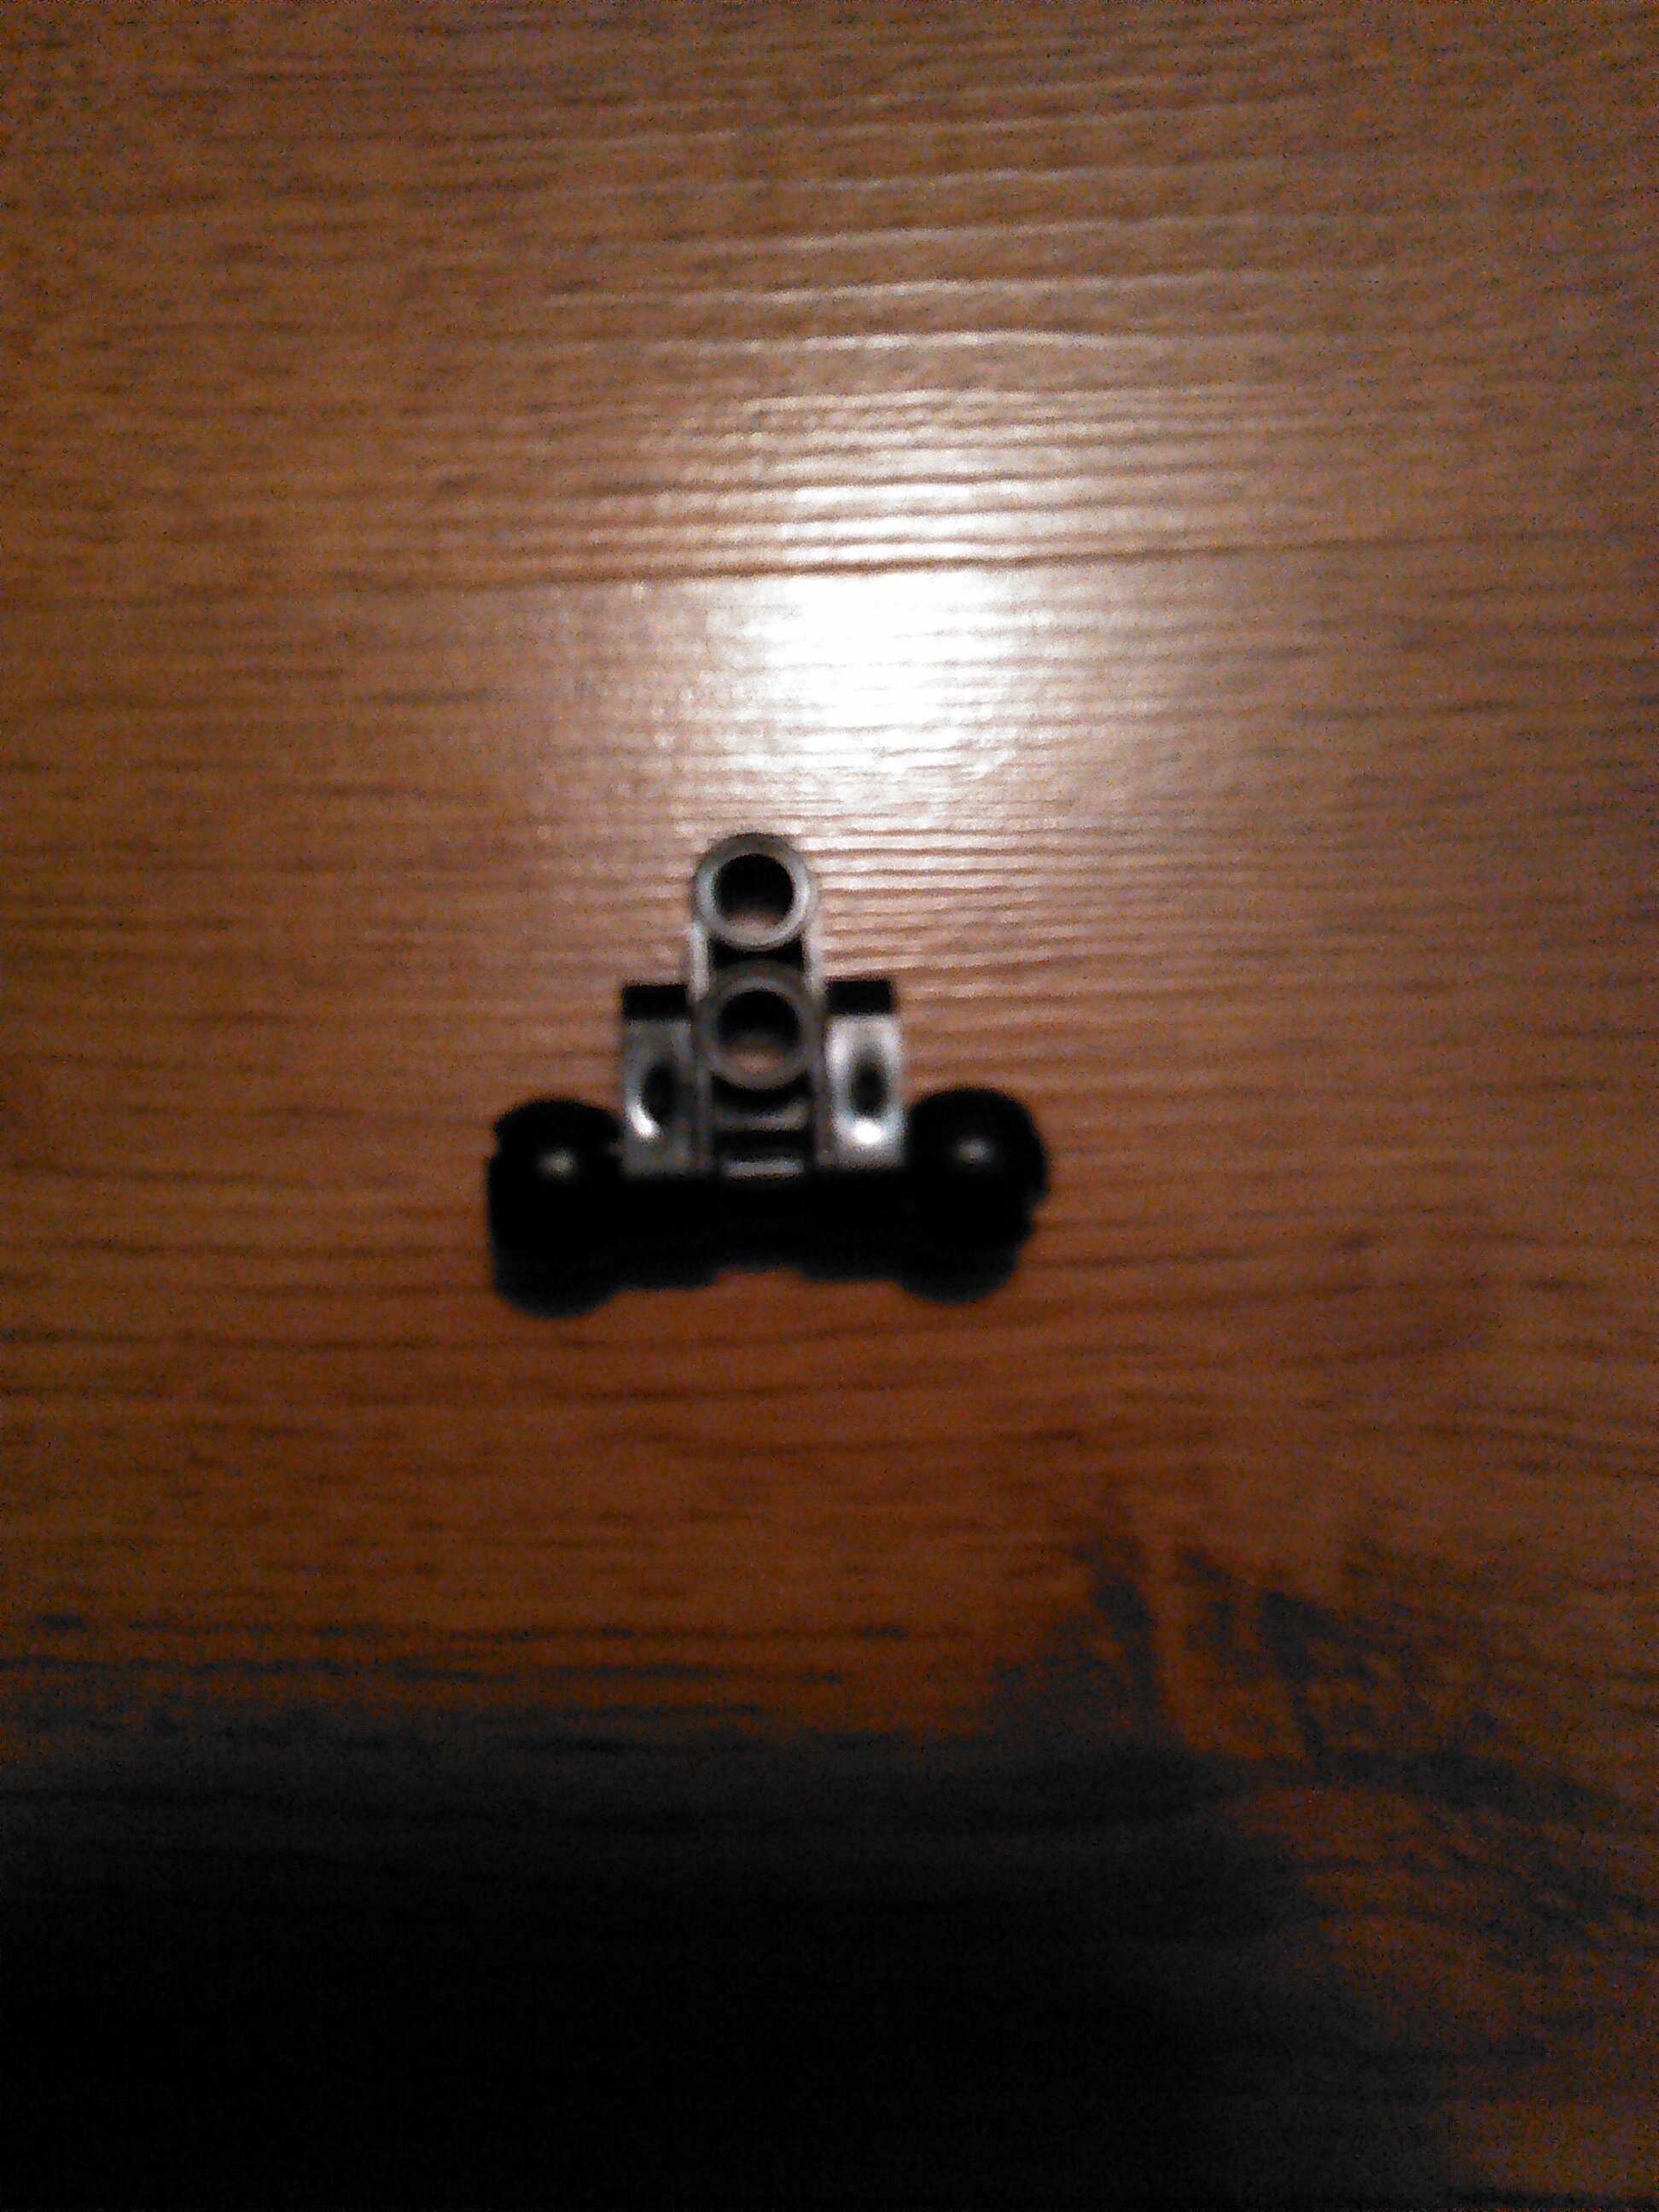
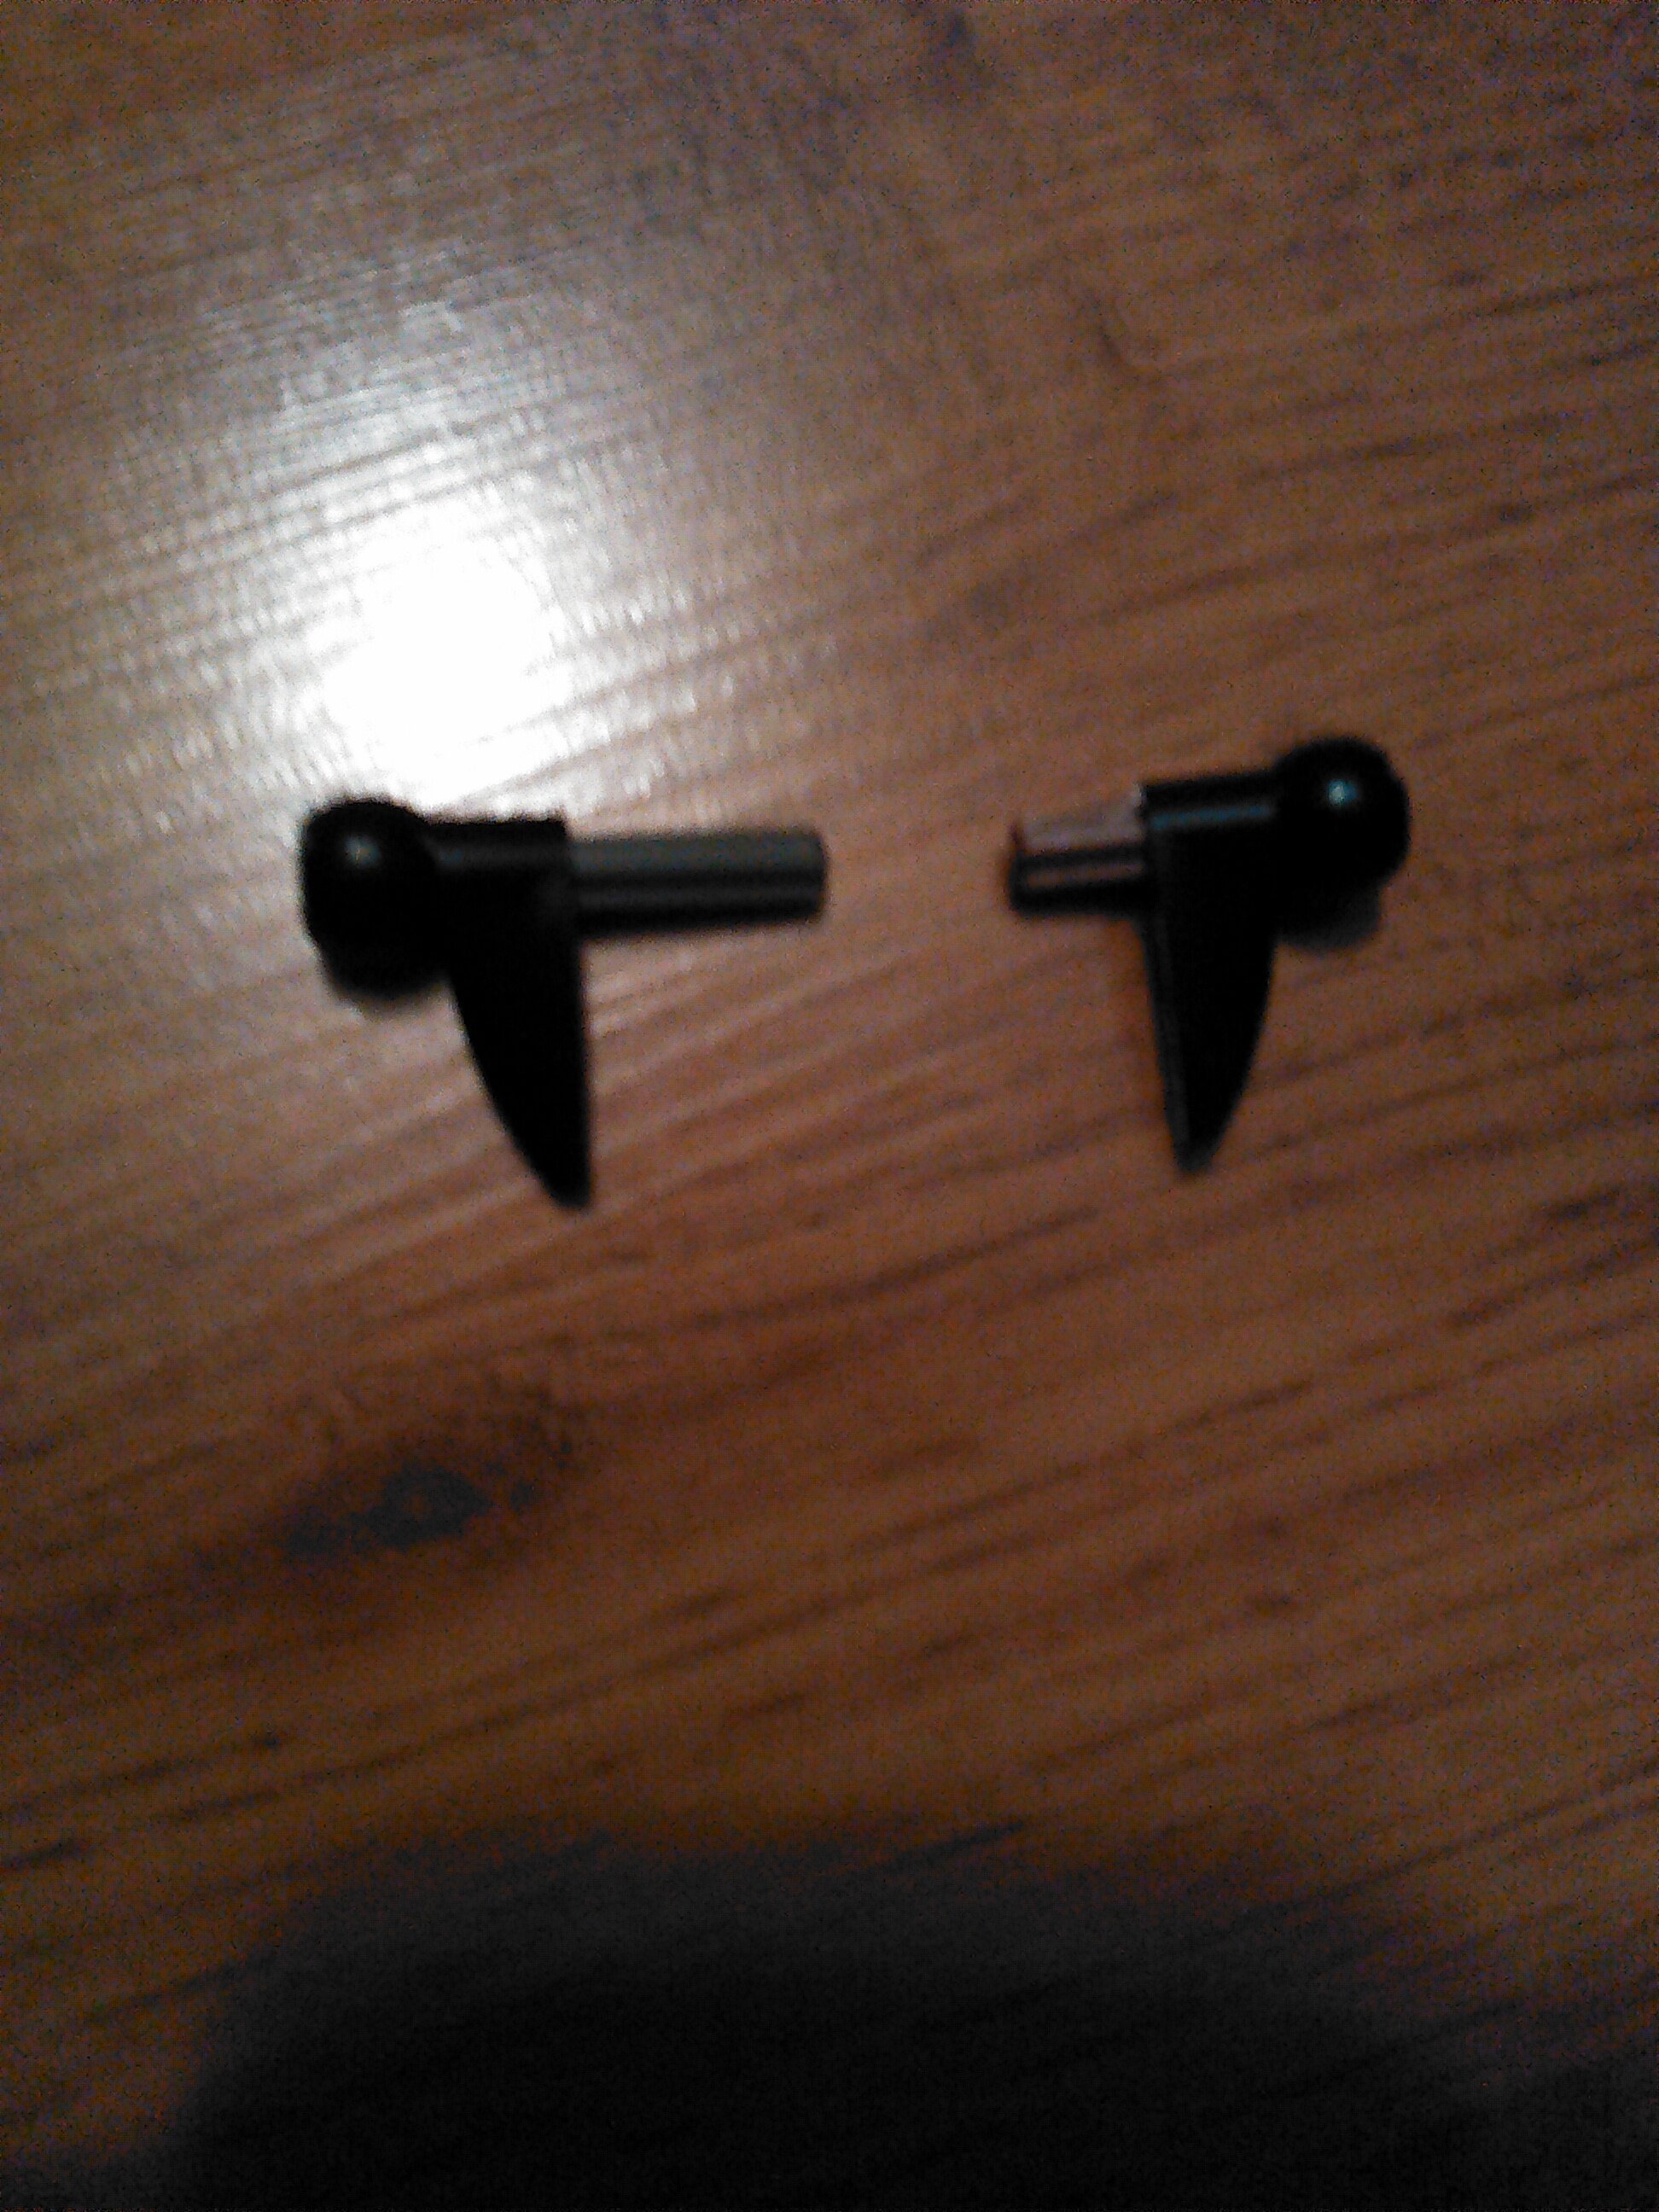
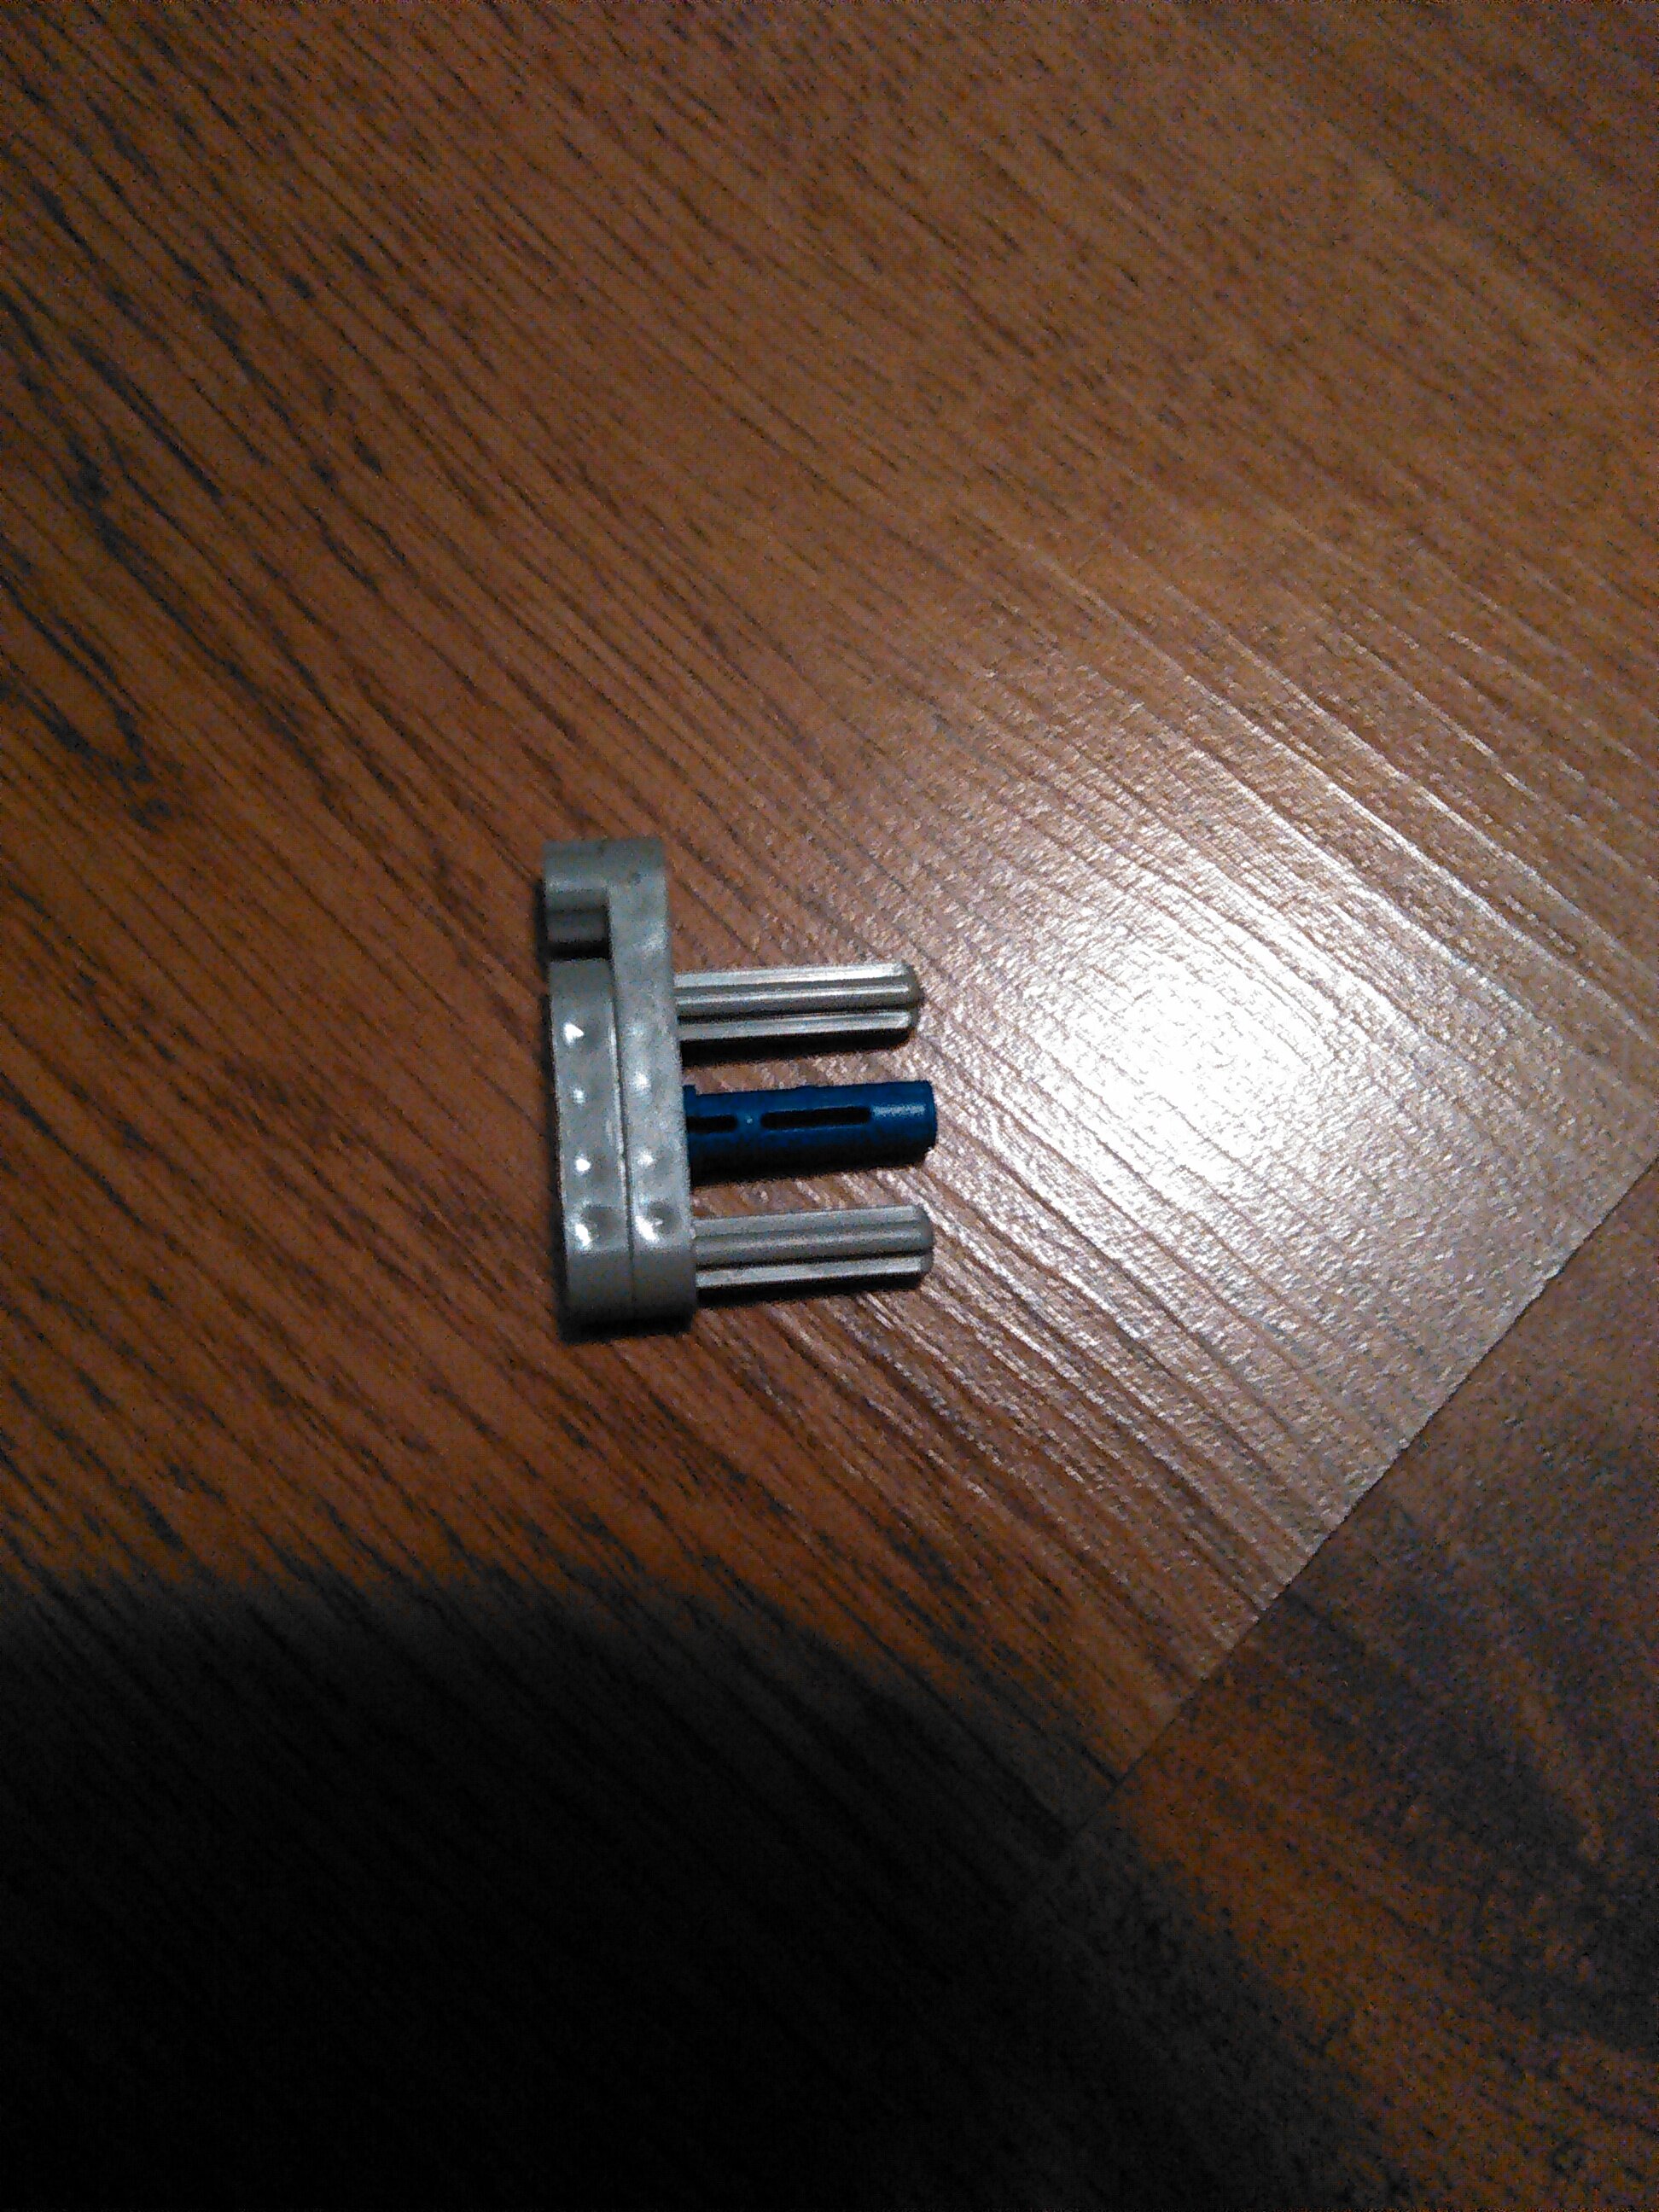
As you can see, I have several attachment points for various armor designs (Or a balljoint, if you want to be boring and just use a CCBS chestpate). Feel free to copy it and modify it as you wish – like I said, I’ve used it on 6 mocs, few of which follow this exact design to a tee.
~W12~
8 Likes
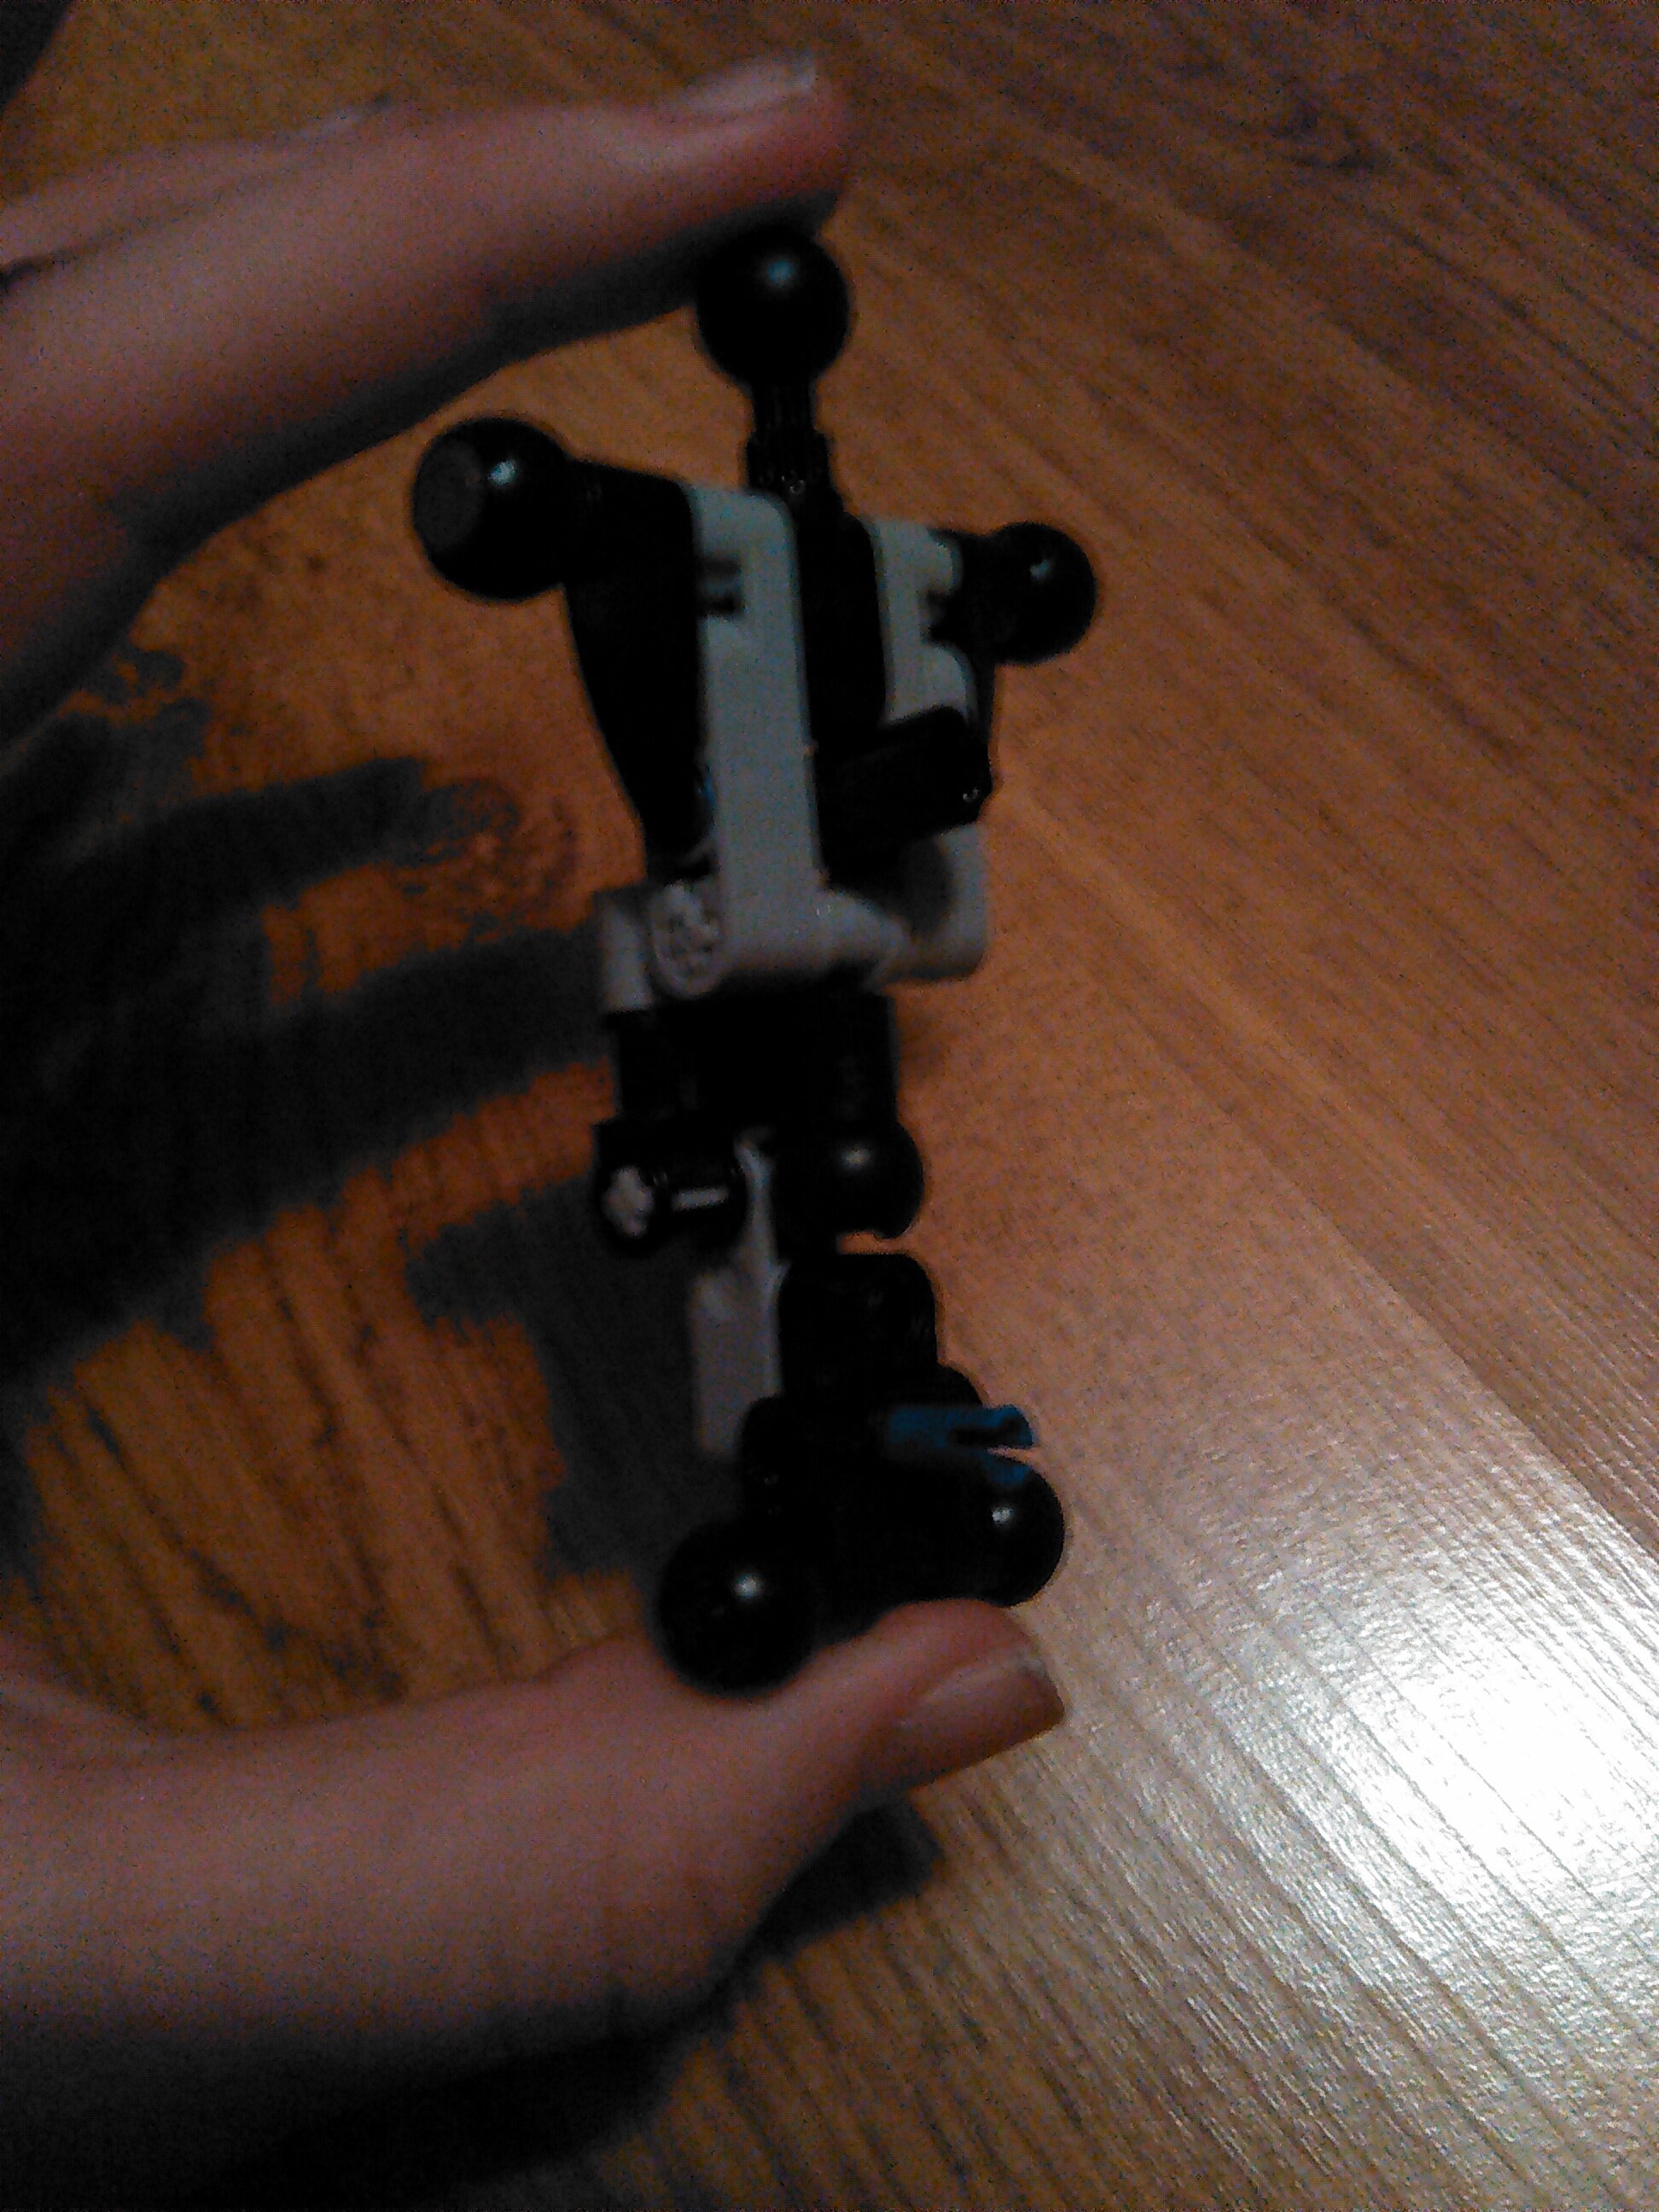
Anyone have any good forearm designs (without ccbs)?
Mine uses a ccbs shell, would you like to see?
Sure, why not?